Shower wall panels are the most popular choice for modern bathrooms because they look good and work well. They add to the decor and create a waterproof barrier that lasts. Are you thinking about changing your bathroom? This guide will help you every step of the way, from picking out the right materials to putting up wall panels that are made just for bathrooms.

Shower wall panels are more than just pretty; they are necessary parts. They also give:

Read More: 5 Best Living Room Wall Panelling Ideas: Elegant & Stylish


Preparation: Start by cleaning the walls, removing any dirt or grease. If you're replacing old tiles, ensure they're removed, and the wall is smooth.
 Cutting the Panels: Based on your measurements, mark and cut the panels. Remember to account for any fixtures.
 Apply Adhesive: Use a recommended adhesive for your panel material. Apply it evenly on the wall.

Place the Panel: Starting from one corner, press the panel firmly against the wall. Ensure there are no air bubbles.

Seal the Edges: Once all panels are installed, seal the edges using a waterproof silicone sealant. This ensures a watertight finish.
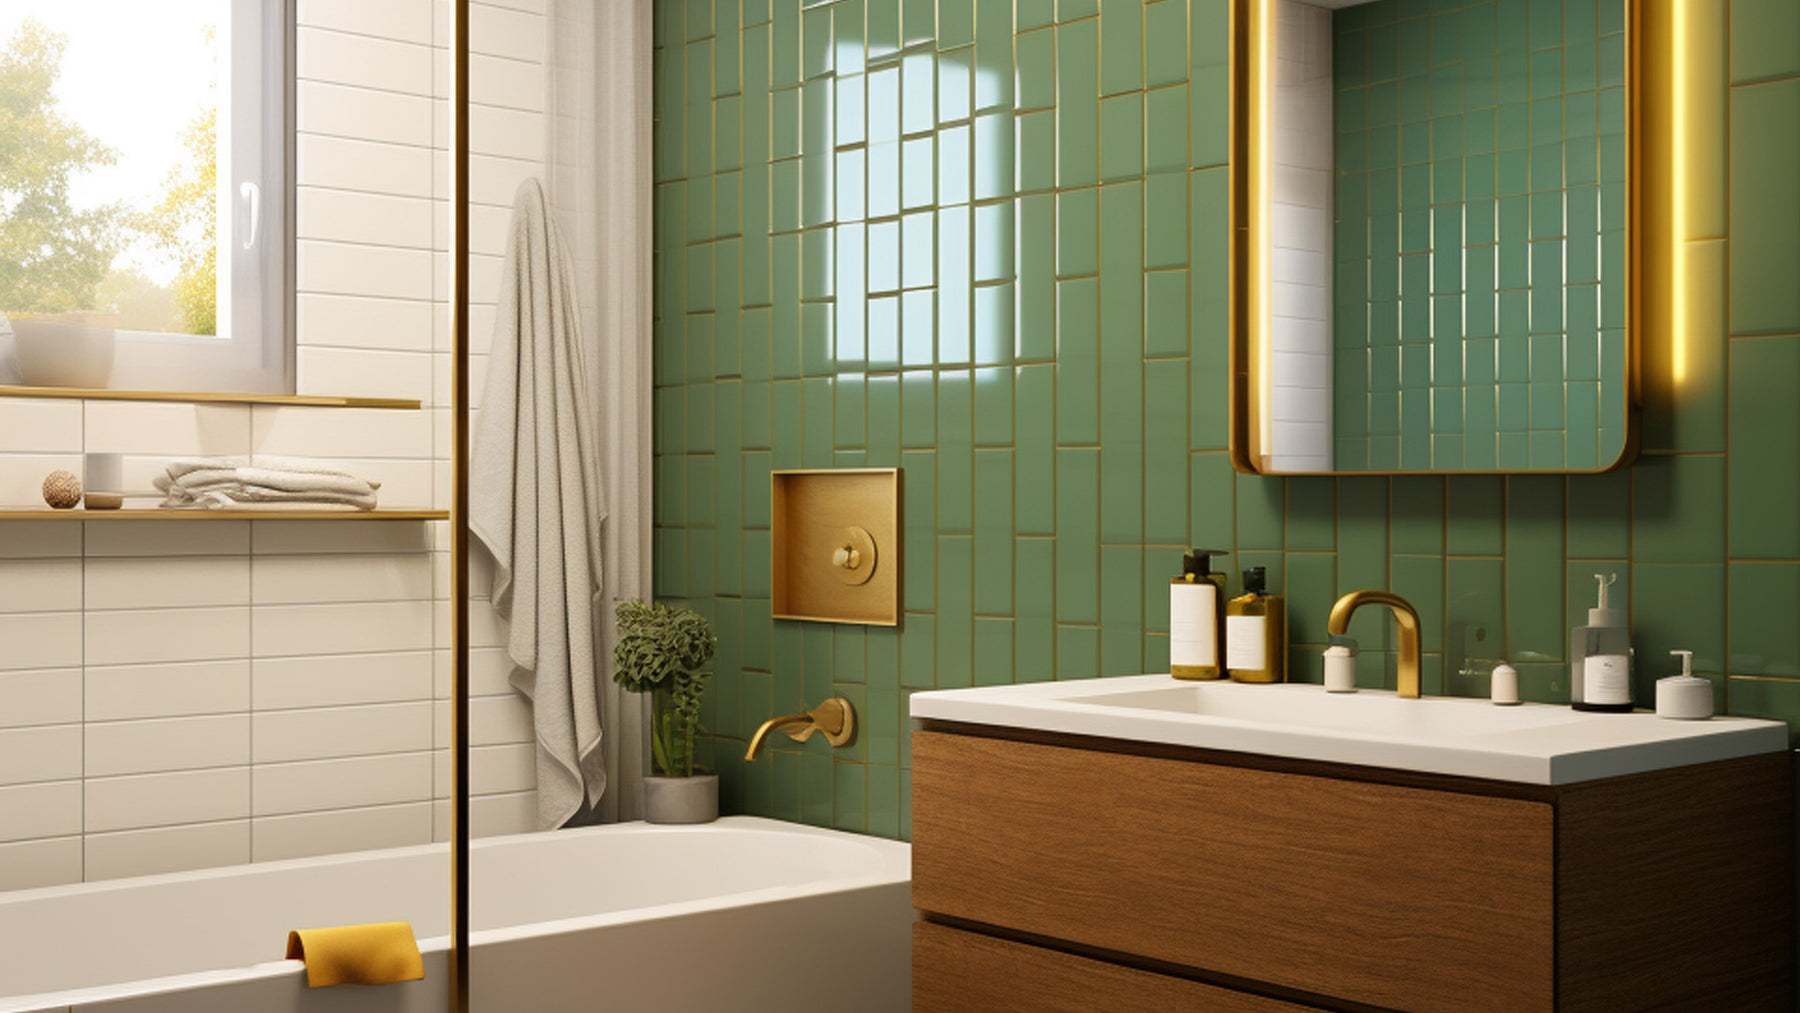
As you embark on the journey of installing shower wall panels, one of the crucial steps is selecting the right panel that not only simplifies installation but also elevates your shower's aesthetics and functionality. Here are some shower wall panels to elevate your sacred space.
Putting up shower wall panels will change your bathroom in a way that is both stylish and useful. You can create a beautiful and long-lasting shower space by carefully choosing the right materials, taking accurate measurements, and following the installation instructions.
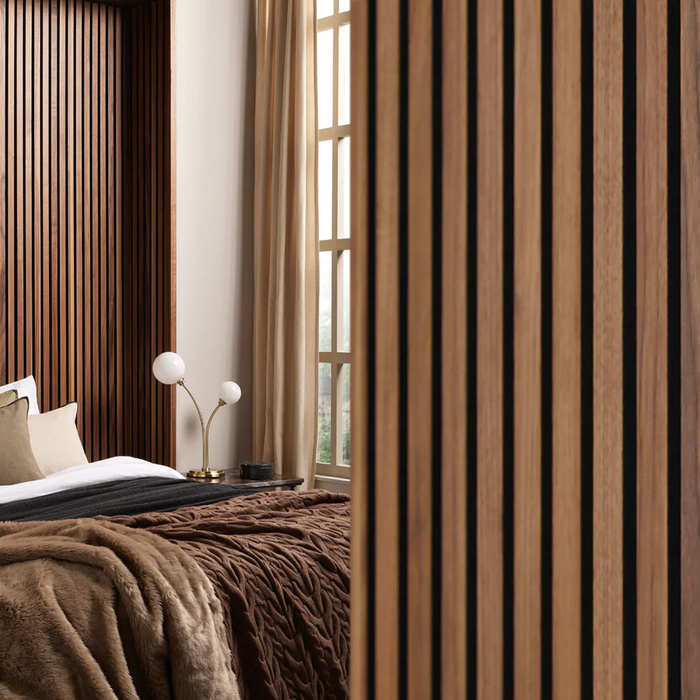
Wood Wall Panel | MDF | Walnut American Oak Slat—a fusion of modern sophistication and eco-conscious innovation. Designed with attention to both ...
View full detailsAbsolutely impressed with the upgrade these panels brought to our office environment. The texture and build are top-notch...
View full detailsKey Features Innovative: The original slatted wall and ceiling panel solution. Versatile: Perfect for both homes and busine...
View full details


