Wall panels are a common feature in modern home design because they are not only pretty to look at, but they also serve a purpose and are easy to use. They give people a unique way to show off their style, and they also protect the walls. People liked the panels for a while, but it's important to change every design element on a regular basis. It's time for something new. No matter if you want to change the look of your room or just fix some damage, you need to know how to take panels off of walls.

Wall panels have become a popular choice in the world of interior design, which is always changing. They are a popular choice among both interior designers and homeowners because they can add depth, texture, and personality to a room. They also offer a quick and cheap way to bring a room back to life without having to do a full restoration.
Wall panels are attractive because they can be used in many different ways. Their presence can turn the ordinary into a work of art. But how do you get rid of something without hurting it in the process? We're going to go on this adventure of discovery so we can learn about wall panels and how to take them down.
Walls are like battlefields, and knowing your enemy (the panel type) is key to victory (successful removal). Here's a breakdown of common panel materials and their removal tactics:
Nail-on Wood Panels: These classic panels usually require a combination of your pry bar and hammer to coax them away from the wall. Start by prying at the edges or corners, then gently work your way across the panel, removing any nails you encounter with your hammer and pliers.
Glued Panels: For these sticky situations, a heat gun can be your best friend. Apply heat to loosen the adhesive, then carefully pry the panel off the wall. Be cautious not to overheat the panel or surrounding areas.
Click-Lock Panels: These modern panels often feature a groove system for easy installation. Look for a release mechanism or lever to disengage the panels and remove them one by one.
Before starting the removal process, gather the necessary tools and prepare your workspace. Here's what you'll need:

Before starting, ensure you have protective gloves and eyewear. Turn off any nearby electrical outlets to prevent accidents. Wearing gloves will protect your hands from sharp edges, while eyewear prevents dust and debris from getting into your eyes.

Using a putty knife, gently pry the edges of the panel to create an opening. Start at a corner or an inconspicuous area to minimize visible damage. Insert the putty knife between the panel and the wall, then gently work your way along the edges to loosen the panel. This step will vary according to the type of panel you have.

Work your way around the panel, gently pulling it away from the wall. For adhesive panels, consider using a heat gun to soften the glue. Apply heat evenly to avoid scorching the panel. Once the adhesive is softened, use the putty knife or a pry bar, carefully removing panel from the wall.

Once the panel is removed, scrape off any residual adhesive using a putty knife. Sand the surface if necessary to ensure it is smooth and ready for any subsequent treatments. Cleaning the wall thoroughly will help in the next steps, whether you're painting or applying new panels.
Inspect the wall for any nail holes or damage. Use joint compound to fill these holes and let it dry according to the manufacturer’s instructions. Once dry, sand the patched areas until they are smooth and even with the rest of the wall. This step is crucial for achieving a seamless finish.
If you plan to paint the wall, apply a primer first to ensure even coverage and adhesion. Use a roller for large areas and a brush for edges and corners. Once the primer is dry, paint the wall with your chosen color, following the paint manufacturer's instructions for the best results. This step will give your wall a fresh, new look.
Wall panels have become a permanent part of interior design because they offer so many benefits. Change is inevitable, just like it is with every other part of design. No matter if you want to update your space or fix some damage, this tutorial will make sure you have everything you need to remove the panels with confidence and ease.
Taking panels off of walls can be a doable do-it-yourself project if you have the right tools and know-how. But it might look like a hard thing to do. If you follow these steps, you will be able to get a smooth, professional finish on your walls, whether you are fixing up old wood paneling or getting ready for a new design. Enjoy your newly renovated space while feeling good about a job well done.
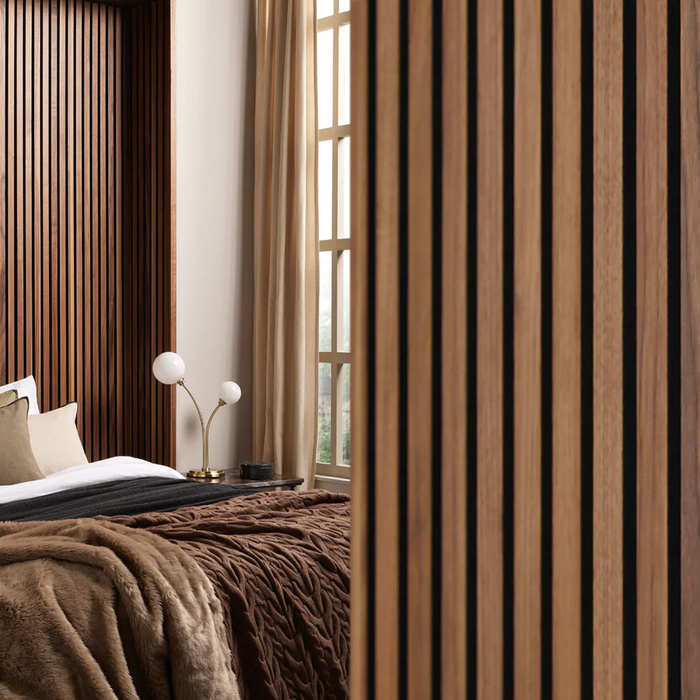
Wood Wall Panel | MDF | Walnut American Oak Slat—a fusion of modern sophistication and eco-conscious innovation. Designed with attention to both ...
View full detailsAbsolutely impressed with the upgrade these panels brought to our office environment. The texture and build are top-notch...
View full detailsKey Features Innovative: The original slatted wall and ceiling panel solution. Versatile: Perfect for both homes and busine...
View full details


