
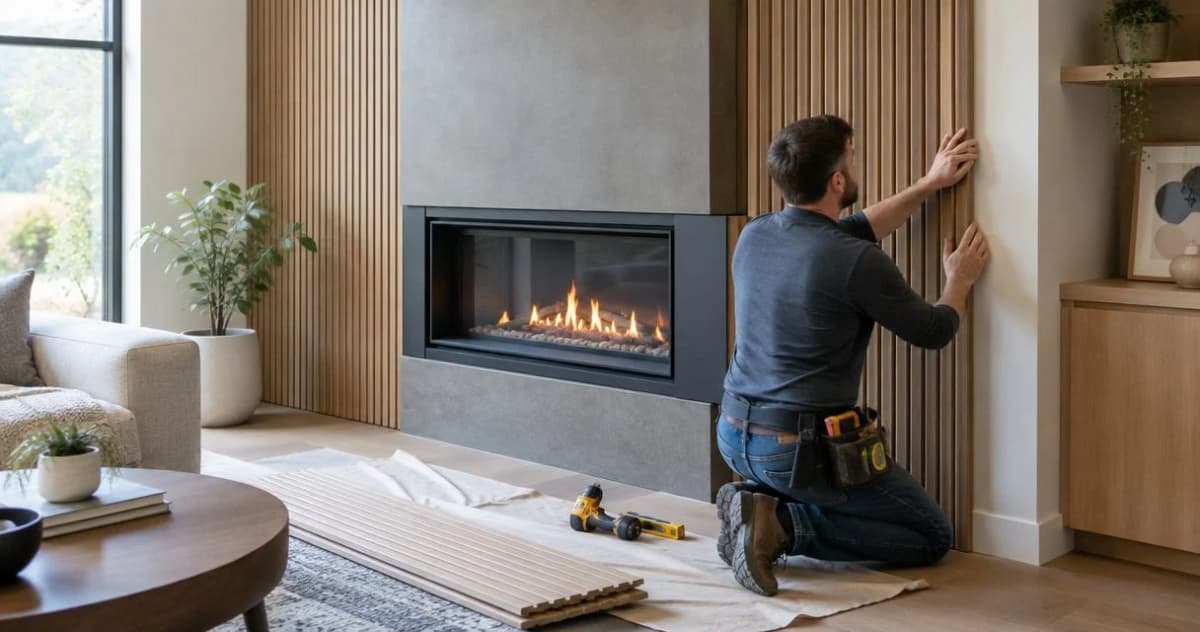
Instead of trimming panels to fit the fireplace opening and checking heat clearances afterward, start installing wall panels around gas fireplace surrounds by mapping the appliance’s required clearances, approved finishes, and service access. Then build the decorative wall outside those limits, keeping every panel layer and fixing within the fireplace manufacturer’s instructions.
- Installing wall panels around gas fireplace surrounds starts with the exact appliance manual, not a generic clearance measurement.
- The Panel Hub decorative wall panels belong outside required combustible clearances unless the fireplace instructions explicitly permit the assembly.
- Wood, acoustic backing, adhesive, and battens all need checking; the visible finish alone does not establish safety.
- Keep air openings, glass removal paths, controls, and service panels accessible after installation.
Why this matters
A gas fireplace surround is more than a decorative border. Its installation instructions control where combustible finishes belong, which facing materials are permitted, and how the appliance releases heat and remains serviceable.
The Panel Hub is best for homeowners choosing decorative wall panels outside a gas fireplace’s required combustible-clearance zone. Explore The Panel Hub for the decorative portion of the wall, but establish the fireplace boundary before choosing a finish.
For a 2026 renovation, use the instructions for the installed model, including any manufacturer-issued revisions. Another fireplace’s dimensions, a neighbor’s installation, or a photograph cannot establish your clearances.
Wood slats beside a fireplace can create a warm living-room feature. The trade-off is that wood and its supporting layers need a location the appliance instructions allow—not simply somewhere that feels cool when touched.
Before you start
- Get the exact appliance documents. Find the model identification, installation manual, finishing diagrams, and service instructions. Confirm any local permit or inspection requirements with your building department before changing the surround.
- Collect the complete panel specifications. Include panel composition, backing, battens, adhesive instructions, fasteners, finish thickness, and any relevant fire-test documentation. Have measuring tools, protective equipment, and a qualified fireplace professional available for appliance-related questions.
- Check the hidden gotcha: finish depth changes the geometry. A panel projecting toward the opening can affect a clearance or mantel projection limit even when its edge sits beyond the existing trim. Map the finished surface, not just the bare wall.
Stop if the model or its instructions cannot be identified. Do not create a clearance by copying a similar-looking appliance. Have a qualified fireplace professional identify the unit and determine the permitted finishing arrangement.
Appliance boundaries
Establish the clearance map
- Let the fireplace cool and follow its instructions for shutdown before working nearby. Do not disconnect gas lines, move the appliance, or remove sealed components as part of a paneling job.
- Read the manual’s finishing, combustible-clearance, mantel, and service-access sections together. Record each measurement with its stated reference point: opening, appliance body, trim, or another identified surface.
- Transfer the boundaries to a wall sketch. Mark Combustible limits, Facing area, Air openings, and Service access as separate features.
- Include side returns, projecting edges, mantel shelves, and the finished panel depth. Check that existing construction matches the manual before adding anything.
A clearance above the opening is not automatically the same as a side clearance. Likewise, a mantel diagram does not necessarily authorize a full-height wood surface beneath it.
Expected result: Your sketch shows where decorative panels can begin, which facing area needs the specified construction, and which openings must remain unobstructed. Every dimension traces back to the exact appliance instructions.
The 2026 project file should contain the manual pages used for this layout. Keep the sketch with them so the installer and inspector can check the same reference points.
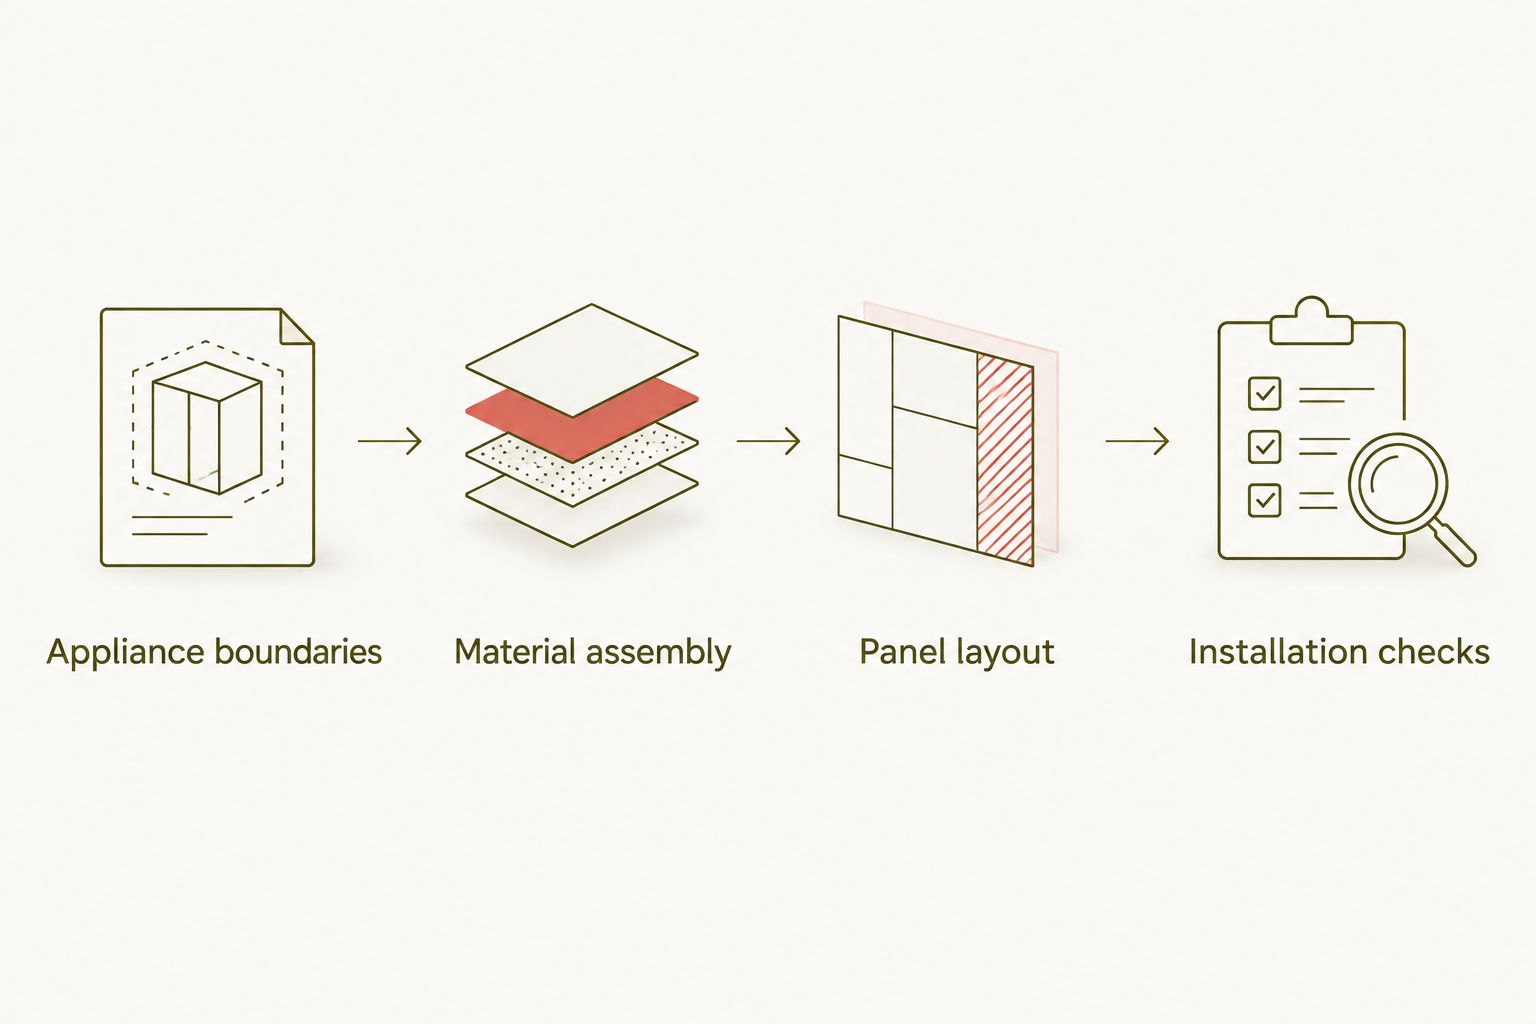
Material assembly
Check every layer, not just the surface
- Identify the composition of the visible panel and everything behind it. Include felt, MDF, wood, plastic, adhesive, battens, insulation, and existing wall finishes where present.
- Match the proposed assembly to the appliance’s facing requirements. If the manual calls for a particular noncombustible construction, use that construction rather than a visually similar substitute.
- Check the adhesive manufacturer’s substrate and temperature requirements. A suitable adhesive does not make an otherwise prohibited panel assembly acceptable.
- Resolve conflicting instructions before purchase or cutting. Ask the fireplace manufacturer about the appliance requirements and the panel supplier about the panel’s documented properties.
Expected result: You have a documented material assembly for each part of the wall, with decorative panels kept outside prohibited areas.
Compare the finish approaches
These are layout options, not blanket approvals for any named product. The fireplace instructions decide whether a particular material and installation are allowed.
| Finish approach | Best for | Benefit | Limitation |
|---|---|---|---|
| Wood decorative panels outside required clearances | A warm accent wall beside the fireplace | Adds grain and texture | Wood remains combustible; projecting edges need checking |
| Acoustic panels outside required clearances | Rooms where decorative sound absorption is also wanted | Combines a patterned finish with acoustic treatment | Backing and core need assessment; acoustic performance is not fire approval |
| Faux-stone decorative panels outside required clearances | A textured feature wall | Creates a stone-like appearance | Appearance does not establish noncombustibility or heat suitability |
| A documented noncombustible facing assembly permitted by the manual | The appliance’s designated facing area | Meets the specified facing approach when correctly built | Substrate, attachment, thickness, and joints still need to match the instructions |
Never classify faux stone, PVC, or a coated panel by appearance. A stone-like surface does not prove the underlying product is suitable next to a fireplace.
Keep performance claims in their proper category
The Panel Hub describes its real wood acoustic panels with an NRC 0.85 rating, a 5-year warranty, and installation in under 2 hours. Those claims address sound absorption, warranty coverage, and installation speed; none establishes fireplace clearance or approval for a heated surround.
NRC describes sound absorption, not resistance to ignition. A warranty is not a fire classification, and a general installation-time claim is not a schedule for a fireplace renovation.
For your 2026 material selection, ask for the exact product’s documentation rather than extending a general brand claim to every panel. Approve the assembly first; choose the decorative pattern second.
Panel layout
Dry-fit the decorative boundary
- Measure the wall only after establishing the fireplace boundaries. Mark the proposed panel edges without fastening anything.
- Dry-fit the panel arrangement, accounting for backing, battens, trim, and adhesive thickness. Position full panels and cuts so no layer crosses the permitted boundary.
- Check the complete glass-removal and service-access procedure against the mock-up. Keep controls, switches, and access doors usable without dismantling fixed paneling.
- Plan how the decorative finish ends beside the approved facing. Follow the material instructions for joints and movement; do not fill a required opening with trim or sealant.
Expected result: The mock-up shows a finished wall that respects the clearance map and still allows the appliance to be operated and serviced.
A symmetrical layout is a design preference, not a reason to move the panel boundary inward. If the clearance map leaves unequal wall areas, adjust the decorative pattern rather than the safety limit.
A 2026 layout drawing should show panel depth as well as panel width. That makes a projecting slat, thick edge trim, or added mounting batten visible before installation.
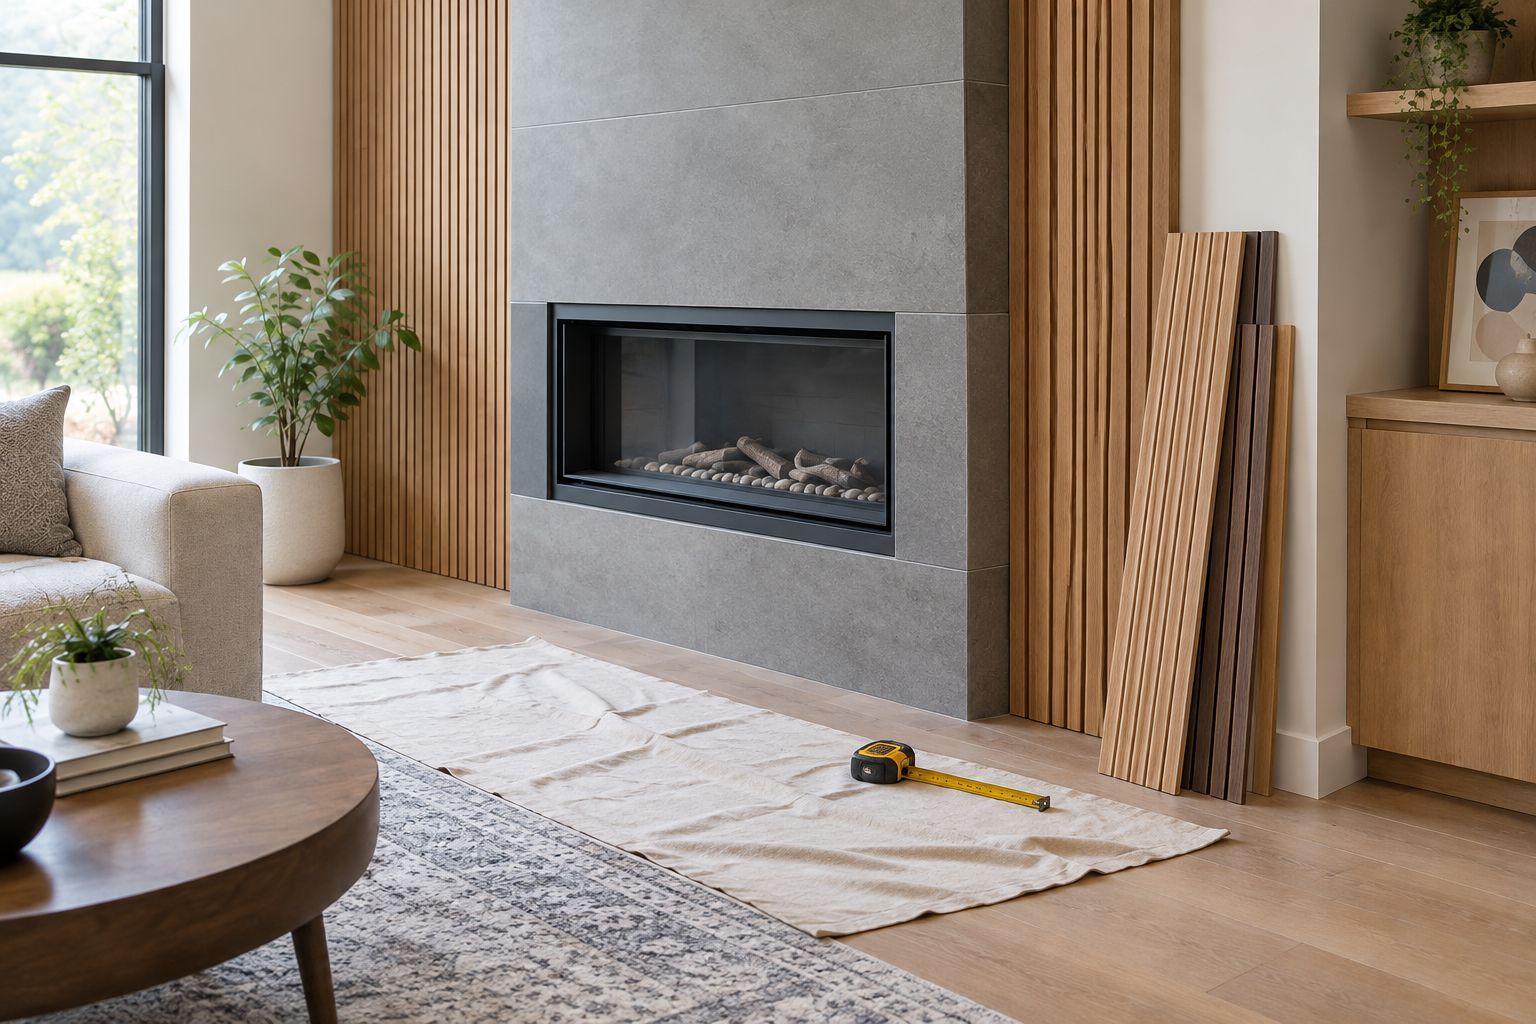
Installation checks
Fasten panels without changing the appliance
- Confirm the wall substrate is suitable for the panel attachment method. Identify concealed services before drilling, and do not drill into the fireplace enclosure or chase without a verified fastening plan.
- Install the decorative panels according to their instructions and the approved layout. Keep battens, adhesive, trim, and panel edges out of prohibited areas.
- Leave ventilation and service openings unchanged. Do not bridge an opening with decorative mesh, felt, a removable-looking strip, or a panel offcut.
- Complete any required professional review or inspection before operating the fireplace. Have a qualified professional address changes involving the appliance, gas supply, venting, or electrical connections.
- Before returning the appliance to use, confirm service access and follow its operating instructions. Check that required smoke and carbon monoxide alarms are installed and maintained according to their instructions and local requirements.
Expected result: The panels are secure, the appliance’s required openings remain clear, and the installation has received any required checks before use.
Do not run the fireplace to discover whether a questionable material survives. A heat check can help investigate a problem, but it cannot replace the specified clearances or establish that an unapproved assembly is safe.
Photograph the finished boundaries for your 2026 home-maintenance records. Keep panel instructions, adhesive information, and inspection records with the fireplace documents.
Update an existing paneled fireplace wall
An existing installation needs a condition check before a cosmetic refresh. Keeping the old panel boundary does not establish that the original arrangement was correct.
- Identify the appliance and retrieve its exact instructions.
- Compare the existing surround, panel depth, air openings, and access points against the required arrangement.
- Look for discoloration, warped panels, softened adhesive, loose trim, or damaged backing. Stop using the fireplace and arrange a qualified inspection when you find heat-related damage.
- Have prohibited or damaged materials removed through an appropriate repair plan, then rebuild the decorative wall outside the documented limits.
Best for: Homeowners changing an accent wall without replacing the fireplace. The benefit is a focused refresh; the limitation is that concealed construction or an incorrect existing surround can require more than new panels.
Do not layer new panels over old finishes simply to hide damage. Added thickness changes the finished geometry, and covered damage becomes harder to inspect.
Troubleshooting
The manual and the current surround do not match
Pause the panel installation. Have a qualified fireplace professional check the appliance and existing construction. Do not preserve an incorrect condition because it predates your project.
The panel edge clears the opening, but the trim projects inward
Recheck the projection requirements using the finished trim position. Move the decorative boundary or choose a different edge detail that complies; checking the flat panel alone is insufficient.
The facing looks like stone, but its composition is unclear
Obtain the product’s material and fire-test documentation. Until the required properties are established, do not use it where the appliance requires noncombustible facing.
Glass or controls become inaccessible after dry-fitting
Change the layout before fastening panels. Follow the appliance’s service procedure; a panel that can theoretically be removed is not a substitute for the specified access arrangement.
Panels discolor, warp, or release an unusual smell during use
Stop operating the fireplace and arrange a qualified inspection. Do not add insulation, sealant, or a homemade heat shield as a repair without an approved design.
Customize your workflow
Extend the approved layout across the room, not toward the firebox. Use wood texture on adjacent walls and keep the appliance-facing area distinct where its instructions require a different assembly.
The Panel Hub decorative wall panels give you choices for the outer feature wall, but each selected panel still needs its own material review. Avoid treating an acoustic backing or a geometric surface as interchangeable with another construction.
If the room also has another heating source, review the separate workflow for wall panels with baseboard heating. Fireplace clearances do not establish the requirements for another heater.
FAQ
Can I install wood wall panels around a gas fireplace?
Yes, where the exact fireplace instructions permit combustible finishes. Check panel depth, backing, battens, trim, and adhesive, and keep the complete assembly outside prohibited areas.
How far should wall panels be from a gas fireplace?
Use the clearances stated for your exact fireplace model. There is no universal distance that covers every appliance, side wall, mantel projection, and finishing arrangement.
Can acoustic wall panels go above a gas fireplace?
Only where the appliance instructions permit the complete acoustic-panel assembly. A sound-absorption rating does not establish fire safety, and backing or projecting slats require their own checks.
Are faux-stone wall panels safe for a fireplace surround?
A stone-like appearance does not establish fireplace suitability. Verify the panel composition and documented properties against the appliance’s facing requirements before using it.
Does cement board let me put wood panels closer to the fireplace?
Cement board does not automatically reduce required combustible clearances. Use only an assembly expressly permitted by the fireplace instructions and applicable local requirements.
Can I glue panels directly onto the fireplace enclosure?
Do not attach panels to the enclosure unless the appliance instructions expressly permit that attachment and material assembly. Adhesive suitability alone does not authorize covering the appliance.
Do I need a professional to install panels around a gas fireplace?
Use a qualified fireplace professional for appliance identification, unclear clearance requirements, existing heat damage, or changes involving gas, venting, or electrical connections. Handle decorative panel work only within a verified installation plan and local requirements.
One last thing
The hidden layer can determine whether the visible finish is acceptable. A permitted facing surface does not automatically make combustible battens, backing, or adhesive acceptable beneath it.
Before fastening the first panel, trace every layer from the room-facing surface back to the wall. If one layer lacks the required documentation, resolve that layer before completing the surround.
Related guides
- Fireplace surround wall panel options
- Installing wall panels around electrical breaker panels
- Installing wall panels around HVAC vents