
Table of Contents
- Why Room Acoustics Matter More Than Your Microphone
- What “Good Podcast Acoustics” Actually Means
- Acoustic Panel Types for Podcast Studios
- Panel Placement for Podcast Recording
- How Much Treatment Is Enough?
- Common Podcast Acoustic Setup Mistakes
- Frequently Asked Questions
- Shop Podcast Studio Acoustic Panels
Why Room Acoustics Matter More Than Your Microphone
Most new podcasters upgrade their microphone first. But unless your room acoustics are addressed, a better microphone just captures the room sound more accurately — which, in an untreated space, means more echo, more reverb, and a more obviously “bedroom recording” quality. Acoustic treatment addresses the fundamental problem that a better microphone can’t fix.
The goal is a room that captures your voice cleanly — with minimal echo, minimal room tone, and no flutter echo or reverberation that colours your audio.
What “Good Podcast Acoustics” Actually Means
For podcasting and voiceover, you’re not trying to achieve anechoic chamber-level deadness — that sounds unnatural and fatiguing to listen to. You’re aiming for:
- Short reverberation time (RT60): The time for sound to decay 60dB after the source stops. For voice recording, 0.2–0.4 seconds is ideal. Untreated rooms are often 0.6–1.2 seconds.
- No flutter echo: The rapid echo between parallel walls that produces a metallic ringing on clap or consonant sounds.
- Controlled bass: Room modes and corner bass buildup colour the low end of your voice. Bass traps address this.
- Consistent room tone: A treated room sounds the same in every direction, meaning the audio quality doesn’t change as you shift position relative to the microphone.
Acoustic Panel Types for Podcast Studios
Acoustic Wood Slat Panels
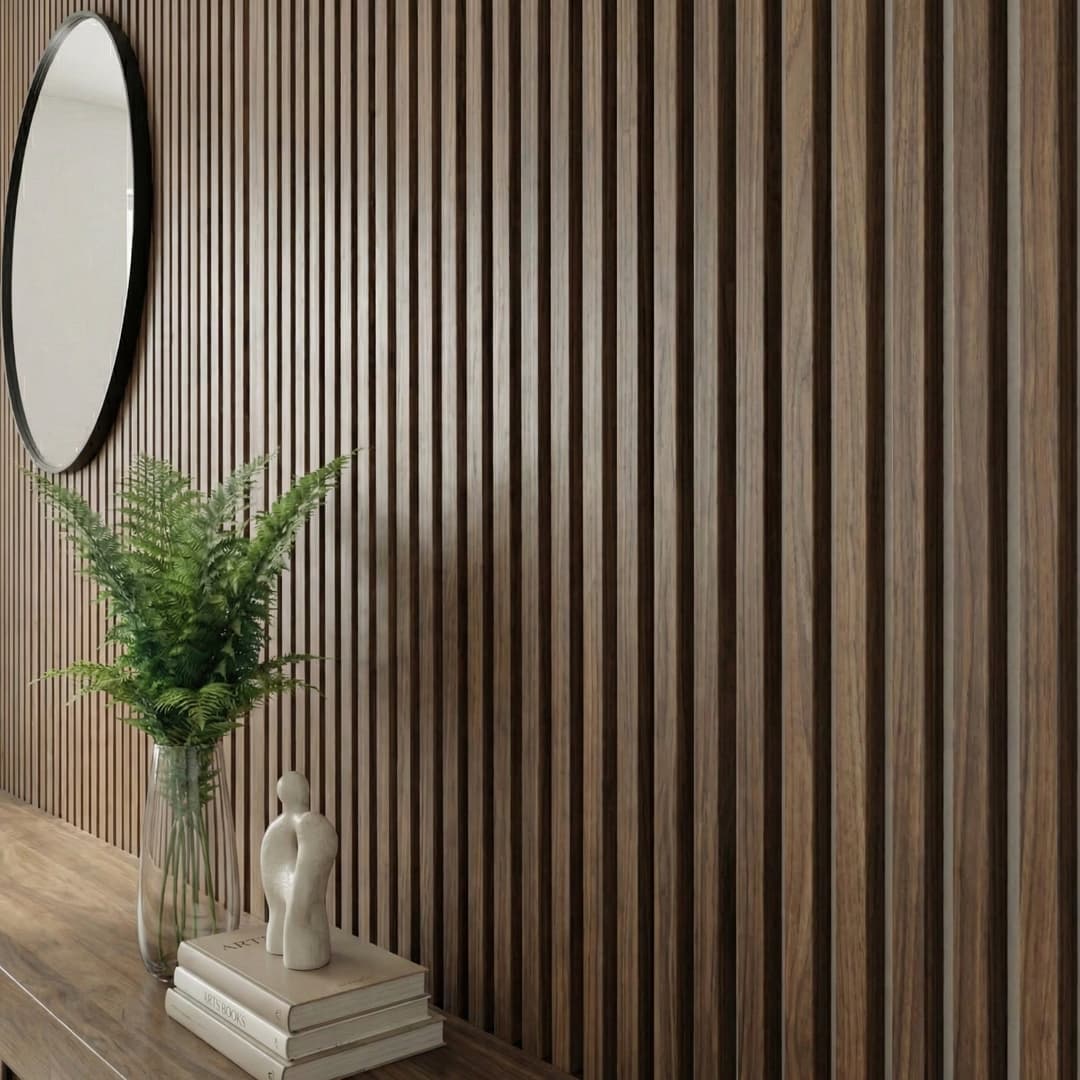
The premium option — NRC 0.65–0.85, real wood aesthetics, professional visual quality. Best for studios that double as on-camera backgrounds, live streaming spaces, or rooms where the visual quality of the space matters alongside the audio. Walnut or oak slat panels create an instantly credible professional backdrop.
Fabric Acoustic Panels
The performance-first option — NRC 0.80–0.95+ depending on thickness, available in a range of sizes and colours. Lower cost per NRC point than wood panels. Best for back-room studios where visual quality doesn’t affect the end product.
Acoustic Foam
The starter option — NRC 0.50–0.80 depending on profile and thickness. Cheapest per square foot, easiest to reposition, but degrades over 5–7 years and looks unmistakably amateur on camera. Fine for a first studio; not a long-term solution for professional use.
Panel Placement for Podcast Recording
Coverage strategy matters as much as panel quality. For a typical small-to-medium studio room:
- Wall directly behind the microphone (the wall you face while recording): Highest priority. This is where your voice projects and reflects directly back into the mic. Full coverage with high-NRC panels.
- Wall behind you: Second priority. Sound from your voice travels past the mic, hits this wall, and reflects back — a delayed signal that creates smear and reverb. Treat with at least 50% coverage.
- Side walls: Third priority. First reflection points on either side of the recording position. Cover the specific points where sound bounces between your mouth and the microphone.
- Ceiling above the recording position: A ceiling panel or cloud directly above where you sit addresses one of the most reflective surfaces in most rooms.
- Corners: Bass traps — not covered by standard wall panels — address the low-frequency buildup that gives many untreated rooms their “boxy” quality.
The NRC rating detail you need to evaluate panels is covered in our guide to NRC ratings for acoustic panels, and the broader acoustic panel category overview is in our complete acoustic panel buyers’ guide.
How Much Treatment Is Enough?
For most podcast studios in a small-to-medium room (10x12ft to 14x16ft):
- Minimum effective treatment: The wall behind the mic + one side wall = approximately 60–80 sq ft of panel coverage.
- Good treatment: Three walls at 40–50% coverage each = approximately 150–200 sq ft. RT60 in target range.
- Excellent treatment: Three walls + ceiling at 50–60% coverage + corner bass traps = professional studio quality.
Start with the primary recording wall. Record a test, listen critically, and add coverage until you’re happy with the result. You’ll hear each increment of improvement clearly as you go.
Common Podcast Acoustic Setup Mistakes
Most of the mistakes podcasters make with acoustic treatment come from over-engineering a solution or misidentifying the actual problem. Here’s what to avoid.
Covering too much surface area. A completely dead room sounds wrong on a podcast — it makes the voice sound thin and claustrophobic. The goal is a controlled reverb tail of 0.2–0.3 seconds, not silence. Cover the primary reflection surfaces, assess the result, then add more if needed. You can always add panels; removing them once the room sounds over-treated means starting again.
Only treating the wall behind the microphone. The wall your microphone faces (the wall behind the host) matters, but so does the wall behind the mic (the primary recording wall). Both contribute to the room’s acoustic signature. Start with the wall the mic is aimed toward and the wall directly beside the recording position.
Ignoring the ceiling. Hard ceilings are a major reflection source in any recording space. Even a partial ceiling treatment — a run of panels on the ceiling directly above the recording position — makes a measurable difference, particularly in rooms under 3m ceiling height.
Using foam tiles instead of wood slat panels. Acoustic foam absorbs sound effectively, but it looks DIY in a studio that doubles as an on-camera background. Wood slat acoustic panels achieve comparable NRC performance with a finish that reads as intentional and professional — important for video podcasts and live streams where the room is part of the visual brand.
Not testing before the final installation. Record a 2-minute test in the untreated room, then after the first panel installation. The difference is audible and provides a clear baseline for assessing how much additional treatment you need. Most podcasters find that treating one wall and the primary ceiling zone achieves 80% of the result they’re after.
Frequently Asked Questions
- How many acoustic panels does a podcast studio need?
- For a bedroom or home office podcast setup (3×3m to 4×4m), 8–16 SoundPanel tiles covering the primary recording wall and one adjacent wall is the standard starting point. Larger dedicated studios in the 15–25 sqm range typically need 30–50 tiles to achieve full treatment.
- What NRC rating should podcast studio acoustic panels have?
- NRC 0.80 is the minimum for meaningful acoustic treatment. NRC 0.85 — the rating achieved by TPH SoundPanel — is the professional standard. Below NRC 0.80, the panels contribute some absorption but may not make an audible difference at the coverage levels typical of a small home studio.
- Should podcast studio acoustic panels be on the walls or ceiling?
- Both. Walls first — the primary recording wall and one side wall. Then ceiling if the room still has too much reverb after wall treatment. Ceiling panels are particularly effective in small rooms (under 15 sqm) where the ceiling is a major contributor to reverberation.
- Can I use acoustic panels in a small bedroom podcast studio?
- Yes, and bedroom studios often achieve excellent results because the room is already small (less volume to treat) and the bed and soft furnishings provide some natural absorption. Treat the wall the microphone faces and the side wall to the host’s left or right. That’s typically sufficient for a broadcast-quality home podcast recording.
- Do I need to soundproof a podcast studio or just treat the acoustics?
- Acoustic treatment and soundproofing are different things. Acoustic panels control how sound behaves inside the room. Soundproofing prevents sound from travelling between rooms. For most home podcast studios, acoustic treatment is the priority. Soundproofing is only necessary if external noise (road traffic, other household members) bleeds into recordings — and that requires structural solutions, not panels.
Shop Podcast Studio Acoustic Panels
The SoundPanel™ acoustic slat range at The Panel Hub is the most popular choice for podcast and recording studio installations — high NRC acoustic performance in a visual quality that reads as professional on camera. Browse the full wall panel collection for the complete range, check our interior slat wall ideas guide for studio and workspace panel applications, and use the acoustic panel buyer’s guide to confirm the NRC rating and coverage you need before ordering.