
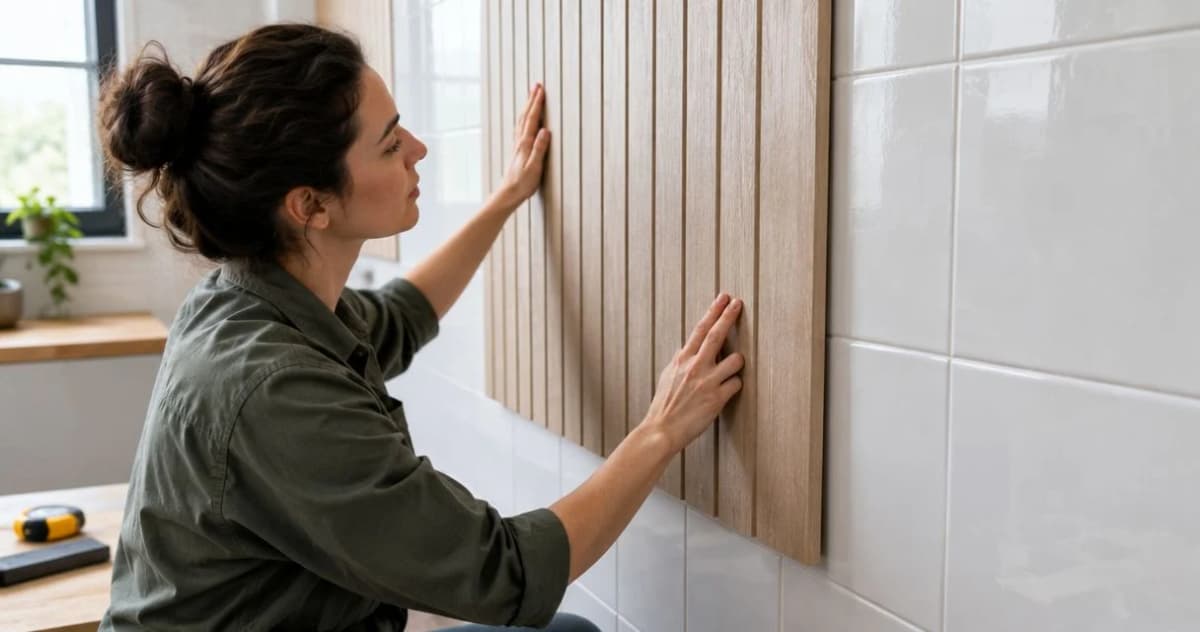
Yes, you can install wall panels over ceramic tile when the tiles are firmly bonded, the wall is dry and flat, and the panel manufacturer approves the tile substrate and fixing method. Covering tile does not repair leaks or loose backing, and shower installations need an approved watertight system—not just a water-resistant panel face.
- Can you install wall panels over ceramic tile? Yes, when the substrate and fixing method meet the panel manufacturer’s requirements.
- The Panel Hub wall panels need product-specific checks before installation over glazed ceramic tile.
- Keep decorative wood wall panels outside direct shower spray unless the manufacturer expressly approves that use.
- Repair loose tiles and moisture damage before covering the wall; panels cannot stabilize a failing substrate.
Can you install wall panels over ceramic tile?
Install over tile only when the complete assembly is suitable: the existing wall, the panel, and the fixing system. A clean tile face alone is not enough. The tiles must remain securely attached to sound backing, and the adhesive must bond to both the glazed ceramic and the panel backing.
For a 2026 renovation, start with the current instructions for the exact panel and adhesive you intend to use. Product descriptions such as “bathroom panel” or “interior panel” do not establish permission to install over existing tile.
Use these checks before committing:
- Check the tiles. Look for movement, cracks, missing grout, and signs that tiles are separating from the wall.
- Check for moisture. Investigate staining, persistent dampness, musty odors, and recurring sealant failure.
- Check flatness. Place a straightedge across the wall and compare deviations with the panel manufacturer's substrate requirements.
- Check compatibility. Confirm that the specified fixing system accepts glazed ceramic tile and the particular panel backing.
- Check the finished edges. Account for the added thickness at corners, fixtures, trim, and adjoining walls.
For adhesive selection, the guide to using construction adhesive for wall panels explains the questions to ask. A familiar adhesive name is not a substitute for an approved application.
Why this matters
Covering sound tile avoids removing a finish that still has a useful supporting role. It also leaves the original tile-to-wall bond underneath the new panels. If that bond fails, the decorative surface above it has no reliable foundation.
Bathrooms add another complication: a panel's exposed face and the wall's waterproofing perform different jobs. Water can enter at joints, corners, pipe openings, and the junction with a tub or shower base. Treat the installation as a wall system, not a sheet of decoration.
Which installation approach fits your wall?
The right approach depends on the existing wall condition and the panel's installation instructions. These are installation choices, not interchangeable shortcuts.
| Approach | Best for | Main advantage | Main limitation |
|---|---|---|---|
| Approved direct bonding | Sound, flat tile with documented compatibility | Keeps the build-up relatively shallow | Depends on the existing tile bond and adhesive compatibility |
| Approved mechanical support | Panels designed for a supported fixing system | Transfers panel loads to suitable structural support | Adds depth and requires careful fixing and penetration details |
| Remove tile and rebuild | Loose tile, damaged backing, or unresolved moisture problems | Exposes the substrate for proper repair | Requires demolition and substrate preparation |
Best for a sound tiled wall: use direct bonding only when the manufacturer approves it. Do not assume every lightweight panel accepts adhesive-only installation.
Best for a failed tiled wall: remove the affected materials and repair the backing. A mechanically supported finish does not make concealed dampness safe to ignore.
For a 2026 bathroom project, retain a copy of the installation instructions used to choose the assembly. That gives your installer a shared specification for substrate preparation, joints, and fixing details.
How do you prepare ceramic tile for wall panels?
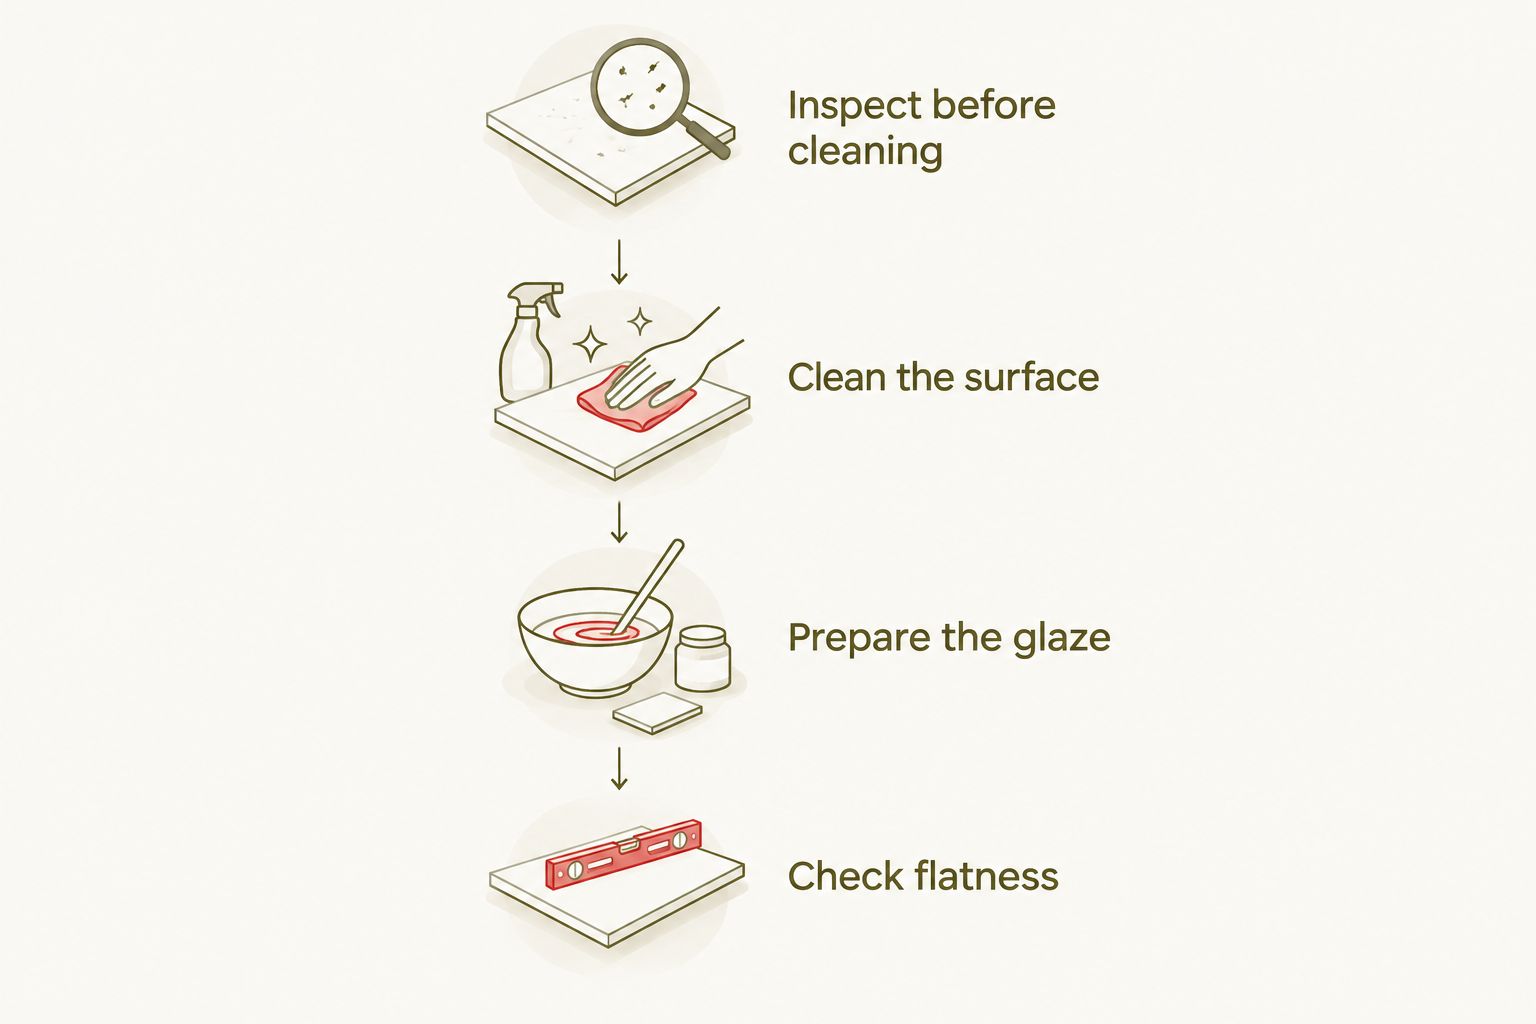
Inspect before cleaning
Examine the whole wall, not just the area at eye level. Pay particular attention to lower corners, plumbing penetrations, and places where sealant has repeatedly separated.
A hollow sound when tapping a tile is a reason to investigate, not a complete diagnosis by itself. Visible movement, loose tiles, or deteriorated backing requires repair before installation.
If moisture has affected the wall behind the tile, use the guidance on wall panels over water-damaged drywall before planning the finish. Covering damage hides access to the repair.
Clean the surface
Remove soap film, grease, limescale, and cleaning-product residue using a method compatible with the tile and the proposed adhesive. Rinse or otherwise remove cleaner residue as directed, then allow the surface to dry.
Do not bond over silicone residue. Remove unwanted sealant from intended bonding areas, but do not disturb functional waterproof joints without a plan to rebuild them correctly.
Prepare the glaze
Follow the adhesive manufacturer's preparation instructions for glazed ceramic. The approved method might require a primer, surface abrasion, or a different adhesive system; none of these treatments is universal.
Do not grind or sand tile simply because it looks shiny. Mechanical preparation creates dust and needs suitable controls, protective equipment, and confirmation that the method is appropriate for the existing materials.
Check flatness
Measure across tile edges and grout joints with a straightedge. Raised tile edges and uneven repairs can stop a rigid panel from seating evenly.
Fill or level only with materials approved beneath the chosen panel and fixing system. Do not use an extra-thick adhesive bed to hide an uneven wall unless the adhesive instructions expressly permit it.
How do you fit panels over the prepared tile?
Dry-fit the layout before opening adhesive. Mark panel joints, cutouts, exposed edges, and the junction with the ceiling or countertop so you can see where the added thickness changes the room.
- Set the layout. Choose a starting line that keeps the panel arrangement balanced and follows the manufacturer's joint requirements.
- Check a sample. Use 1 sample assembly to check the specified adhesive against the actual tile and panel backing, following the adhesive maker's test guidance.
- Prepare the cutouts. Measure around pipes and fittings without blocking access to valves, service points, or removable covers.
- Apply the fixing system. Follow the specified adhesive pattern, coverage, fastener locations, and working time rather than improvising.
- Support during curing. Use temporary support where instructed and keep the installation undisturbed for the stated cure period.
- Complete the edges. Fit compatible trims and complete required joints before exposing the wall to its intended conditions.
A sample check does not replace written manufacturer approval or establish long-term performance. Its purpose is to reveal obvious incompatibility before you commit the whole wall.
Plan around 2 bonding surfaces: the ceramic face and the panel backing. An adhesive suitable for tile is not automatically suitable for every wood, plastic, felt, or composite backing.
Can you put shower wall panels over ceramic tile?
Yes, but only when the shower panel system permits installation over existing ceramic tile. Approval must cover the substrate, adhesive, joint treatment, corners, penetrations, and connection to the shower base or tub.
Do not assume a decorative PVC sheet is a complete shower lining. The material can resist water while an incorrectly detailed joint still allows water behind it. Likewise, a tiled surface that looks intact does not prove the concealed waterproofing is sound.
Before a 2026 shower upgrade, identify exactly how the panel system handles these locations:
- Internal corners and panel-to-panel joints.
- The bottom edge at the shower base or tub.
- Pipe penetrations and mixer fittings.
- Exposed outer edges and adjoining finishes.
- Any approved fasteners through the wet-area assembly.
Use the product's specified sealing details rather than a generic bead of sealant everywhere. If the existing enclosure has an unresolved leak, repair the cause before covering it.
Can you use wood or acoustic panels over bathroom tile?
Use wood or acoustic panels only where the product's moisture limitations permit the location. A dry bathroom feature wall and a shower enclosure impose different demands; humidity suitability does not establish suitability for direct spray.
The Panel Hub is best for homeowners shopping for decorative and acoustic wall panels, not for diagnosing concealed tile damage. Its Acoustic Slat Wood Wall Panels are relevant to a dry-room decorative project, but do not treat them as an approved tile-overlay or shower system without product-specific confirmation.
The benefit is a wood-panel finish with an acoustic purpose. The limitation for this project is equally important: that purpose does not establish tile-bonding compatibility or wet-area suitability.
Why does installation over ceramic tile vary?
The same panel can need a different installation approach on different walls. These factors determine whether keeping the tile is practical:
- Tile bond: The new finish relies on whatever remains beneath it unless an approved support system transfers loads elsewhere.
- Surface condition: Soap film, grease, sealant residue, and glaze affect how the specified adhesive meets the tile.
- Wall flatness: Raised edges and deep joints change panel support and the appearance of the finished surface.
- Room exposure: A living-room feature wall and a shower enclosure need different moisture detailing.
- Panel backing: The adhesive must be compatible with the actual rear surface, not merely the decorative face.
- Added thickness: Panels affect trim, outlets, plumbing fittings, and the clearance around doors or cabinetry.
For your 2026 plan, resolve these conditions before choosing the final finish. Ordering panels first can leave you designing around a substrate the product does not accept.
Do you need to fill grout lines before installing panels?
Fill grout lines when the panel system requires a continuous, sufficiently flat substrate. Thin or flexible coverings can reveal the pattern beneath them, while rigid panels still need the support specified by their manufacturer.
Do not assume every grout joint needs filling. Compare the wall with the panel's requirements and use an approved leveling material where necessary.
Can you screw wall panels directly into ceramic tile?
Ceramic tile alone is not a dependable structural fixing base. Where a panel requires mechanical attachment, use the approved anchors or fixings into suitable backing or framing.
Drilling tile risks cracking it, and drilling in a wet area creates a waterproofing detail that must be addressed. Check for concealed pipes and wiring before making holes; use a qualified installer when the fixing location or backing is uncertain.
FAQ
Can I glue wall panels straight onto ceramic tile?
Yes, if the panel and adhesive manufacturers approve the glazed tile substrate and panel backing. The tile must also be sound, clean, dry, and flat enough for the specified system.
Do I have to remove bathroom tiles before fitting wall panels?
No, sound tiles can remain when the panel system allows installation over them. Remove or repair tiles and backing that are loose, damaged, or affected by an unresolved moisture problem.
Will grout lines show through wall panels?
Grout lines can show through thin or flexible coverings. Follow the panel manufacturer’s flatness and leveling requirements rather than assuming the panel will conceal every joint.
Can I use ordinary construction adhesive on glazed tile?
Use construction adhesive only when its instructions approve both glazed ceramic and the chosen panel backing. A general-purpose label does not confirm suitability for a shower or other wet location.
Can acoustic wood panels cover shower tiles?
Do not use acoustic wood panels inside a shower unless the exact product is expressly approved for that application. Decorative or acoustic performance does not establish waterproofing suitability.
What should I ask The Panel Hub before covering tile?
Ask The Panel Hub whether the exact wall panel accepts installation over glazed ceramic tile, which fixing method is approved, and whether the intended room exposure is permitted. Request the applicable installation instructions before ordering.
Can I use the shower as soon as the panels are installed?
Wait until the adhesives and sealants have cured for the periods specified by their manufacturers. A panel that feels fixed in place does not establish that the shower assembly is ready for water exposure.
One last thing
Dry-fit the thickest junction before you cover the wall. A small sample held beside a shower fitting, outlet, or door casing can reveal a clearance problem that is hard to correct after bonding.
For a 2026 renovation, solve that edge detail alongside substrate approval—not after the last panel goes up. The wall's finished depth matters as much as its finished face.
Related guides
- Installing wall panels around bathroom plumbing fixtures
- Installing wall panels over uneven or bowed walls