
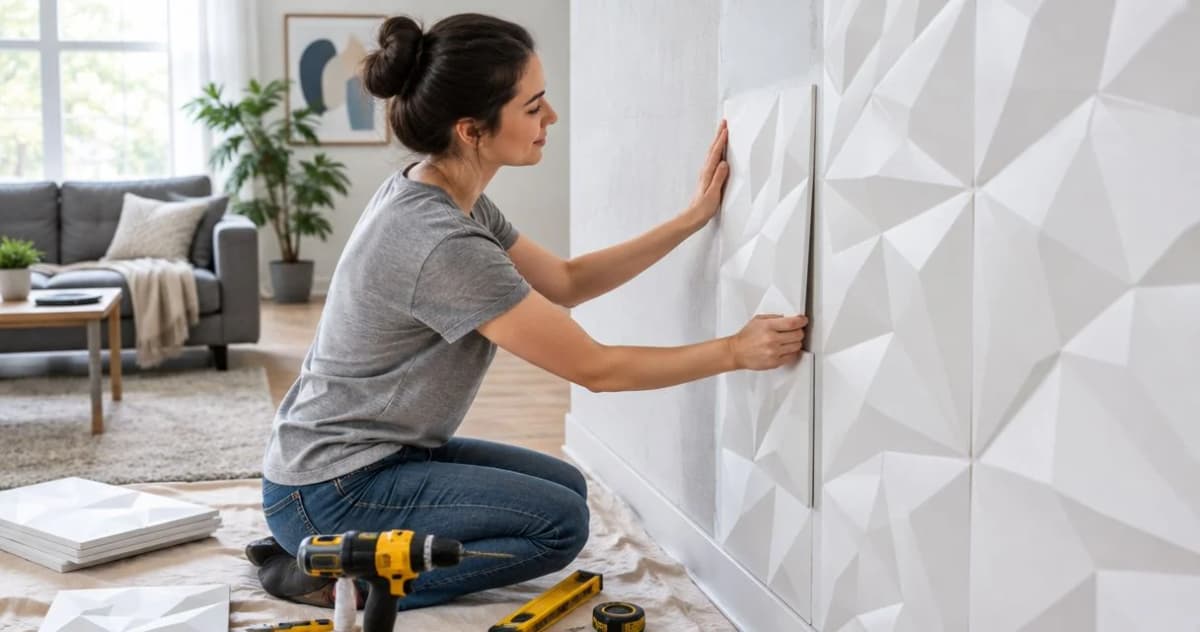
No—3D wall paneling is a manageable DIY project when you start with a sound, flat wall, plan the pattern before fixing it, and follow the panel’s installation instructions. The difficult work is usually wall preparation, accurate cuts, and finishing around outlets or corners—not placing the panels themselves. This 2026 guide explains how to judge your project before you begin.
- Is 3D wall paneling difficult to install? Not on a sound, flat wall with a planned layout and suitable fixings.
- The Panel Hub offers decorative wood wall panels for homeowners planning an interior feature wall.
- Dry-fit the pattern before attaching panels; check cut edges, corners, and outlet positions first.
- Choose professional help when the project involves electrical changes, unresolved dampness, or difficult access.
Why this matters
A simple panel pattern does not make a damaged wall ready for installation. Choosing panels before checking the surface reverses the useful order: assess the wall, establish the fixing method, then choose the finish.
The Panel Hub is best for homeowners choosing decorative wall panels for an interior feature wall. The retailer describes installations in under 2 hours, but that statement is not a project-specific allowance for wall repairs, cutting, or adhesive curing. Build your 2026 project plan around the actual wall and the selected product’s instructions.
Is 3D wall paneling difficult to install?
3D wall paneling is straightforward when the wall is ready, the layout is uncomplicated, and you are comfortable measuring and cutting the chosen material. Installation becomes more demanding when the pattern crosses corners, the surface needs repair, or fittings interrupt the design.
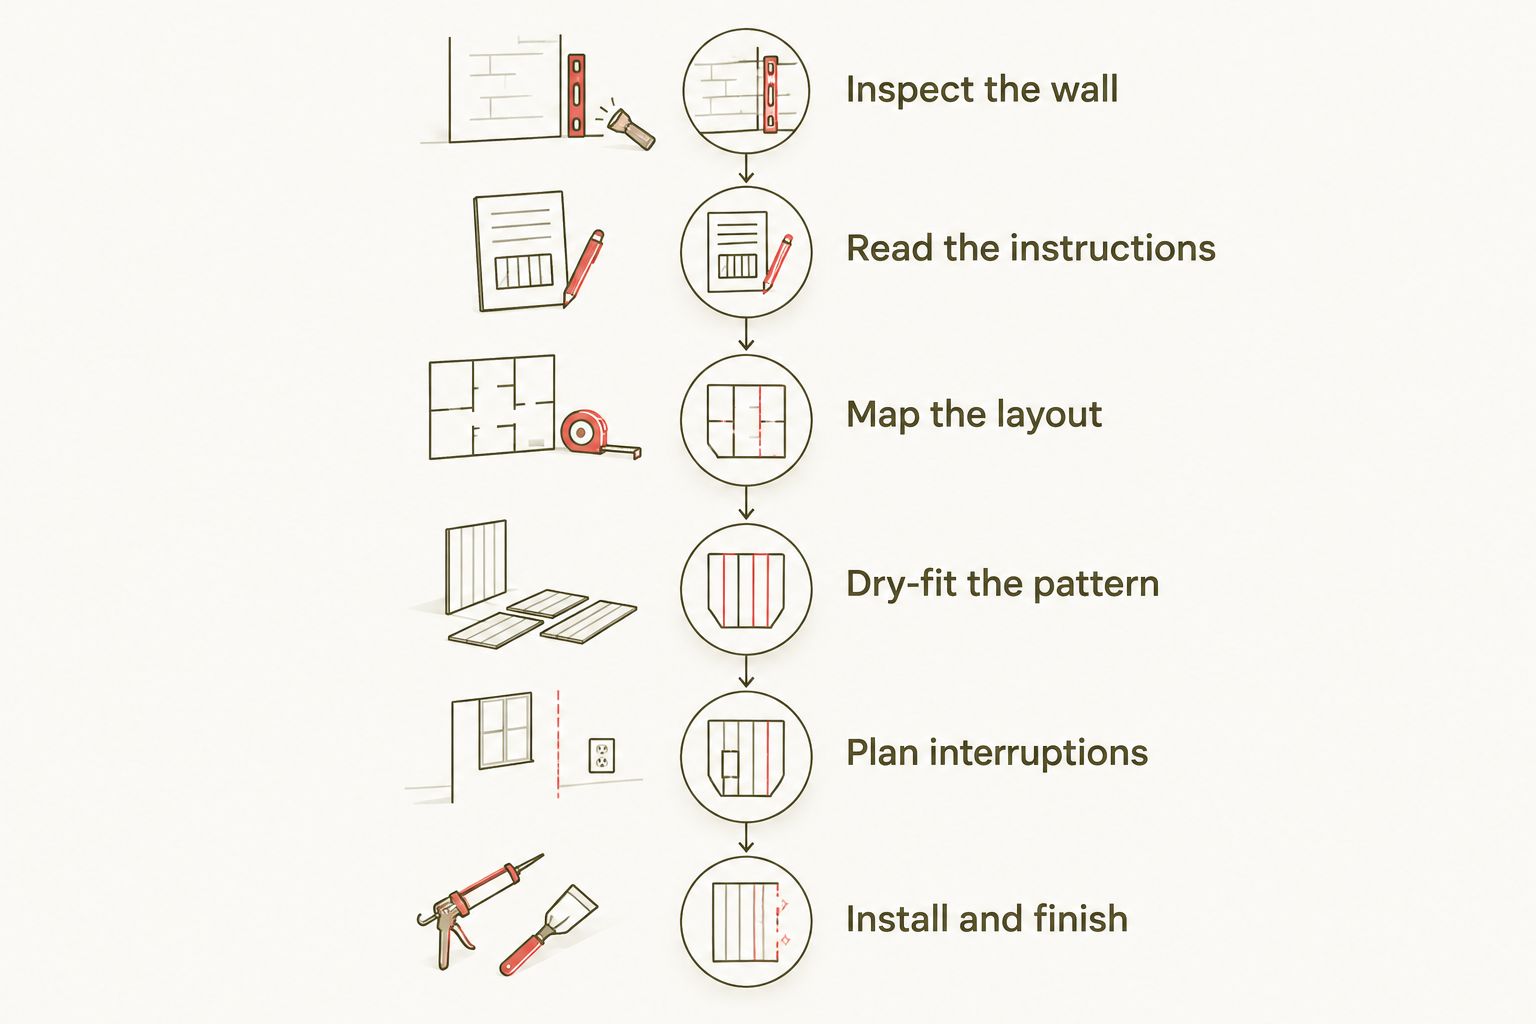
Use this sequence to decide whether the job suits your skills:
- Inspect the wall. Look for loose paint, crumbling material, damp patches, and visible unevenness. Resolve the cause of damage before covering it.
- Read the installation instructions. Confirm the approved substrate, adhesive or mechanical fixings, cutting method, and any conditioning requirements.
- Map the layout. Establish a level reference and work out where complete panels and cut pieces will land.
- Dry-fit the pattern. Check the direction, joint alignment, and appearance of the exposed edges without committing to adhesive.
- Plan interruptions. Mark outlets, switches, trim, vents, and any fittings that must remain accessible.
- Install and finish. Follow the specified fixing sequence, support requirements, and curing instructions before adding nearby fittings.
If you cannot explain how the edges and interruptions will finish, the layout is not ready. Solve those details while the panels are still loose.
Which panel designs need more planning?
For a 2026 feature-wall project, compare the work created by the pattern—not just its appearance in a product photograph. A design that looks balanced across an uninterrupted wall needs a separate layout decision when a doorway or outlet cuts through it.
The following options illustrate different planning demands. These are layout considerations, not claims that either product has a particular fixing method.
| Panel option | Best for | Practical advantage | Planning drawback |
|---|---|---|---|
| 3D Geometric Pattern Wooden Panels | Homeowners seeking a geometric feature wall | A defined pattern gives you a clear reference for checking alignment | Perimeter cuts need planning so the pattern finishes deliberately |
| Textured Solid Wood Panel Hammer | Homeowners seeking a textured solid-wood surface | Its specified square format gives you a repeatable layout unit | You still need to resolve joints, perimeter cuts, and exposed edges |
The linked geometric page is the 3D Concentric Square Wood Wall Panel, a different design from the 3D Geometric Pattern Wooden Panels | GroovePanel® shown below. Check the exact design before planning a repeating layout; similar category names do not make panels interchangeable.
The Textured Solid Wood Panel Hammer product description specifies a 23.6-inch × 23.6-inch panel. Use the selected product’s actual dimensions when drawing your wall, rather than borrowing measurements from another design.
Geometric panels: prioritize pattern alignment
Lay out the complete composition before attaching geometric panels. Check whether rotating a panel changes the pattern and whether the motif continues across neighboring pieces.
A centered design can leave cut pieces at both edges, while starting with a complete panel at one side places the remaining cut at the other. Choose the arrangement that looks intentional from the room’s main viewpoint.
Textured panels: prioritize edges and lighting
A textured surface changes appearance as light moves across its relief. Hold a loose panel against the wall under the lighting you actually use before settling on its orientation.
Inspect the perimeter as carefully as the face. Confirm how the selected panel ends beside baseboards, door casings, and adjoining painted walls; do not assume the raised texture disappears neatly into existing trim.
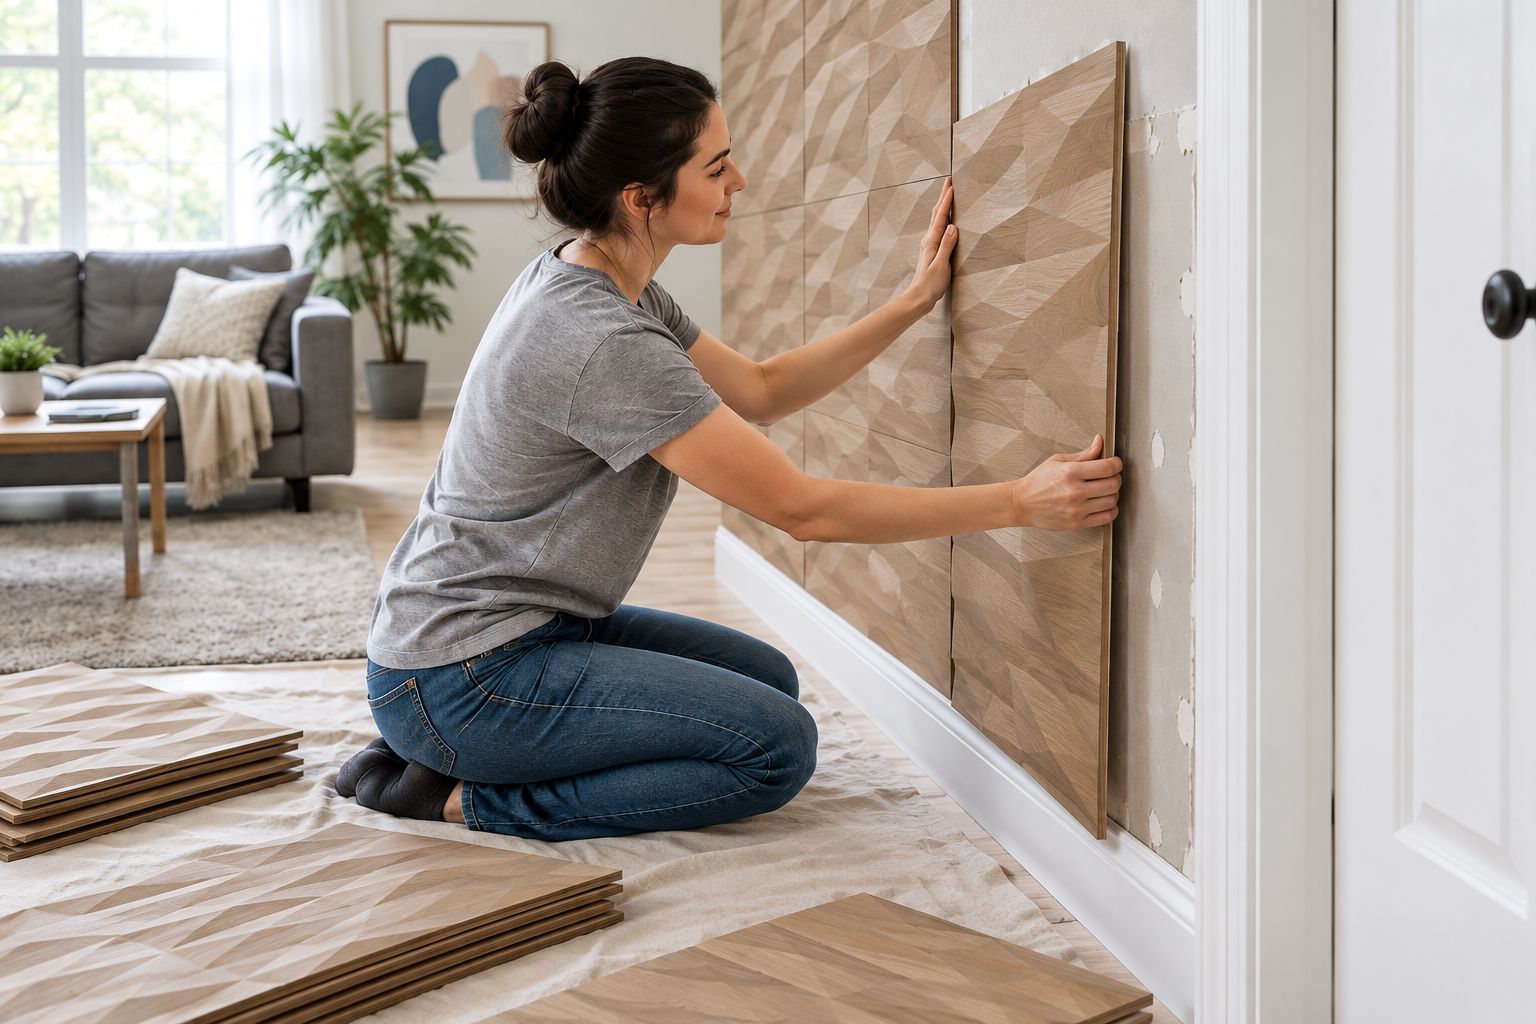
The Panel Hub’s 3D wall panels include geometric and carved-texture designs. Compare the individual installation instructions before choosing: the product descriptions establish their appearance and material, not a shared installation method.


Why installation difficulty varies
The main difficulty drivers are visible before installation. Walk the wall and review the product instructions with these factors in mind:
- Wall condition. Loose coatings, damaged drywall, or dampness need attention before you attach a decorative covering.
- Panel material. Match the cutting tools, fixings, and handling method to the actual product, not to advice for a different material.
- Pattern continuity. Repeating geometric forms require checks across adjoining panels and at the perimeter.
- Obstacles. Outlets, switches, vents, and door casings introduce cuts and finishing decisions.
- Fixing requirements. Adhesive suitability, mechanical support, and curing instructions affect the installation sequence.
- Access. High walls, stairwells, and awkward corners require a safe working arrangement before fitting begins.
Choose the simplest layout that achieves the room you want. An uninterrupted bedroom or living-room feature wall removes several complications without limiting your choice of texture.
How do you prepare the wall without creating extra work?
Start by checking whether the existing surface is sound enough for the specified fixing system. Adhesive attached to loose paint depends on that weak paint layer, not just on the strength of the adhesive.
Remove unstable material and make necessary repairs using methods suitable for the wall. Let repair compounds and coatings dry as directed, and clear dust before installation. Follow the adhesive manufacturer’s surface-preparation requirements rather than treating a quick wipe as sufficient for every substrate.
Use a straightedge to identify irregularities that interfere with the panel’s required contact or alignment. Do not use decorative panels to conceal unresolved dampness or failing wall material. Fix the underlying problem first.
For your 2026 preparation checklist, separate wall readiness from panel readiness. A repaired wall does not remove any product-specific need for conditioning, and conditioned panels do not correct an unsuitable wall.
What tools should you have ready?
Prepare tools only after confirming the selected panel’s instructions. A measuring tape, level, pencil, straightedge, protective floor covering, and suitable personal protective equipment support the planning stage; the cutting and fixing equipment depends on the product.
If the instructions specify adhesive, check compatibility with both the panel and the wall finish. If they specify mechanical fixings, confirm the required fixing locations and substrate before drilling.
Keep an offcut for checking your cutting setup when one becomes available. A clean-looking cut on the visible face matters, but so does keeping the panel stable and using the tool safely.
Do not assume that a knife, saw, or drill suitable for another panel will suit this one. The material and installation instructions decide the tool—not the decorative pattern.
How do you avoid crooked patterns and awkward cuts?
Establish a level reference rather than following the floor, ceiling, or a nearby casing automatically. Existing room edges are not a substitute for checking alignment.
Draw the panel arrangement before cutting. Mark the visible boundaries, include any required gaps, and identify where a narrow final piece would fall. Adjust the starting position while the whole arrangement is still changeable.
Check the pattern from the doorway and from the main seating or sleeping position. Those viewpoints help you decide which edge deserves a complete motif and where a cut will be least distracting.
For outlets and switches, distinguish decorative cutting from electrical work. Do not bury boxes or leave fittings improperly supported; arrange qualified electrical help when the added wall thickness requires changes to the installation.
Stop and resolve a poor fit before adding the next panel. Continuing a misaligned pattern makes the eventual correction larger.
Can a beginner install 3D wall panels?
A beginner can install 3D wall panels when the surface is ready, the instructions are clear, and the layout stays within their measuring and cutting skills. A modest, uninterrupted interior feature wall is a more suitable starting point than a stairwell or a wall crowded with fittings.
Practice the layout before committing to fixings. If a cut or edge detail remains unclear, settle it with the manufacturer or an installer before proceeding.
How long does 3D wall panel installation take?
Under 2 hours is the installation claim in The Panel Hub’s brand description, not a guaranteed duration for every 3D panel project. Preparation, conditioning, complicated cuts, and adhesive curing must follow their own requirements.
For a realistic 2026 schedule, divide the job into preparation, layout, fitting, and finishing. Do not treat the time spent attaching panels as the total time until the wall is ready for normal use.
When should you hire an installer?
Hire an installer when you cannot safely prepare the wall, handle the panels, or make the required cuts. Bring in the appropriate qualified trade for electrical alterations or an unresolved building defect.
DIY gives you direct control over the layout, but it also makes you responsible for correcting mistakes. Professional installation transfers the fitting work, not the need to agree on pattern direction, exposed edges, and the finished appearance beforehand.
The Panel Hub states a 5-year warranty in its brand description. Check the applicable terms and installation requirements before starting; the duration alone does not establish what installation errors or removal damage are covered.
FAQ
Is 3D wall paneling difficult to install by yourself?
3D wall paneling is manageable by yourself when the wall is ready and you can safely handle, align, and cut the selected panels. Follow the product’s fixing instructions and get help where access or handling makes solo work unsafe.
Can I install 3D wall panels over painted drywall?
You can install suitable 3D wall panels over painted drywall only when the panel and fixing instructions permit that surface. Check that the paint and drywall are sound, clean, and properly prepared.
Do I need to remove baseboards before fitting wall panels?
You do not automatically need to remove baseboards before fitting wall panels. Compare the panel depth with the existing trim and decide how the junction will finish before installation.
Can I use any construction adhesive for 3D wall panels?
No—use an adhesive approved for the selected panel material and wall surface. Follow its application, support, ventilation, and curing instructions rather than assuming all construction adhesives behave alike.
Will decorative 3D wall panels soundproof my room?
Decorative 3D wall panels are not automatically a soundproofing system. Choose products with documented acoustic performance for sound absorption, and address sound transmission as a separate construction problem.
Can I put decorative 3D panels inside a shower?
Only use panels inside a shower when the manufacturer explicitly approves the complete installation for that exposure. A decorative interior panel is not automatically a shower-wall system.
Are glued 3D wall panels easy to remove later?
Glued 3D wall panels are not automatically damage-free to remove. Treat adhesive installation as a permanent alteration unless the specified system expressly provides otherwise.
One last thing
Check the shadows before you check the final box on your 2026 project list. Hold a panel in place with the room’s lamps switched on: raised patterns can look different under side lighting than under overhead light.
Make that check before attaching the first panel. It is easier to change the orientation of a loose panel than to rethink an installed wall.
Related guides
- Can you install wall panels over uneven or bowed walls?
- Do wall panels need to acclimate to a room before installation?
- Can wall panels be cut with a standard circular saw?