
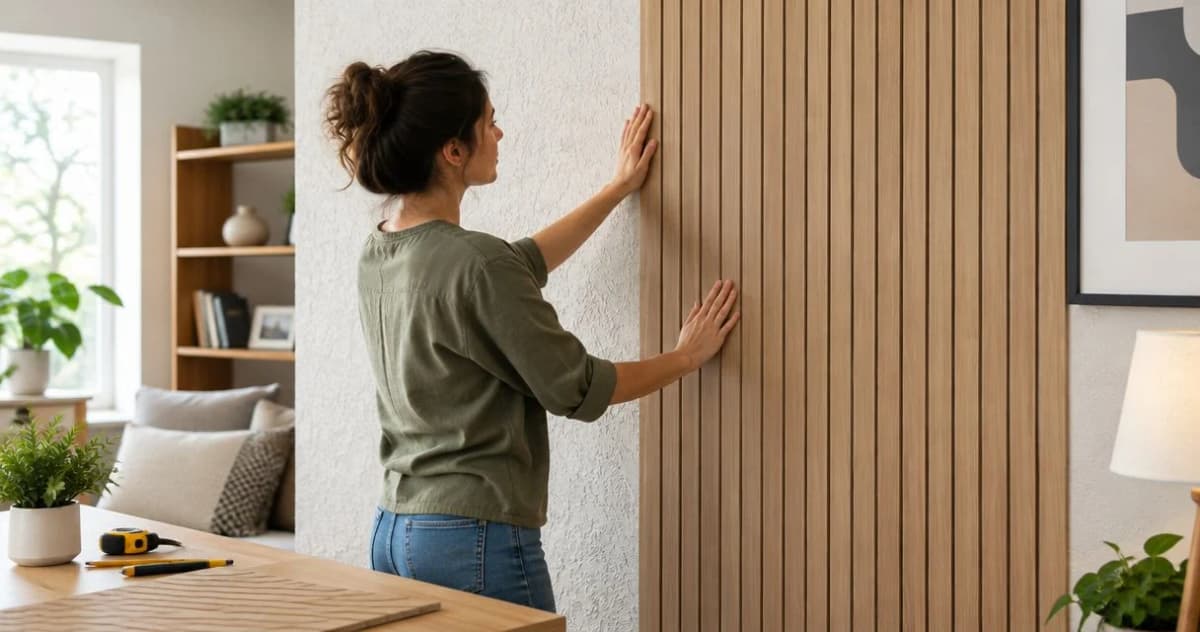
Peel-and-stick wall paneling works over textured walls only when the panel manufacturer allows that surface and the adhesive can make adequate contact with a clean, dry, firmly bonded finish. Light texture needs a sample test; deep texture usually needs smoothing or a different approved mounting method, and neither route guarantees damage-free removal.
- Does peel and stick wall paneling work over textured walls? Only with manufacturer approval, suitable surface contact, and successful testing.
- Light orange-peel texture needs testing; heavy knockdown and deep ridges need preparation before adhesive wall panels.
- The Panel Hub sells decorative wall panels; check each panel’s mounting instructions rather than assuming peel-and-stick installation.
- Peel-and-stick backing does not guarantee clean removal or protect weak paint from damage.
Does peel and stick wall paneling work over textured walls?
Sometimes—but texture alone is not enough to approve the installation. The adhesive must bond to a sound surface, not just touch the tops of raised bumps. Follow the instructions for the exact panel, adhesive backing, and existing finish.
The Panel Hub is best for homeowners comparing decorative wall panels with the mounting method checked before purchase. A decorative face does not tell you how a panel attaches.
| Existing wall surface | Best for | Main advantage | Main limitation | Next move |
|---|---|---|---|---|
| Smooth, sound painted drywall | Direct application when approved | Broad adhesive contact | Weak or incompatible paint still compromises adhesion | Check instructions and test |
| Light orange-peel texture | Testing an approved adhesive-backed panel | Shallow texture presents fewer gaps than deep relief | Adhesive contact remains uneven | Test the actual panel on the actual wall |
| Flattened knockdown texture | Preparation before panel installation | Raised areas can be assessed before work starts | Depressions interrupt contact | Smooth the surface if required |
| Heavy stipple or deep ridges | A prepared surface or approved mechanical mounting | Another mounting method can avoid relying on texture peaks | More preparation and edge detailing | Do not assume direct adhesion is suitable |
| Loose paint, damp drywall, or crumbling texture | Repair before decoration | Repair addresses the weak underlying surface | Paneling does not fix the defect | Stop and correct the wall condition |
Use this table to screen your wall in 2026, not to override the panel’s installation instructions. Texture names describe appearance; they do not certify adhesive compatibility.
Why this matters
A panel can look secure immediately after pressing and still have poor contact behind it. Raised texture holds parts of the backing away from the wall, while loose paint creates a weak layer beneath the adhesive.
That makes surface preparation part of the installation—not an optional finishing touch. Before planning a bedroom feature wall or living-room upgrade, separate texture, wall flatness, and surface strength. Each affects the mounting decision differently.
A textured wall can be flat overall, and a smooth wall can bow. If a straightedge reveals a larger shape problem, review installing wall panels over uneven or bowed walls before choosing an attachment method.
Light texture: test before covering the wall
Light orange-peel texture has shallow bumps that leave small gaps behind a flat backing. Whether those gaps are acceptable depends on the adhesive system and the panel manufacturer’s requirements.
Best for: testing a manufacturer-approved panel on a sound painted surface. The benefit is a simpler installation when the combination is approved and the test succeeds. The drawback is uncertainty: appearance alone cannot establish bond quality.
Choose a discreet test location with representative texture. A smooth patch behind furniture is not a useful substitute for a heavily textured area elsewhere on the wall.
Press the sample using the specified tool and method. Follow the stated waiting period before assessing it, and stop if the edges release or the wall coating separates. A successful sample supports your decision; it does not establish long-term performance by itself.
Heavy texture: prepare the surface first
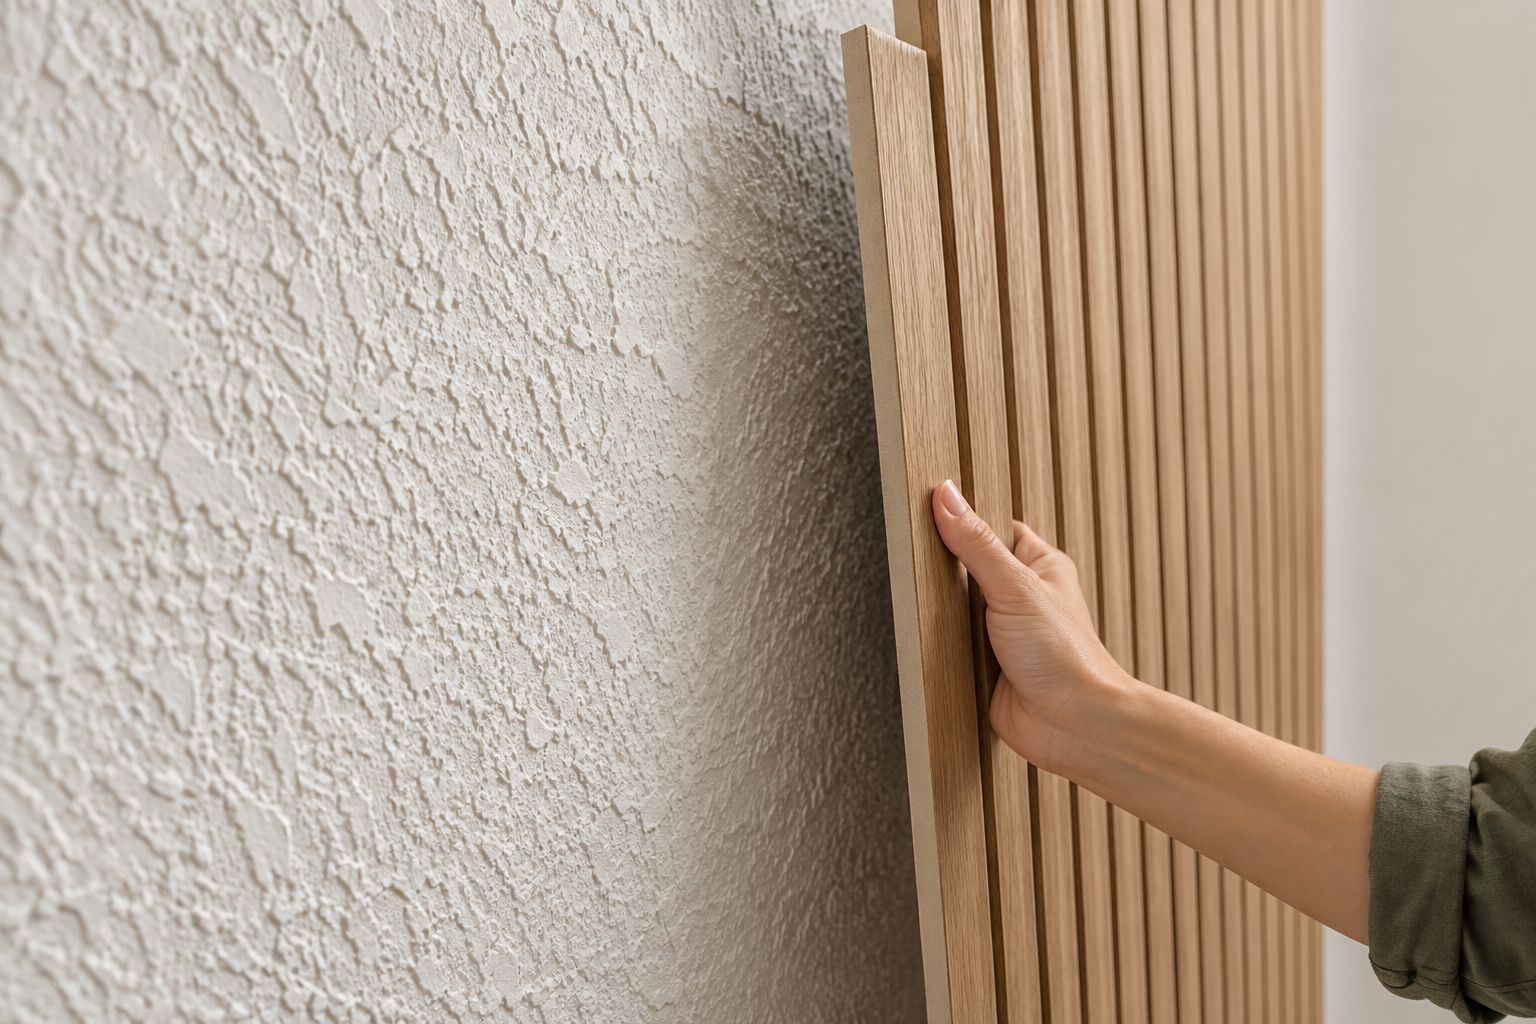
Heavy stipple, pronounced knockdown, and deep ridges create a different problem. A flat adhesive backing can bridge the low areas while touching only the raised portions.
Best for: smoothing the wall or choosing an approved mounting system that does not depend on direct adhesive contact. Preparation gives you a more suitable bonding surface, but it adds work and changes the existing finish.
Do not assume a thicker panel solves the problem. Rigidity can conceal the texture visually without improving the bond behind the panel. Likewise, a flexible panel can follow the wall’s relief and leave the finished face uneven.
Before sanding or scraping an older, unverified coating, assess the need for lead or asbestos testing. Do not create dust from an unknown material simply to make an adhesive-backed panel fit.
How do you check a textured wall before installation?
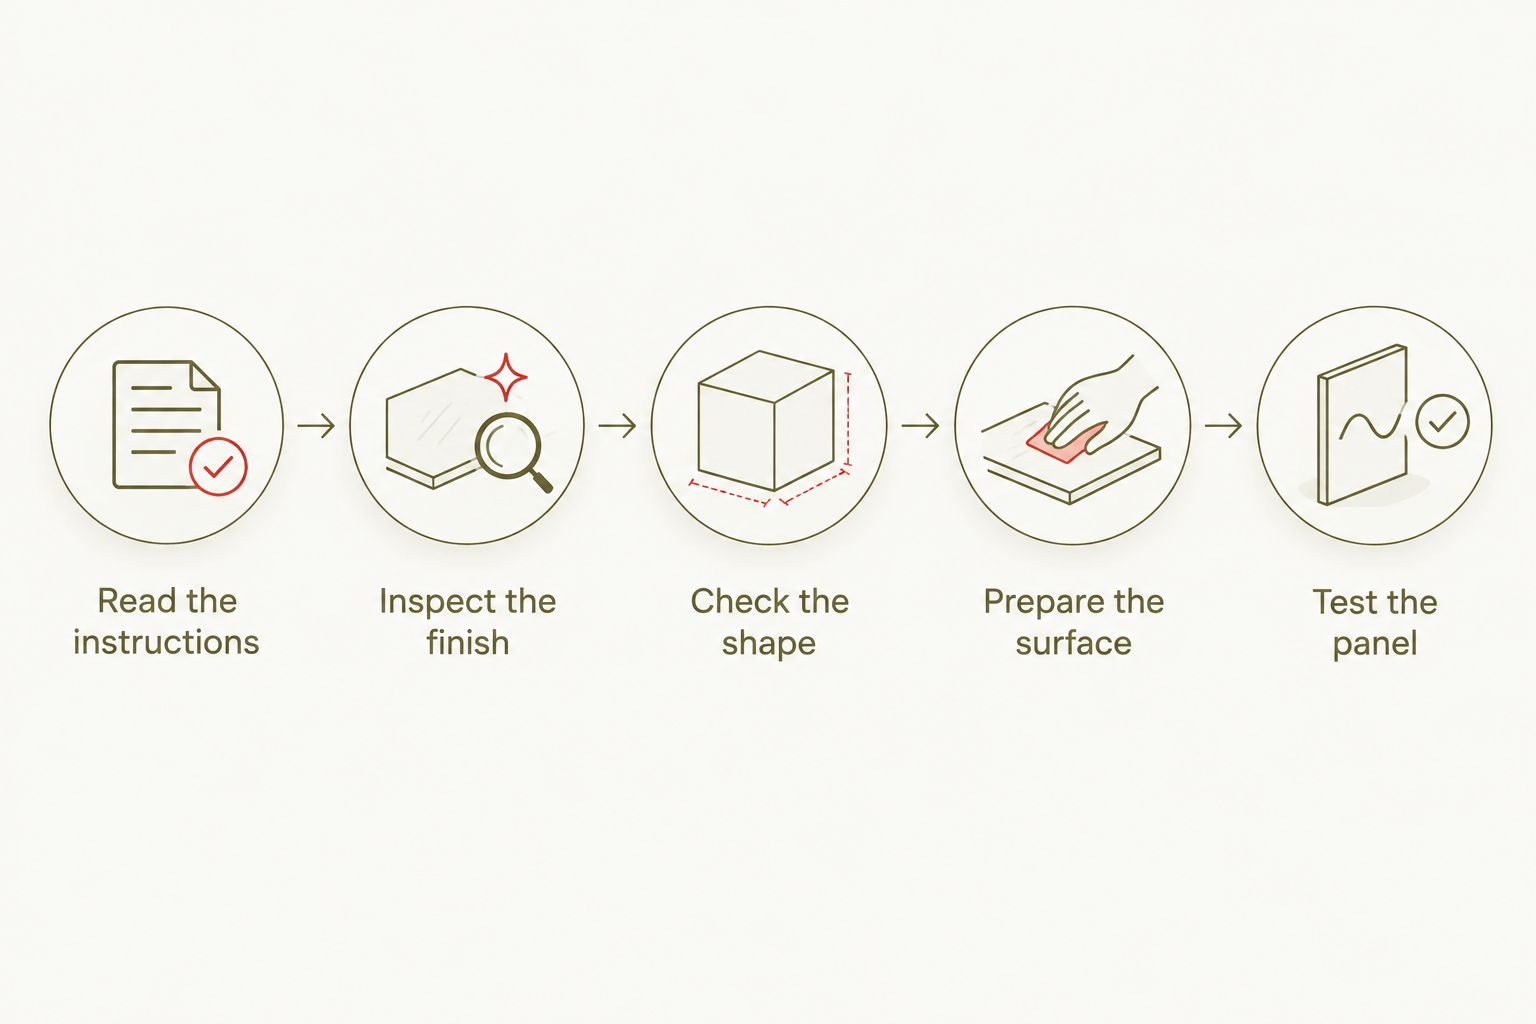
For a 2026 DIY project, inspect the wall before ordering enough paneling to cover it. Work through these 5 steps using the installation instructions for the exact panel you intend to use.
1. Read the instructions
Check whether the panel permits textured painted drywall at all. Look for surface exclusions, required primers, application conditions, pressure instructions, and the specified assessment or curing period.
If the instructions require a smooth surface, a sample test does not cancel that requirement. Ask the supplier for clarification before attaching anything permanently.
2. Inspect the finish
Look for peeling paint, powdery residue, damp patches, greasy deposits, and loose texture. Rub a discreet area with a clean cloth to check for obvious surface transfer, but do not treat that check as a formal adhesion test.
Pressing harder cannot repair a weak coating. Resolve the cause of deterioration before covering the wall, especially where moisture is involved.
3. Check the shape
Hold a straightedge against several areas and inspect the wall under side lighting. Distinguish small texture bumps from broad hollows, bowed drywall, or raised repair patches.
Record 3 checkpoints: the wall center, an outside edge, and a planned seam. These are practical inspection locations, not a manufacturer’s testing standard; inspect additional areas wherever the surface changes.
4. Prepare the surface
Clean with products compatible with the existing finish and the panel adhesive. Let the wall dry fully, and use smoothing compounds, sealers, or primers only as the relevant instructions allow.
A painted-over texture is still textured. If smoothing is required, painting the raised surface again does not remove the gaps behind a flat panel.
5. Test the panel
Use the actual panel or an approved sample with the same backing. Apply it exactly as directed, including the required pressure, room conditions, and waiting period.
Inspect the edges and corners for lifting. Also check whether the paint or texture pulls away with the sample: that indicates a weak wall finish, even if the adhesive itself remains firmly attached.
Why peel-and-stick adhesion varies
The same panel does not behave identically on every wall. For a 2026 installation, assess these factors together rather than treating texture depth as the only deciding point.
- Texture profile: Raised peaks and recessed areas reduce contact between a flat backing and the wall. The pattern matters as well as its apparent roughness.
- Paint condition: Adhesive attached to peeling paint is still attached to a weak layer. Clean-looking paint is not necessarily firmly bonded.
- Surface contamination: Dust, grease, and cleaning residue interfere with adhesion. Clean according to the panel instructions rather than choosing a cleaner by habit.
- Moisture and application conditions: Damp walls need investigation. Follow the specified room conditions and drying requirements instead of assuming indoor use means every location is suitable.
- Panel and adhesive compatibility: Panel weight, stiffness, backing, and the approved adhesive system determine the mounting requirements. A method intended for one panel is not automatically suitable for another.
Do not solve an unknown compatibility problem by adding more adhesive. Extra material changes the installation without proving that the wall, panel, and adhesive work together.
Should you smooth the wall or change the mounting method?
Choose the route your panel manufacturer supports. For a 2026 room upgrade, compare preparation and removal consequences—not just how quickly the first panel goes up.
| Approach | Best for | Benefit | Trade-off |
|---|---|---|---|
| Approved direct peel-and-stick application | Suitable surfaces that pass the required checks | Fewer installation components | Depends on the existing finish and adhesive contact |
| Smoothing before application | Texture excluded by the panel instructions | Creates a more continuous bonding surface | Adds drying, finishing, and cleanup work |
| Approved mechanical mounting | Panels designed for fasteners or a mounting system | Avoids relying solely on surface adhesive | Leaves fixing holes and requires suitable support |
| Approved backing surface | Installations whose instructions permit an added substrate | Separates the panel face from the original texture | Adds thickness and requires secure attachment |
Smoothing does not mean sanding every wall. The appropriate repair depends on the existing material, its condition, and safe preparation methods. Where a skim coat or new backing is involved, account for drying and finishing before installing the panels.
Added thickness also affects trim, corners, outlets, and adjoining surfaces. Do not bury electrical boxes or cover access points; obtain qualified help for electrical adjustments.
The Panel Hub’s Wood Paneling Adhesive is a separate adhesive product, not proof that a textured wall accepts any panel. Check the instructions for both products before adding adhesive to an adhesive-backed panel. A stronger bond also does not guarantee easier removal.
Can you put peel-and-stick panels over knockdown texture?
Peel-and-stick panels over knockdown texture need explicit manufacturer approval and suitable surface preparation. Flattened peaks still leave recessed areas, so a wall that feels fairly smooth can provide uneven adhesive contact.
Check the whole installation area, not just a convenient corner. If the instructions require smooth drywall, prepare the wall to that requirement rather than relying on a promising sample.
Will peel-and-stick paneling damage textured paint when removed?
Peel-and-stick paneling can damage textured paint during removal. The adhesive can separate paint, texture, or the drywall’s paper facing, depending on the materials and bond.
For a rental, get written permission before installation and agree on restoration expectations. Keep 2 decisions separate: whether the panel will stay attached and whether you accept the removal risk. Success on the first does not settle the second.
FAQ
Does peel and stick wall paneling work over textured walls without sanding?
Peel-and-stick wall paneling works without sanding only when the existing surface meets the panel manufacturer’s requirements. Sanding is not the only preparation method, and unknown older coatings need assessment before disturbance.
Can I put peel-and-stick panels on orange-peel walls?
Orange-peel walls require manufacturer approval and a test with the actual panel. Shallow texture still interrupts adhesive contact, so appearance alone does not establish compatibility.
Will extra glue help peel-and-stick panels stay on rough walls?
Extra glue is not a reliable substitute for an approved surface and mounting method. Add a separate adhesive only when the panel and adhesive instructions permit the combination.
Do I need to prime a textured wall before installing panels?
Prime the wall only as required by the panel adhesive and surface-preparation instructions. Primer does not flatten texture, and it must be compatible with the existing finish and adhesive.
Are peel-and-stick panels safe for rental walls?
Peel-and-stick panels are not guaranteed to leave rental walls undamaged. Get written permission and agree on repair responsibilities before attaching panels.
Can peel-and-stick panels cover damp or damaged drywall?
Do not use peel-and-stick panels to conceal damp or damaged drywall. Correct the moisture source and repair the substrate before considering decorative coverage.
Are The Panel Hub wall panels all peel-and-stick?
Do not assume The Panel Hub wall panels all use peel-and-stick backing. Check the mounting instructions for the exact decorative wall panel before planning surface preparation.
One last thing
A secure adhesive bond can expose weak paint. If a test panel removes the wall coating, changing adhesives does not repair that underlying layer.
Before starting your 2026 feature wall, photograph the sample location, note the preparation method, and keep the installation instructions. Those records give you a repeatable process if the test succeeds—and a clear reason to stop if it fails.
Related guides
- Can peel-and-stick wall panels be removed without damaging paint?
- Can wall panels be installed in a rental without damaging walls?
- Can Liquid Nails be used to install wall panels?