
Table of Contents
Why Kitchen Islands Are Perfect for Fluted Panels
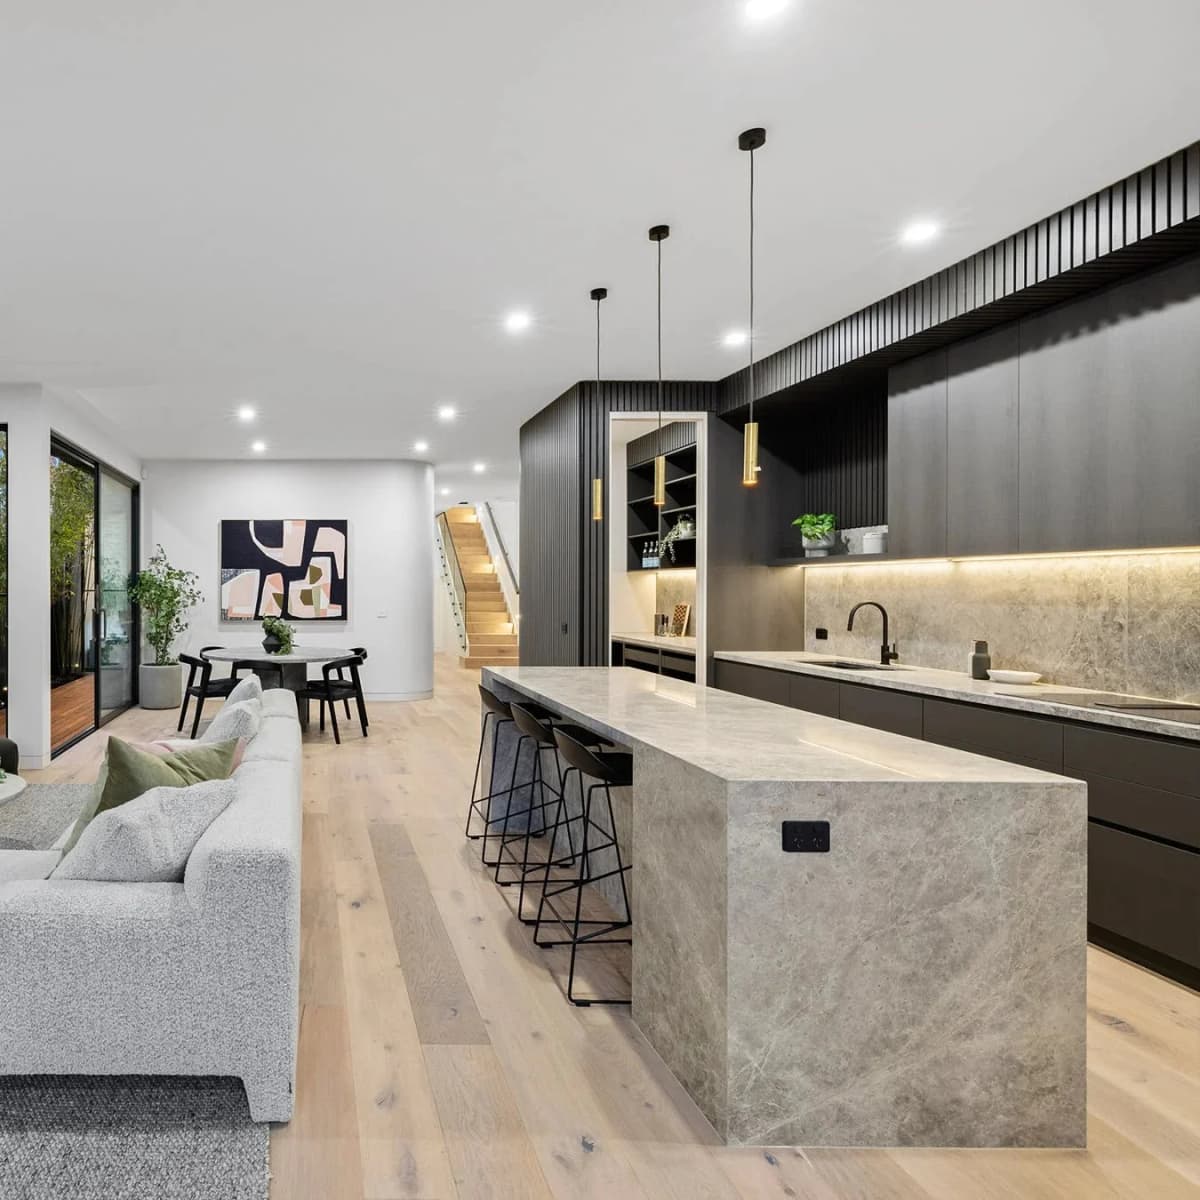
The kitchen island is the piece of furniture most people see first when entering an open-plan kitchen-dining space. Unlike a wall — which needs a deliberate design decision to treat — the island is already there, already prominent, already the functional centrepiece of the room. Fluted panels on the island cladding upgrade it from functional box to architectural statement.
The vertical groove profile of fluted panels adds texture and shadow depth to what is typically a flat, plain-fronted piece of furniture. It adds material interest at a cost and complexity far lower than replacing cabinetry, and it works in almost every kitchen aesthetic from modern Scandi to transitional traditional.
Design Ideas
Full Island Cladding in Fluted Oak
The most popular application: all four visible faces of the island clad in vertical fluted oak panels. In a light natural oak or blonde finish, this suits Scandinavian, organic modern, and contemporary kitchens where warmth and natural material are the design brief. Pair with white or warm grey worktops and brass hardware for a cohesive look.
Fluted Walnut Island as a Dark Contrast
In kitchens with light-coloured cabinetry (white, sage, warm cream), a walnut-fluted island creates a strong material contrast that makes the island feel like a separate, deliberate piece of furniture rather than just another cabinet run. The rich brown tones of walnut read as premium and sophisticated — particularly effective in larger kitchen spaces where the island is genuinely the room’s centrepiece.
Fluted Panels on One Face Only
For smaller islands where full cladding would feel heavy, or as a budget-conscious approach, panel the primary face only — the long side facing the living or dining area. Leave the working faces (the side adjacent to the cooktop, the breakfast bar end) in the existing kitchen finish. The effect is a textural accent rather than a full material change.
Fluted Panel Waterfall End
Panel the short end of the island that faces the room — the “waterfall” end — in fluted panels that continue from the worktop edge to the floor. This creates a framed, architectural end detail that’s visible when entering the room. Works particularly well when the worktop is a contrasting stone that can be seen wrapping over the island end.
Mixed Materials: Fluted Panel Base with Painted Cabinetry Above
If the island has upper cabinetry or a breakfast bar overhang, combine fluted panels on the base with painted or plain-fronted upper units. The panels read as a plinth-level material change — similar to the principle of wainscoting — that adds richness at eye level without overwhelming the space above.
Material Considerations
Kitchen islands are food-adjacent and subject to more splashing, wiping, and general wear than wall panels elsewhere in the home. Consider:
- Pre-oiled or lacquered veneer finishes: Provide basic moisture resistance and easy wiping. Suitable for most kitchen environments where the island isn’t directly adjacent to the sink or cooktop splash zone.
- Painted MDF fluted panels: Completely sealed surface, easy to wipe, available in any colour. Less premium visual character than veneer but more practical in high-contact areas.
- Moisture-resistant MDF core (MR-MDF): Essential if the island is near the sink. Standard MDF swells dramatically if repeatedly exposed to moisture — MR-MDF holds up significantly better.
For a full comparison of fluted and reeded panel profiles, our fluted vs reeded panels guide explains the key differences in aesthetic and application. And for the broader context of how wood panels work across different areas of the home, the wood panel wall complete guide has the full picture.
Installation Tips for Island Cladding
- Clean the island surface thoroughly: Remove any grease, wax, or polish before applying adhesive. Kitchen surfaces accumulate a fine grease film that will prevent adhesive bonding.
- Check that the island surface is flat: Fluted panels are rigid. If the island carcass has a bowed face, the panel won’t sit flat. Sand or pack the surface level before installing.
- Use a construction adhesive rated for MDF and wood: Avoid solvent-based adhesives that can damage veneer finishes. A hybrid polymer or PU-based adhesive is the right choice.
- Measure twice, cut once: Kitchen islands often have overhangs, electrical sockets, and worktop supports that require precise notching of the panel edges. Template with cardboard before cutting the final panel.
Colour, Finish, and Profile: Making the Right Choice for Your Kitchen
Kitchen island fluted panel selection comes down to three decisions: the timber tone, the finish, and the flute profile width. Getting these right relative to the rest of the kitchen determines whether the island reads as a designed element or an afterthought.
Timber tone: The island panels don’t have to match the upper cabinets exactly — contrast is often more interesting than uniformity. A dark walnut or charcoal fluted island base against pale oak or white upper cabinets is a popular treatment that gives the island visual weight. For a more cohesive look, use the same timber species throughout at different tones (natural oak uppers, oiled dark oak island).
Finish specification: Kitchen environments introduce oil, moisture, and contact that other applications don’t. For island cladding, lacquered or hard-wax oiled finishes are more durable than raw or lightly oiled surfaces. A satin or semi-matte lacquer wipes clean easily and resists minor water marks. Avoid high-gloss finishes on fluted panels — the profile catches the gloss light at multiple angles, which can look busy rather than refined.
Profile width and kitchen scale: Narrow flute profiles (10–15mm ridge width) suit smaller kitchens and compact islands — the finer rhythm doesn’t overwhelm the space. Wide flute profiles (25–40mm ridge width) suit larger islands where the bold profile can be proportionate to the surface area. In a standard kitchen with a 1,200–1,800mm island, a medium profile (18–22mm) typically reads best.
Countertop pairing: The material contrast between the fluted panel and the countertop is part of the visual composition. Natural stone countertops (quartz, marble, granite) against oiled timber fluting creates a warm material pairing. Concrete or steel countertops against painted or lacquered fluted panels reads as more contemporary. Avoid matching the countertop material precisely to the panel species — the contrast is the point.
FAQs: Kitchen Island Fluted Panels
Can fluted panels be used on the full height of a kitchen island?
Yes. Floor-to-worktop cladding on all visible sides of the island is the most common application. If the island has a breakfast bar overhang, the fluted panels typically run to the underside of the overhang. For islands with storage drawers or doors on one side, the fluted panel treatment usually covers only the closed panel sections — not the drawer fronts themselves, unless the drawers are also fluted.
How do I attach fluted panels to a kitchen island?
Construction adhesive applied to the back of each panel provides sufficient bond for standard island cladding. For heavy-use kitchens or where the island base is not flat timber (e.g., existing tiled base), additional mechanical fixing — pin nailing or small screws through the panel backing at top and bottom — is recommended. Allow adhesive to cure fully before applying worktop pressure.
Are fluted kitchen island panels heat-resistant?
Timber fluted panels are not rated for direct heat contact. Keep panels away from induction hob edges and ensure adequate clearance from any rangehood or extraction unit that exhausts heat downward. Standard kitchen activity — hob use, steam from pots, splashes — won’t damage properly finished fluted panels.
What is the typical cost of fluting a kitchen island?
Material cost for a standard island (four sides, approximately 4–6m² of panel) ranges from £400–£900 depending on panel quality, species, and finish. Professional installation adds £200–£400 typically. DIY installation eliminates the labour cost; the skill requirement is moderate — accurate measuring, straight cuts, and clean adhesive application are the main demands.
Shop Kitchen Island Panels
Browse the complete wood wall panel collection at The Panel Hub for fluted, reeded, and slat panel options suited to kitchen island cladding. The GroovePanel® mosaic tile range is also worth considering for island fronts where a smaller-format, more detailed surface treatment suits the scale. For design inspiration beyond the kitchen — showing how panel profiles translate across the home — our interior slat wall ideas guide covers 50+ real-room applications. The acoustic panel buyer’s guide explains the full panel range in detail.