
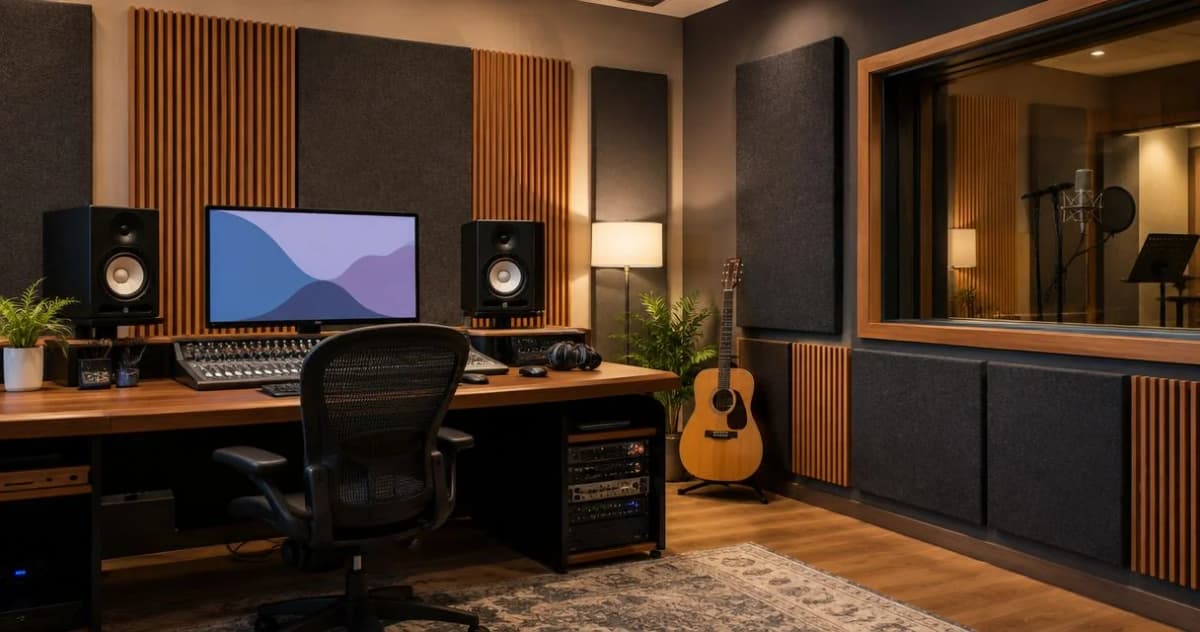
Recording studio owners’ acoustic wall treatment is the use of sound-absorbing surfaces to control room reflections with the aim of capturing cleaner recordings and making more reliable mix decisions. Choosing acoustic wall panels for recording studios means matching treatment to microphones, monitors, and room behavior—not simply covering the most visible wall.
- Choose acoustic wall panels for recording studios by absorption data, placement, and mounting—not appearance alone.
- The Panel Hub suits studio owners seeking wood-finish acoustic treatment, not a substitute for sound isolation.
- Treat early reflections and evaluate bass separately before extending wood slat panels across a room.
- Compare recordings before and after installation with microphone position, playback level, and room layout unchanged.
Why acoustic wall treatment matters for recording studio owners
A recording studio has two different acoustic jobs: keeping room reflections out of recordings and helping you hear playback accurately. A wall finish that looks good behind a vocalist does not automatically serve the listening position. Your treatment plan must account for both.
For your 2026 studio upgrade, separate those goals from sound isolation. Absorption controls sound within a room; isolation limits sound passing between spaces. Neither a decorative wood surface nor an absorption rating establishes that a panel will keep drums from reaching the next room.
The Panel Hub sells acoustic and decorative wall panels, so distinguish the two categories before choosing a finish. The Panel Hub acoustic wall panels are best for studio owners who want wood finishes alongside sound absorption. Dedicated bass treatment and building-level isolation remain separate decisions.
The practical constraint is usable space. Treatment must coexist with microphone stands, instrument storage, doors, cables, and performers. Plan around your recording and listening positions first, then make the room look finished.
Choose and install acoustic wall panels in six steps
1. Define the room’s main acoustic problem
Start with recordings you can make using your existing equipment. Record spoken voice or your usual instrument in its normal position, then listen for a lingering room sound, sharp repeated echoes, or a hollow coloration. These observations help you choose what to investigate; they do not replace acoustic measurements.
Write down whether your priority is tracking, mixing, or both. A vocal recording area and a monitor listening position expose different reflection paths. If your studio serves several purposes, mark each position on a simple room sketch rather than assuming one panel arrangement solves everything.
For a 2026 treatment plan, give each proposed purchase a specific job. “Improve the room” is too vague to evaluate. “Reduce the sidewall reflection at the listening position” gives you a placement decision and a result to check.
Do not buy an entire feature wall before identifying the problem it must solve. Keep visual preferences on the sketch, but separate them from acoustic priorities.
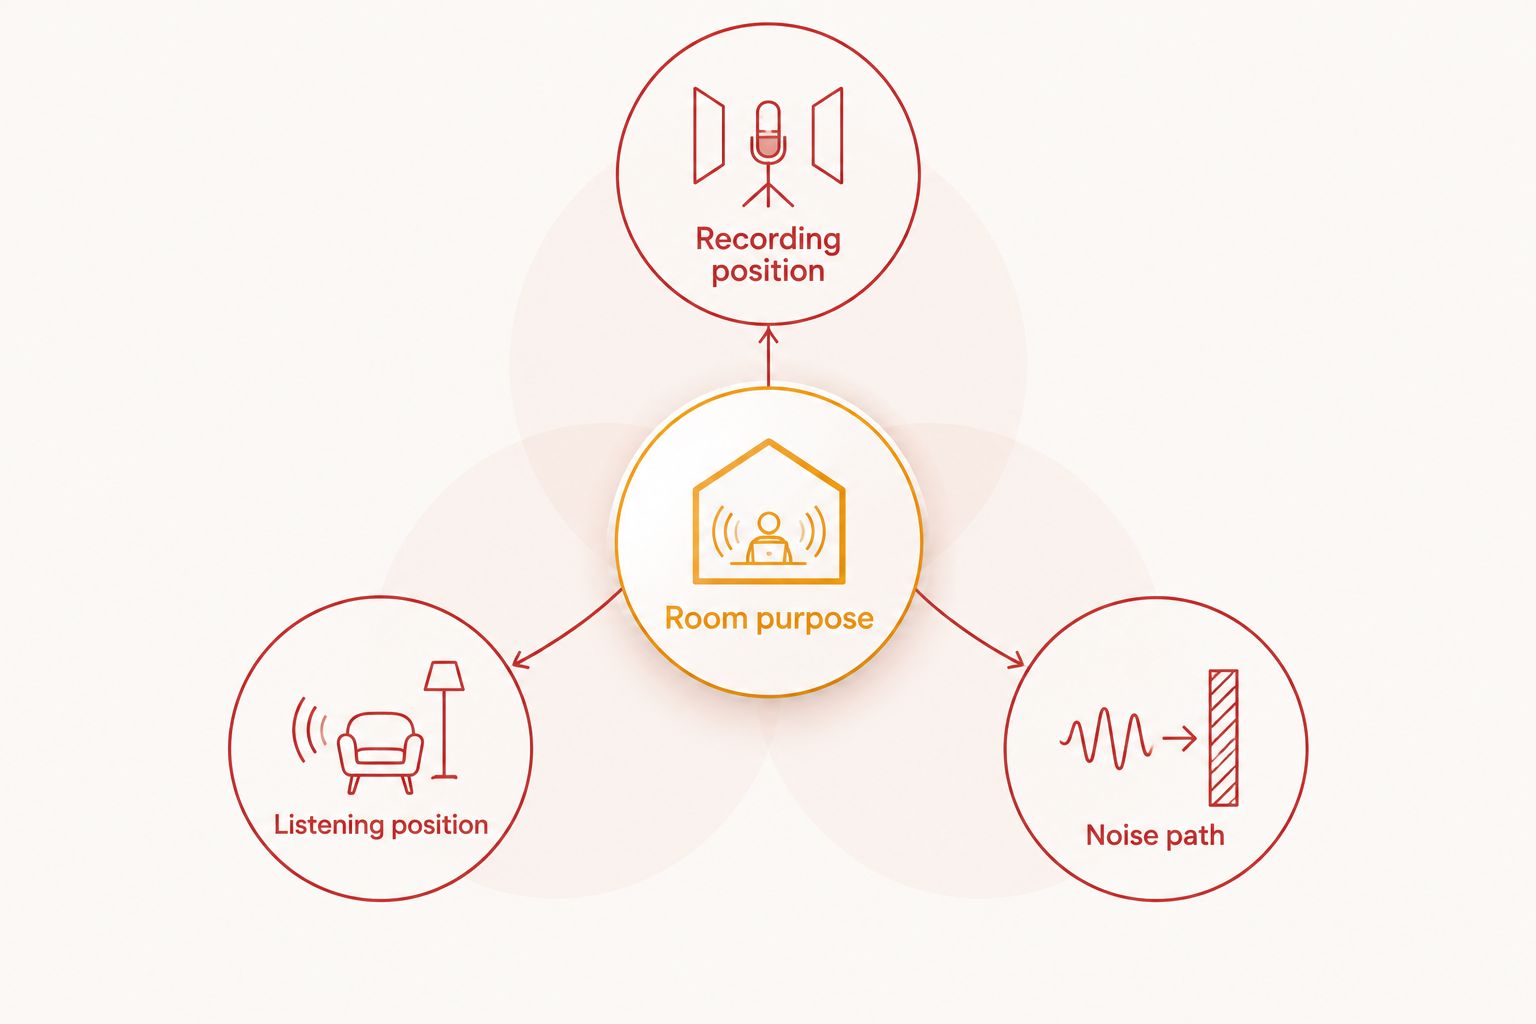
- Room purpose: Identify tracking, mixing, rehearsal, or shared use.
- Recording position: Mark the microphone and performer locations.
- Listening position: Mark the chair and both monitors.
- Noise path: Note doors, windows, ventilation, and adjoining spaces.
2. Map reflections before choosing panel locations
Use a mirror and a helper to find candidate sidewall reflection points for your monitors. Sit in your normal listening position while the helper moves the mirror along a sidewall. Locations where you can see a monitor in the mirror indicate a reflected path between that monitor, the wall, and your seat.
Repeat the check for both monitors and both sidewalls. Treat the result as a placement map, not proof of the required panel size or thickness. Furniture, room geometry, and the treatment’s absorption characteristics still matter.
For tracking, examine the surfaces around the performer and microphone. Microphone directionality affects which reflections enter the recording, so test the actual setup rather than transferring the monitor layout unchanged. Listen to the recorded signal, not just the room while standing in it.
Move furniture or recording positions first when practical. This manual approach lets you explore the room before committing to fixed treatment. Preserve useful access around every proposed panel location.
- Mark candidate reflection locations with removable tape.
- Check both monitor-to-wall paths from the listening seat.
- Record the performer in the intended microphone position.
- Keep doors, switches, outlets, and cable routes accessible.
3. Match the panel to its acoustic job
Begin with the specification sheet and installation instructions, not the finish photograph. Ask for frequency-specific absorption results and the mounting arrangement used during testing. A result for a panel mounted with an air space does not establish identical performance when that panel is attached directly to a wall.
NRC summarizes absorption at 250 Hz, 500 Hz, 1,000 Hz, and 2,000 Hz. It is useful for comparing broad absorption behavior, but it does not describe the entire frequency range or measure sound isolation. A single NRC value cannot settle a studio’s bass-treatment requirements.
The Panel Hub describes its real wood acoustic wall panels as NRC 0.85 rated. Before selecting a particular design, confirm which product and mounting arrangement that rating covers. Keep the rating separate from appearance, certification, and warranty: each answers a different buying question.
Consider Acoustic Slat Wood Wall Panels | SoundPanel™ when you want acoustic treatment with a slatted wood appearance. The quicker purchasing route is a finished panel system; it does not eliminate the need to verify performance for your installation.
- Request absorption results across the measured frequency range.
- Match the tested mounting arrangement to your proposed installation.
- Check panel depth, wall projection, and fastening requirements.
- Evaluate bass control separately from the overall NRC rating.
4. Plan coverage without neglecting bass
Draw the intended panel coverage on your room sketch before ordering. Separate early-reflection treatment, the recording area, and any proposed bass treatment. That makes it easier to see whether the plan addresses several problems or merely repeats the same treatment across every wall.
Low-frequency room behavior needs its own assessment. Thin decorative surfaces and a broad absorption rating are not evidence of effective bass control. If mixes consistently translate poorly at low frequencies, evaluate the listening position, monitor position, and frequency response before adding more wood paneling.
For your 2026 layout, preserve flexibility wherever the room changes between sessions. Movable absorbers let you adjust a recording area without rebuilding a finished wall. Their limitation is floor space: stands and panels must remain clear of performers and equipment routes.
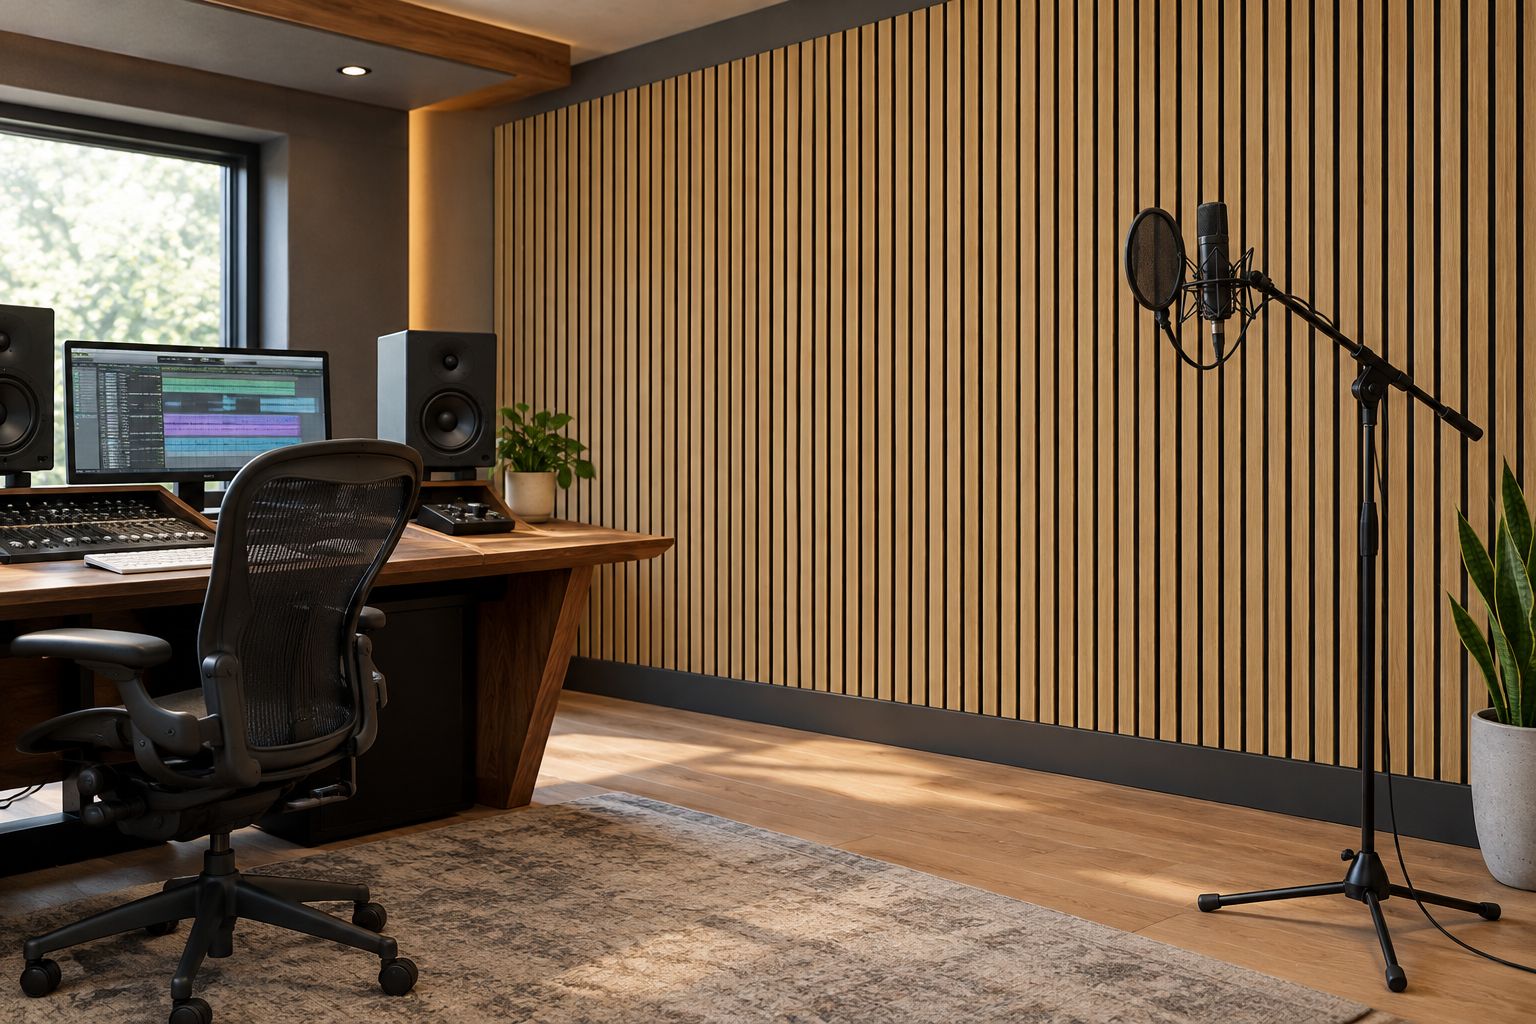
Use fixed wood-finish panels where the acoustic job and visual layout agree. Do not assume that covering more surface area always produces a better recording room.
- Prioritize locations connected to identified reflection problems.
- Reserve space for bass treatment where measurements support it.
- Keep treatment around the listening position balanced.
- Leave enough access for stands, instruments, and maintenance.
5. Prepare the wall and install the specified assembly
Measure the actual wall, inspect its condition, and locate suitable attachment points before opening the installation area. Check the selected panel’s instructions for fastening, cutting, and substrate requirements. Do not substitute an adhesive or fastener merely because it worked on a different decorative panel.
A recording studio also needs a service plan. Keep outlets, audio connections, and cable routes reachable after installation. Where a panel location conflicts with electrical work, resolve the conflict before fitting the panel; do not conceal a problem behind the finished surface.
Follow the mounting assembly associated with the acoustic data you used to choose the panel. Changing the backing or removing an intended air space changes the assembly being evaluated. For overhead treatment, use an attachment method designed for that application rather than assuming a wall installation transfers safely to the ceiling.
Protect equipment from cutting dust and keep installation work separate from recording sessions. Photograph concealed mounting details for later maintenance.
- Verify wall condition and suitable fastening locations.
- Follow the selected product’s installation instructions.
- Preserve outlet, cable, door, and ventilation access.
- Confirm attachment safety before installing overhead treatment.
6. Compare results before adding more treatment
Repeat your baseline recordings after installation. Keep the microphone position, performer position, gain, and room arrangement consistent. Otherwise, a change in recording technique can obscure whether the treatment improved the result.
At the listening position, compare familiar reference tracks at the same playback level. Use room-measurement software and a suitable measurement microphone when you need to examine frequency response and decay. Save the settings with the results so your next comparison uses the same method.
A successful 2026 installation should solve the problem you named at the start. If the vocal sounds less reflective but bass judgments remain unreliable, record those as separate outcomes. Do not treat the first improvement as evidence that every acoustic issue is finished.
Add treatment to address a remaining problem, not to complete a visual pattern. This keeps the next purchase tied to an audible or measured need.
- Repeat the same recorded passage from the same position.
- Compare playback at an unchanged level.
- Save measurement settings and microphone locations.
- Document unresolved reflections and low-frequency problems separately.
Compare treatment options for your studio
Choose the option by its job, then check the evidence for the exact assembly. “Acoustic” in a product name does not tell you where to put it, and a textured surface does not establish diffusion performance.
| Option | Best for | Main advantage | Key limitation |
|---|---|---|---|
| Acoustic Slat Wood Wall Panels | SoundPanel™ | Studio owners wanting a slatted wood acoustic finish | Combines acoustic-panel selection with a finished wall appearance | Verify product-specific absorption and mounting; not an isolation system |
| Acoustic Slat White Felt Wood Wall Panels | SoundPanel™ | Studio owners seeking a white-felt slat configuration | Offers another named acoustic slat configuration | Compare its own data rather than assuming equivalence with another panel |
| Broadband absorbers | Targeting reflections around microphones and monitors | Can be selected for documented absorption across frequencies | Performance depends on depth, material, and mounting |
| Bass traps | Addressing identified low-frequency problems | Treatment can be selected around the bass problem | Requires supporting performance data and room space |
| Movable absorbers | Studios with changing recording positions | Allows treatment placement to change between sessions | Uses floor space and needs secure positioning |
| Decorative solid wood panels | Visual feature walls | Adds a wood surface and pattern | Appearance alone establishes neither absorption nor diffusion |
The Panel Hub options below belong on a shortlist for wood-finish acoustic treatment. Compare their current specifications before choosing between configurations; the shared product category is not proof of identical performance.


Common mistakes recording studio owners make
Treating the camera background instead of the recording position
A wood feature wall behind the performer can look finished while leaving relevant reflection paths untreated. Plan around the microphone and monitors first. Put the visual feature where it also serves an identified acoustic purpose.
Reading NRC as a soundproofing score
NRC describes absorption, not how much sound passes through a wall. A panel with a stated NRC does not establish isolation from neighboring rooms. Investigate the building assembly when noise transmission is the problem.
Ignoring bass because vocals sound clearer
Better vocal clarity does not prove that low-frequency playback is accurate. Keep a separate bass assessment in your 2026 studio plan. Evaluate the listening setup and room response before extending the same wall treatment.
Calling every geometric wood panel a diffuser
A raised pattern is not sufficient evidence of useful acoustic diffusion. Ask for scattering or diffusion data if that is the required job. Choose decorative panels for their appearance when no acoustic performance is established.
Changing the room during the comparison
Moving the microphone, adjusting playback volume, and installing panels together makes the result difficult to interpret. Keep the baseline setup fixed while comparing treatment. Once you understand the effect, test other changes separately.
FAQ
What are the best acoustic wall panels for recording studios?
The best acoustic wall panels match the studio’s reflection problems and have absorption data for the intended mounting arrangement. Choose wood-finish panels for appearance plus documented absorption, and assess bass treatment separately.
Will acoustic wall panels stop my studio disturbing the neighbors?
Acoustic wall panels alone do not establish sound isolation. They address sound inside the room; reducing transmission requires assessment of walls, floors, ceilings, doors, and other sound paths.
Is NRC 0.85 enough for a recording studio?
NRC 0.85 alone is not enough information to design recording studio treatment. Check frequency-specific absorption, the tested mounting arrangement, and the room’s low-frequency behavior.
Where should I put panels in a small recording studio?
Place panels at locations connected to identified reflection problems around the listening and recording positions. Map monitor reflection paths and test the actual microphone setup before fixing panels permanently.
Are wood slat panels better than broadband absorbers?
Wood slat panels and broadband absorbers should be compared by acoustic data and installation requirements, not category names alone. A wood slat finish adds a visual preference; the measured performance determines its acoustic use.
Can I install recording studio wall panels myself?
DIY installation depends on the panel instructions, wall condition, and required mounting assembly. Use suitable attachments, preserve service access, and arrange qualified help for electrical work or mounting that exceeds your skills.
How do I check whether my studio panels worked in 2026?
Compare recordings and room measurements made under the same conditions before and after installation. Keep microphone position, gain, playback level, and room layout unchanged so the comparison isolates the treatment change.
One last thing
Make the baseline recording before you move equipment for installation. It is easy to lose the original microphone position while clearing a wall, leaving you with no fair comparison afterward.
Photograph the setup, mark the stand position, and save the recording settings. Your finished wood wall should earn its place through what you hear, not just what you see.
Related guides
- Acoustic panels for home theater rooms
- Wall panels for DIY beginners
- Fire-rated wall panels for commercial spaces