
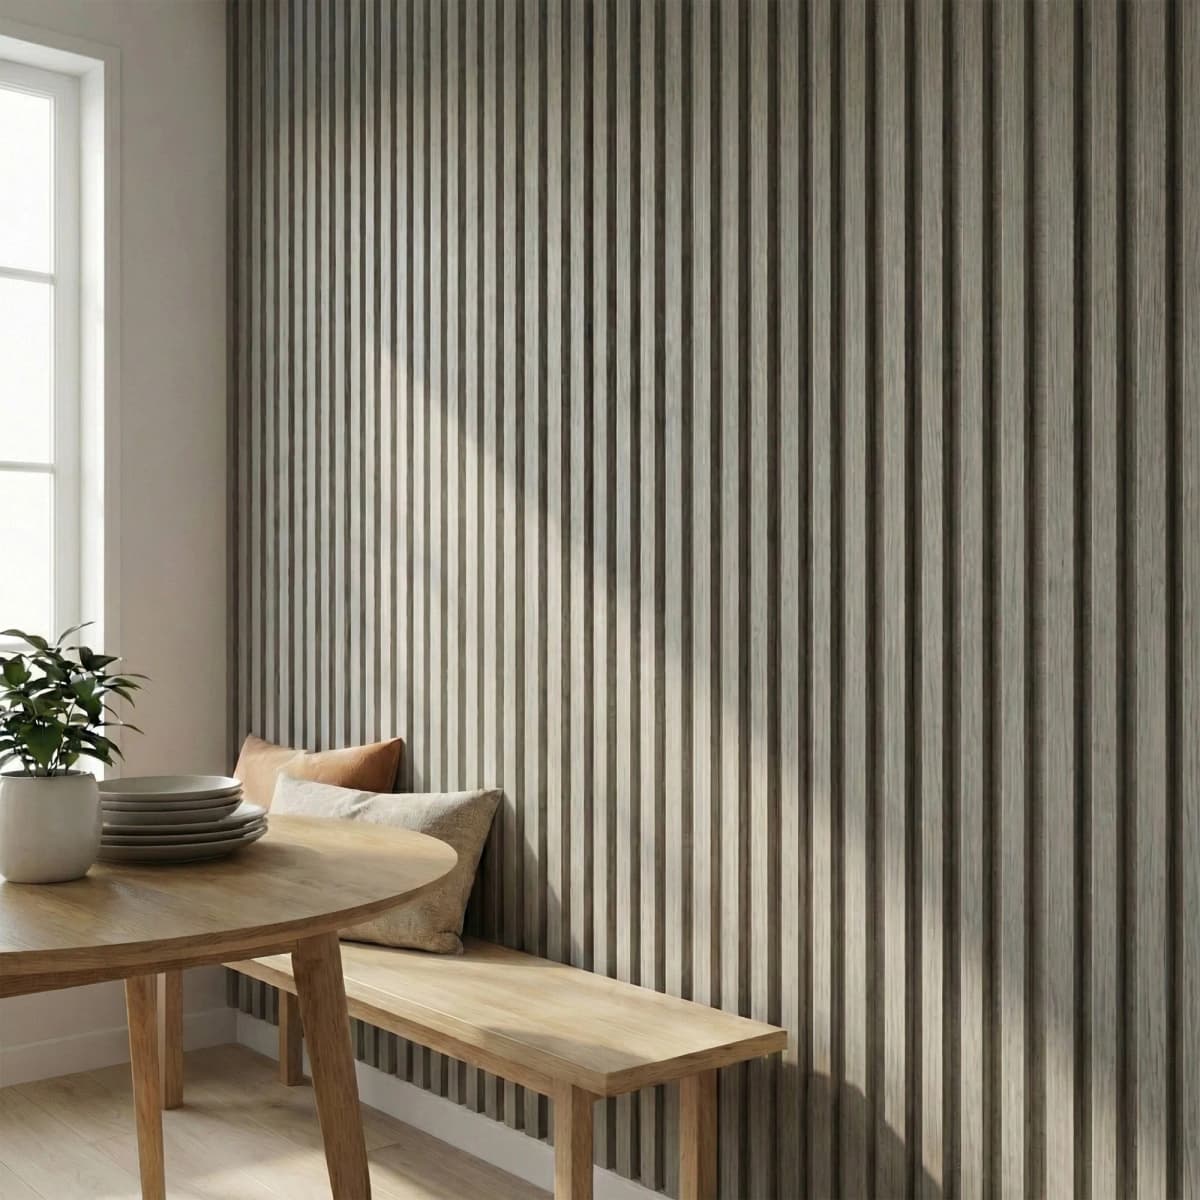
Installing slat wall panels is only half the story. The right accessories — LED strips, panel adhesive, edge trim, and shelf hardware — are what take an installation from good to genuinely polished. More importantly, most accessories need to be planned and fitted before the panels go up. This guide covers every accessory worth considering, in the order you’ll need it.
Table of Contents
Plan Accessories Before You Order Panels
The most common mistake in slat wall installations is treating accessories as an afterthought. Cable channels need routing before panels are installed. Shelf bracket positions need deciding before adhesive is applied. LED strip routes need planning from the outset. Deciding these things after installation means retrofitting through finished panels — expensive, time-consuming, and never invisible.
Essential Accessories
Panel Adhesive
The right adhesive makes the difference between a panel that stays flat and one that lifts at the edges within six months. Standard construction adhesives can react with factory-sealed wood finishes or fail to bond adequately to the panel backing. A panel-specific adhesive is formulated for the correct open time, flexibility, and surface compatibility.
Our Wood Panelling Adhesive is specifically formulated for SoundPanel™ and GroovePanel® installations — correct viscosity, correct open time, no reaction with factory lacquer finishes. Apply in a serpentine pattern across the full back of each panel for maximum contact area.
LED Light Strips
Backlighting is the single upgrade that most transforms a slat wall. Positioned along the top of a panel run and angled to wash light down the wall surface, LED strips reveal the depth and texture of slats in a way that ambient room lighting never achieves.
Our LED Light Strip Kit is designed to integrate seamlessly behind SoundPanel™ and GroovePanel® installations.
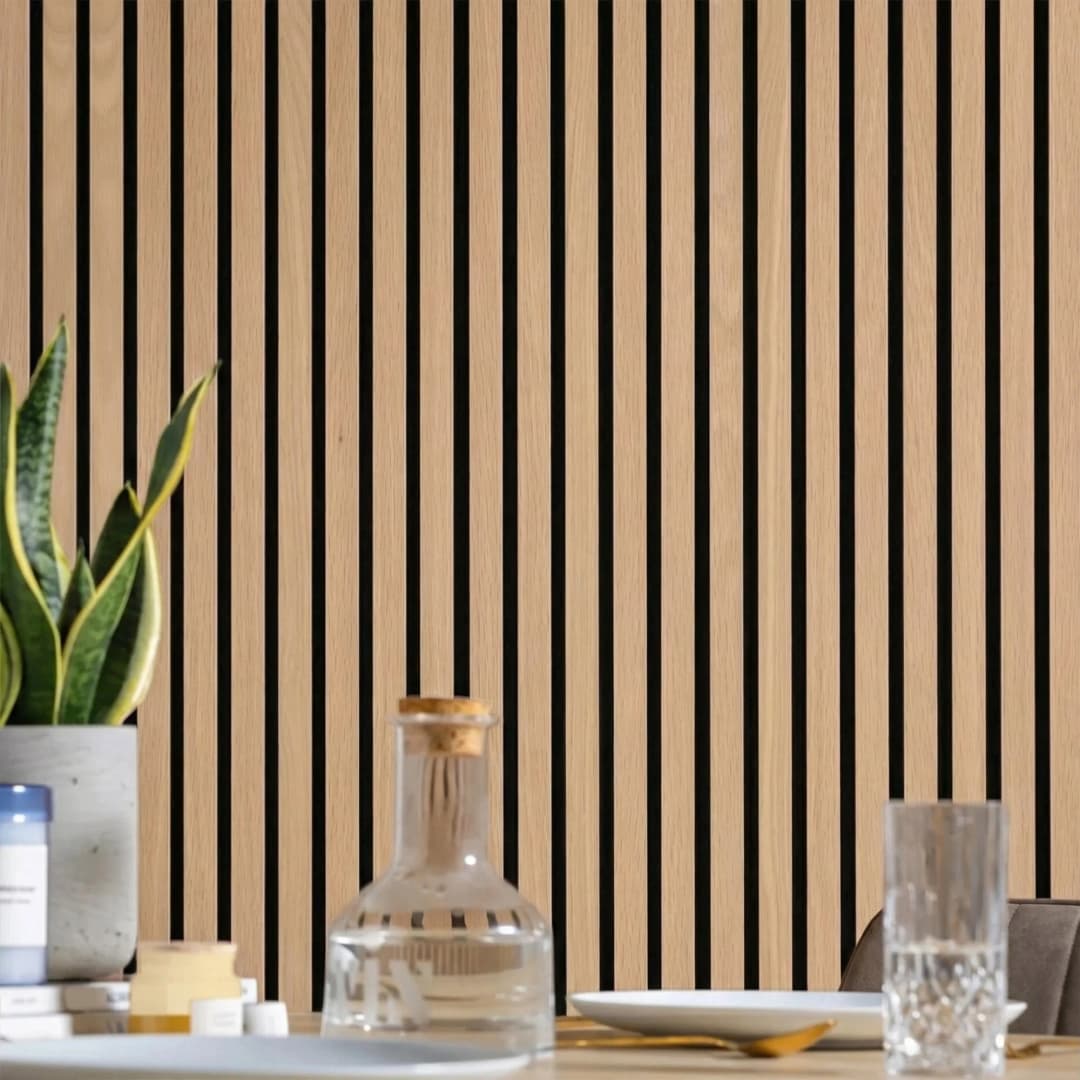
Positioning options:
- Top edge, angled down — grazes light across the slat profile (most common, most dramatic)
- Behind the TV — bias lighting that reduces eye strain and adds cinematic depth
- Between panel rows — creates a floating light effect within the slats
- Bottom edge, angled up — dramatic uplighting for feature walls
Edge and Corner Trim
Where panels meet door frames, window reveals, or return walls, exposed cut edges need finishing. Options:
- Timber edge strips — solid timber in a matching or contrasting tone, mitered at corners. The most seamless, professional finish.
- Metal trim profiles — aluminium or brass edge profiles. Popular in contemporary installations where a metal accent adds to the design language.
- Shadow gap detail — intentionally leaving a small gap between the panel edge and the adjacent surface creates a deliberate reveal that reads as designed rather than unfinished.
Shelf Brackets and Floating Shelves
A slat wall creates a natural visual opportunity for integrated shelving. Floating timber shelves at consistent heights — using concealed brackets drilled through the panel into wall studs — create a built-in look without joinery work. Plan shelf positions before installing panels. Mark stud locations, confirm bracket fixing positions, and leave those panel areas clear during installation. Retrofitting brackets through installed panels is possible but messy.
Cable Management
For media wall installations, cable channels must be planned before panels go up:
- In-wall routing — cables chased into plasterboard before panels are installed. The cleanest finish — cables completely hidden.
- Surface trunking behind panels — trunking adhered to the wall, panels installed over it. Hidden but accessible.
- Matching timber trunking — at skirting level in a tone matching the panels, for situations where in-wall routing isn’t feasible.
Optional But Recommended
Touch-Up Kit
A wood filler pen or touch-up wax in the matching panel tone lets you correct small edge chips or adhesive marks invisibly before completion. Order one with your panels — it’s much easier to use during installation than to source later.
Laser Level
For large installations, a laser level is worth hiring. Panel installations that drift off-level by even a millimetre per panel become visibly skewed across a full wall run. A laser line across the full wall length catches drift before it compounds.
Accessory Checklist by Project Type
| Feature Wall | Media Wall | Full Room |
|---|---|---|
| Panel adhesive | Panel adhesive | Panel adhesive |
| Spirit level | Cable management (pre-install) | Internal + external corner trim |
| Edge trim | TV wall bracket | Edge trim (ceiling + floor) |
| LED strip (recommended) | LED strip (essential) | LED strip |
| Edge trim | Touch-up kit | |
| Shelf brackets (if needed) |
Frequently Asked Questions
Can I use any construction adhesive for slat panels?
Not all adhesives are compatible with sealed wood finishes. Some solvent-based products react with factory lacquer, causing surface bubbling or delamination. Use a panel-specific adhesive or confirm compatibility with your panel supplier before purchasing a generic product.
Do LED strips get hot behind wood panels?
Quality LED strips produce very little heat and are safe for use behind wood panels. Avoid cheap LED strips with high heat output — prolonged heat near wood can affect finishes over time.
How do I fix shelves to a slat wall panel?
Shelf brackets must be fixed into the structural wall behind the panels — not into the panel surface itself. Use a stud finder, drill bracket fixings through the panel and into wall studs or solid masonry behind.
Conclusion
The right accessories planned before installation make the difference between a result that looks DIY and one that looks professionally designed. Order adhesive and LED strips with your panels, plan cable and shelf positions on paper first, and your installation will be significantly faster and cleaner.