
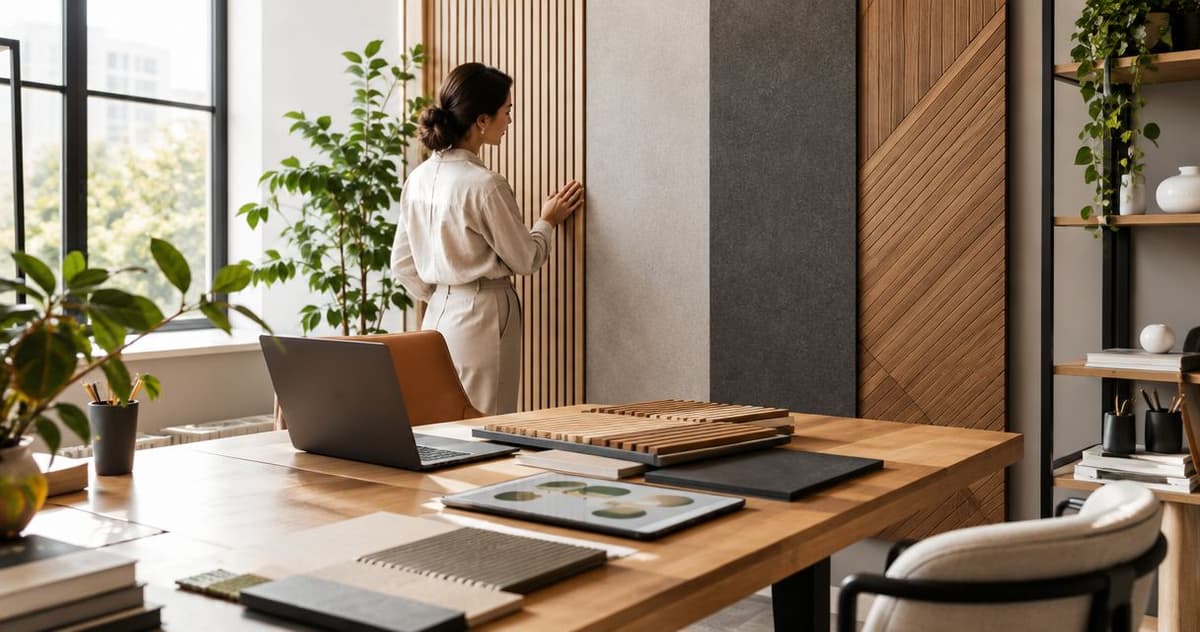
Wall panels for interior designers are finish systems specified to shape a room’s appearance and acoustic comfort while meeting the client’s practical needs. This 2026 guide shows you how to choose materials, coordinate details, and hand over a panel specification that an installer can follow.
- The Panel Hub suits interior designers sourcing decorative and acoustic wood wall panels for residential projects.
- Choose wall panels for interior designers by room conditions, acoustic needs, and installation details—not appearance alone.
- Acoustic wall panels reduce reflected sound; they do not establish sound isolation between rooms.
- Approve wood wall panels under the intended lighting before finalizing layout and installation instructions.
Why wall panels matter for interior designers
Your panel selection connects the mood board to the finished room. A convincing rendering does not resolve exposed edges, outlet positions, cleaning needs, or the difference between decorative texture and acoustic treatment.
The Panel Hub sells acoustic and decorative wall panels for residential interiors. Its acoustic wall panel offering includes an NRC 0.85 rating and FSC certification; the retailer also describes installation in under 2 hours and a 5-year warranty. Confirm which product, mounting arrangement, installation scope, and warranty conditions apply before putting those details into your specification.
For your 2026 project brief, treat those details as separate checks. NRC concerns sound absorption, FSC certification concerns forest-based sourcing, installation time concerns the work involved, and warranty coverage concerns the stated terms. None replaces the others.
The Panel Hub is best for interior designers sourcing decorative and acoustic wood wall panels for residential projects. Its limitation as a sourcing reference is straightforward: you still need product-specific documentation and a coordinated installation plan before approval.
Specify wall panels from brief to installation
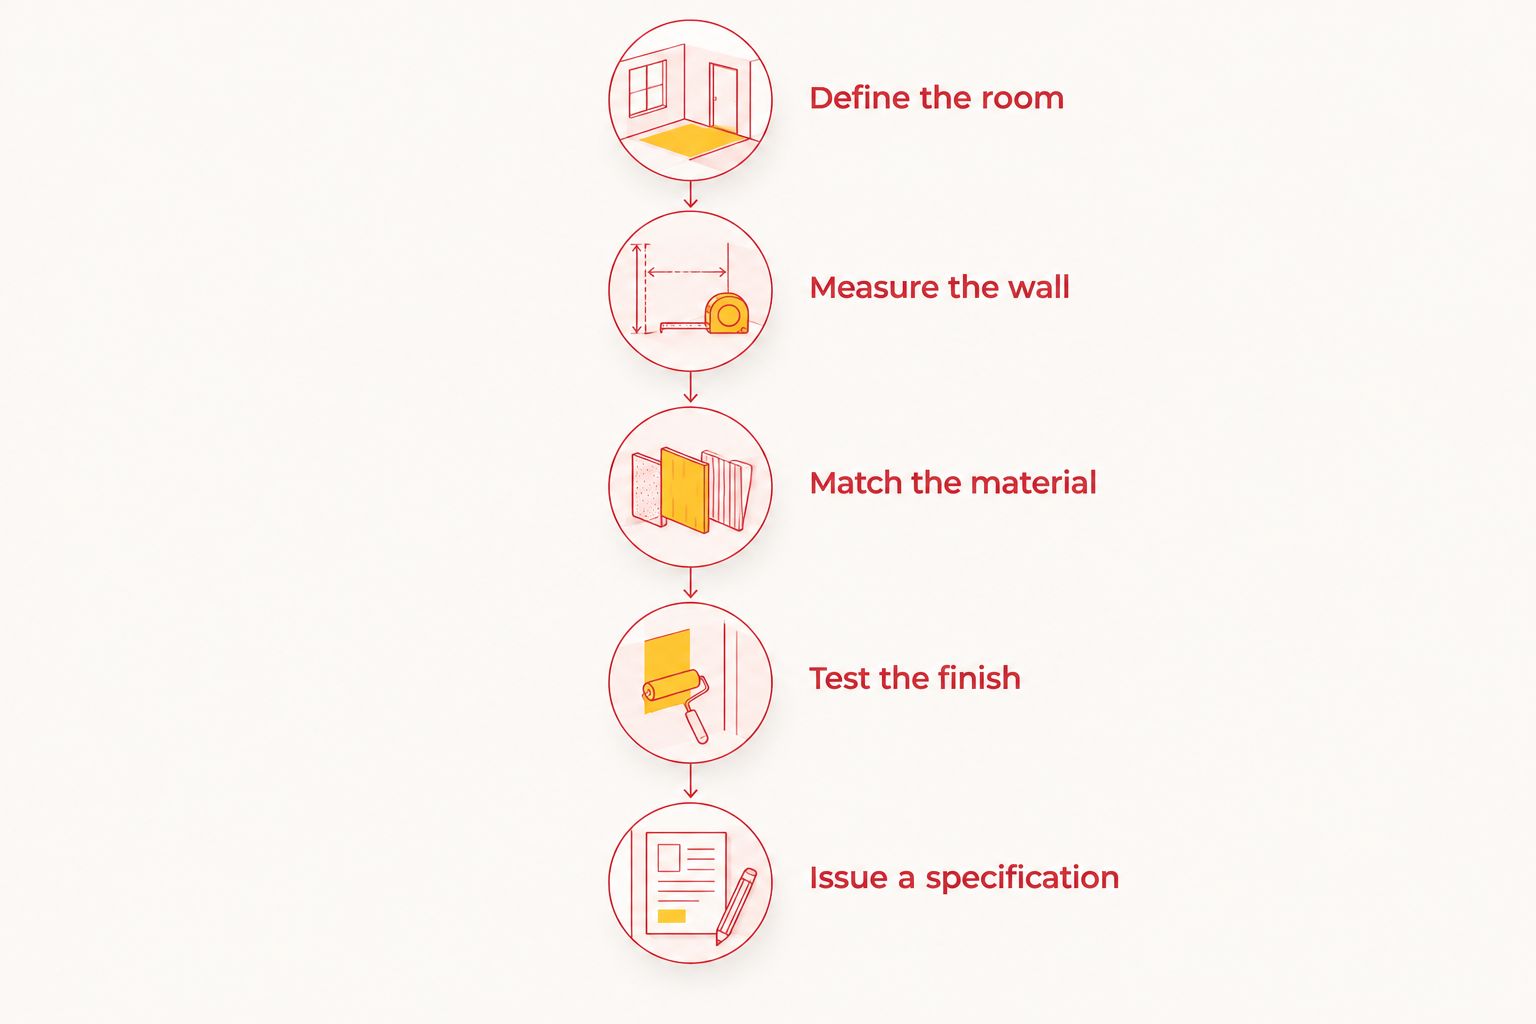
Define the room’s actual problem
Start with a site visit and a written brief rather than a product shortlist. Ask the client what feels wrong: an empty wall, a visually cold living room, distracting reflections during calls, or a bathroom finish that needs replacement.
Separate appearance from performance. A bedroom feature wall can succeed through proportion and material alone; a home office with audible echo needs an acoustic decision as well. Noise entering from an adjoining room requires investigation of the surrounding construction, not just a decorative panel selection.
Record how the room is used throughout the day. Furniture, curtains, lighting, and activity all affect the final design, so assess the furnished space rather than an isolated wall photograph. Agree on a priority before comparing finishes; otherwise, every option becomes attractive for a different reason.
- Write the room’s primary goal in one sentence.
- Identify whether the wall is dry, splash-exposed, or directly wet.
- Mark noise sources and reflective surfaces.
- Photograph furniture, doors, outlets, and existing trim.
- Record client cleaning and maintenance expectations.
Measure the wall and map its interruptions
Use a tape measure, a level, and a simple elevation drawing first. Record the wall’s actual dimensions and mark every opening before deciding where the panel pattern starts.
Measure at several positions rather than assuming the ceiling and floor run parallel. Check corners and adjoining surfaces too: an uneven junction becomes more noticeable when straight slats or geometric seams sit beside it. Treat the sketch as an installation document, not just a presentation image.
In your 2026 drawing set, distinguish the visible panel field from the full wall area. A headboard, cabinet, or television can hide part of the finish, but its mounting requirements still need coordination. Calculate quantities from the selected product’s documented coverage and the actual cutting layout; avoid applying an arbitrary waste allowance to every panel type.
- Draw the wall elevation with dimensions.
- Mark switches, receptacles, vents, and access points.
- Locate studs or the proposed supporting construction.
- Identify exposed top, side, and bottom edges.
- Sketch cuts and panel joints before calculating quantities.
Match the material to the room and the brief
Begin with a requirements sheet containing appearance, room exposure, acoustic purpose, and installation constraints. Compare material families against that sheet before choosing a finish.
Use acoustic wood panels when sound absorption belongs in the brief. Use decorative wood panels when the priority is grain, relief, or a patterned focal point. Consider PVC or shower wall systems for bathroom projects only after checking the selected system’s intended exposure and installation instructions; those categories are not interchangeable.
The Panel Hub offers wood, acoustic, PVC, and shower wall panels, giving you several residential finish categories to compare within one retailer. That simplifies initial sourcing, but it does not establish identical performance across the catalog. Specify the selected panel, not the reputation of its material category.
For acoustics, request the test information behind any rating. An NRC value describes absorption under test conditions; it is not a promise that neighboring conversations will become inaudible.
- Separate decorative requirements from acoustic requirements.
- Confirm whether the surface is solid wood, veneer, or another construction.
- Request acoustic documentation and mounting conditions where relevant.
- Check suitability for the room’s moisture exposure.
- Confirm applicable sourcing certification and care instructions.
Test the finish under the intended lighting
Start with a physical sample or an available material reference, viewed beside the room’s other finishes. Assess it in daylight and under the proposed artificial lighting before approving the wall treatment.
Directional light emphasizes panel relief and seams. A strongly textured wall can look calm under diffuse lighting and become the room’s dominant surface under a nearby wall light. Coordinate those decisions together rather than selecting lighting after the panels are fixed.
For a 2026 bedroom or living-room scheme, judge the wall from the positions people actually occupy: seated on the sofa, entering through the door, or lying in bed. Also inspect the close view, where edge treatment and repeating joints become visible. A finish that works in a cropped photograph still needs to work across the complete elevation.
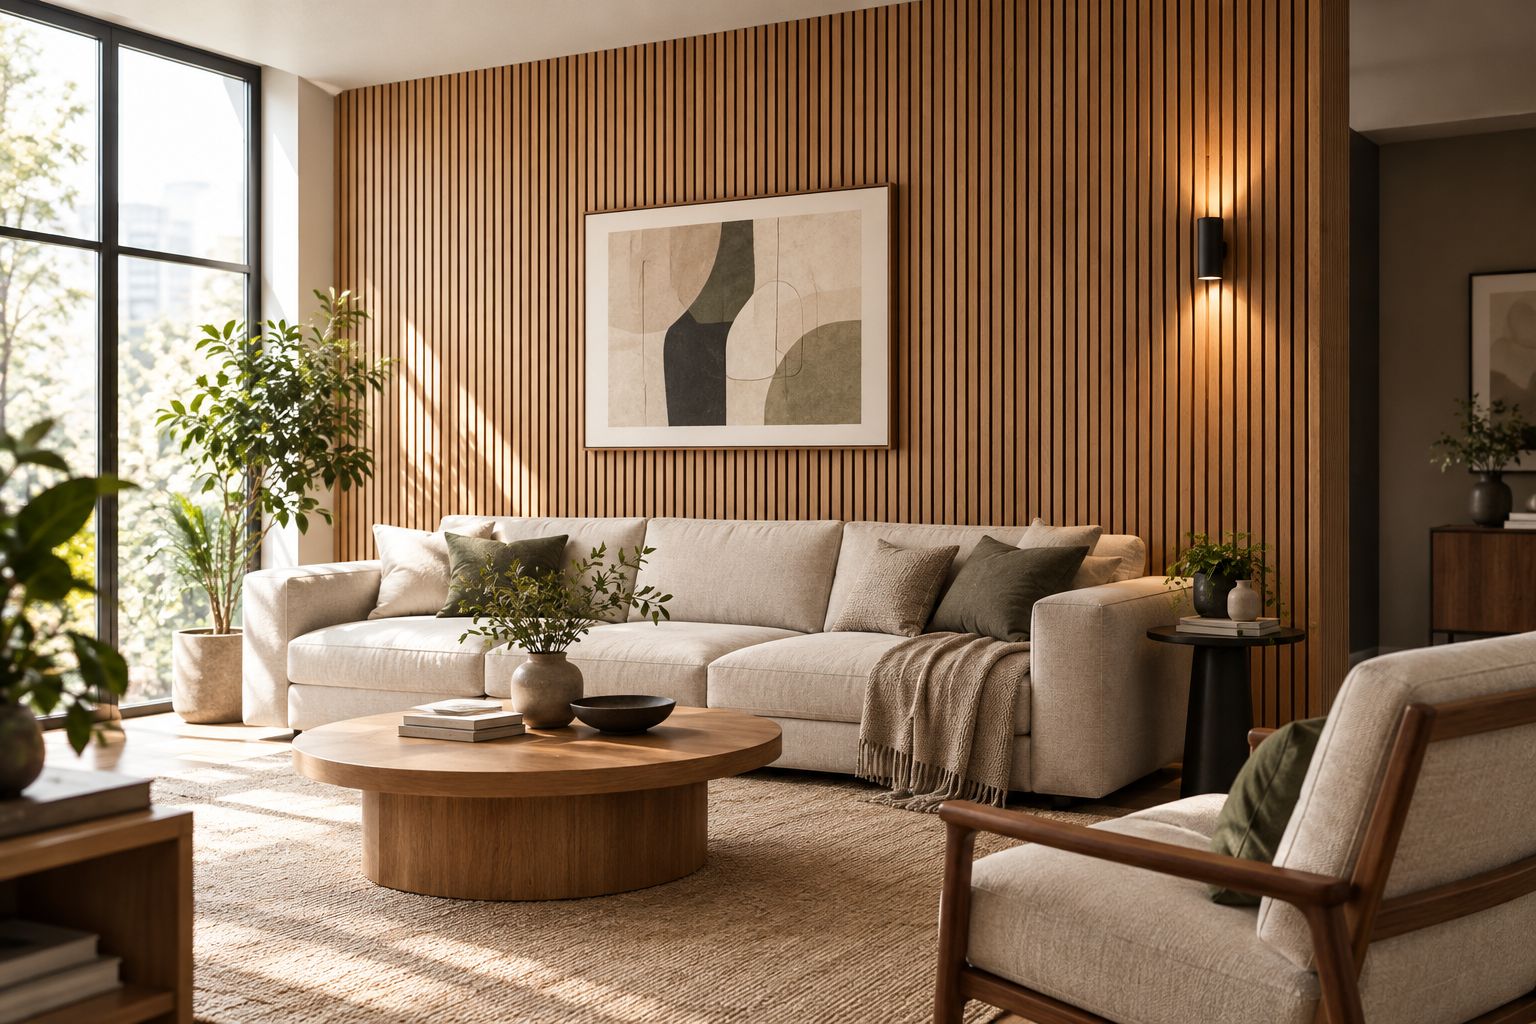
Compare the sample with flooring, upholstery, and painted trim at the same time. This keeps the panel decision tied to the room rather than to an attractive isolated swatch.
- View the finish under daylight and proposed lamps.
- Check grain and color beside flooring and cabinetry.
- Review the pattern from the doorway and main seating position.
- Inspect seams, cut edges, and corner transitions.
- Photograph the approved combination for the project record.
Coordinate mounting, edges, and building requirements
Read the manufacturer’s installation instructions before choosing adhesive, fasteners, or supporting battens. Then review the proposed approach with the installer, using the measured elevation and the condition of the existing wall.
A decorative panel is a finish, not an assumed structural support. Coordinate televisions, shelving, artwork, and other mounted items with suitable supporting construction. Keep electrical work and changes to receptacle arrangements within the scope of qualified trades and applicable requirements.
Resolve interfaces before ordering: baseboards, ceiling lines, door casings, corners, and adjoining finishes. For fireplaces, wet areas, or spaces with specific fire requirements, obtain documentation for the exact proposed assembly. Do not infer heat resistance, waterproofing, or fire performance from a wood, PVC, or stone-look description.
An attractive sample can still fail at the junctions. Make those junctions part of client approval so the installer is not left to invent the final appearance on site.
- Confirm the existing wall is suitable for installation.
- Specify the approved mounting method and preparation.
- Draw visible edges, corners, and trim connections.
- Coordinate fixtures with their supporting construction.
- Check access, electrical, moisture, and fire requirements.
Issue a clear specification and approve the handover
Create the specification in a document or spreadsheet first. Include the selected product, finish, orientation, coverage calculation, mounting instructions, junction drawings, and approval records in one coordinated package.
Make substitutions explicit. A similar color does not establish equivalent acoustic performance, material construction, or room suitability. Require a proposed replacement to be checked against the original requirements before the client or installer accepts it.
For your 2026 handover, connect each requirement to something that can be inspected: alignment, completed edges, functioning access points, and the agreed finish. Include the manufacturer’s care guidance and warranty documentation, without promising conditions beyond those documents. Keep the approved material reference until installation is accepted so everyone has the same comparison point.
- Record the exact product and approved finish.
- Attach the wall elevation and junction details.
- State installation and substitution requirements.
- Inspect alignment, joints, edges, and access.
- Deliver care and warranty documents to the client.
Compare panel options for residential projects
Choose the option that answers the brief with the fewest unresolved conditions. This 2026 comparison separates design purpose from claims that still require product documentation.
| Option | Best for | Main advantage | Key limitation or check |
|---|---|---|---|
| Acoustic Slat Wood Wall Panels | Residential rooms needing a slatted finish and sound absorption | Combines a wood-panel appearance with an acoustic product category | Confirm the selected assembly’s test details; absorption is not sound isolation |
| 3D Geometric Pattern Wooden Panels | Decorative feature walls needing geometric relief | The product description identifies real solid wood and a geometric pattern | No acoustic rating is established here; review lighting and junctions |
| PVC wall panels | Bathroom finish comparisons where the documented system suits the exposure | Offers a non-wood panel category to evaluate | Verify room suitability, mounting, and cleaning guidance for the exact product |
| Shower wall panels | Direct-wet bathroom projects using an approved shower system | Addresses a dedicated shower-wall application | Panel selection alone does not resolve waterproof junctions and penetrations |
For decorative wood, the strongest advantage is the visible material and pattern; the trade-off is coordinating relief, edges, and adjoining finishes. For acoustic wood, the advantage is combining appearance with an absorption purpose; the trade-off is needing evidence for the installed arrangement. Do not assign an acoustic benefit to a decorative product without documentation.
These two wood options support different briefs. Compare their appearance with the room elevation, then confirm the documentation needed for your intended use.


Common mistakes interior designers make with wall panels
Promising soundproofing from an absorption rating
Acoustic absorption and sound isolation answer different problems. If the client wants less echo, evaluate an absorption strategy; if the client wants less noise through a shared wall, investigate the wall assembly and transmission paths. Keep those outcomes separate in proposals and client presentations.
Approving the pattern without drawing the edges
A full-wall rendering can conceal unresolved terminations. Draw where the panel stops beside door trim, baseboards, and adjoining paint, then show the client that detail. Avoid approving the center of the wall while leaving its perimeter undecided.
Treating a bathroom as one exposure zone
A vanity wall and a shower enclosure do not present the same conditions. Document where water reaches the finish and where joints or penetrations need treatment. Specify the complete suitable system rather than extending one bathroom material across every surface by assumption.
Converting quick-install language into a project schedule
A retailer’s installation statement does not define demolition, preparation, electrical coordination, cutting, or finishing work. For a 2026 schedule, ask the installer to assess the actual wall and scope. Separate panel fitting from the other work required to deliver the completed room.
Allowing a visual substitute without a technical check
A substitute can preserve the color while changing the construction or acoustic evidence. Keep an approval record that covers both appearance and purpose. Require the installer to flag changes before fitting begins, not during the final walkthrough.
FAQ
What are the best wall panels for interior designers?
The best wall panels match the room’s exposure, design goal, and performance requirements. Acoustic wood panels suit briefs that include sound absorption; decorative wood panels suit texture-led feature walls. Bathroom applications require documented suitability for their specific exposure.
Are acoustic wall panels the same as soundproofing?
No. Acoustic wall panels absorb sound within a room, while sound isolation concerns sound passing between spaces. An absorption rating does not establish how much noise a shared wall will block.
What does an NRC 0.85 rating mean?
NRC 0.85 is a sound-absorption rating, not a sound-isolation rating. Check the acoustic test report and mounting conditions before applying that value to a proposed wall assembly.
Is solid wood better than wood veneer for a feature wall?
Neither construction is automatically better for every feature wall. Compare the exact panel’s appearance, substrate, edge treatment, installation requirements, and room suitability rather than deciding from the surface material alone.
Can I use wood wall panels in a bathroom?
Use wood wall panels in a bathroom only when the selected product’s documentation supports the intended conditions. Direct-wet shower areas require a suitable system with correctly detailed joints and penetrations.
What should an interior designer request before specifying wall panels?
Request material construction, dimensions, coverage, installation instructions, care guidance, and applicable performance documentation. Add acoustic test information, sourcing certification, or wet-area details when those requirements belong in the brief.
Does The Panel Hub suit residential design projects?
The Panel Hub suits residential designers comparing decorative and acoustic wood wall panels, alongside PVC and shower wall categories. Confirm product-specific performance and installation requirements before approving a specification.
One last thing
Draw the least visible detail before approving the most visible finish. The junction behind a cabinet, beside a door casing, or around an outlet often determines whether the panel layout can be built as presented.
Before releasing your 2026 specification, ask the installer to explain that junction back to you. A clear answer is a better readiness check than another polished rendering.
Related guides