
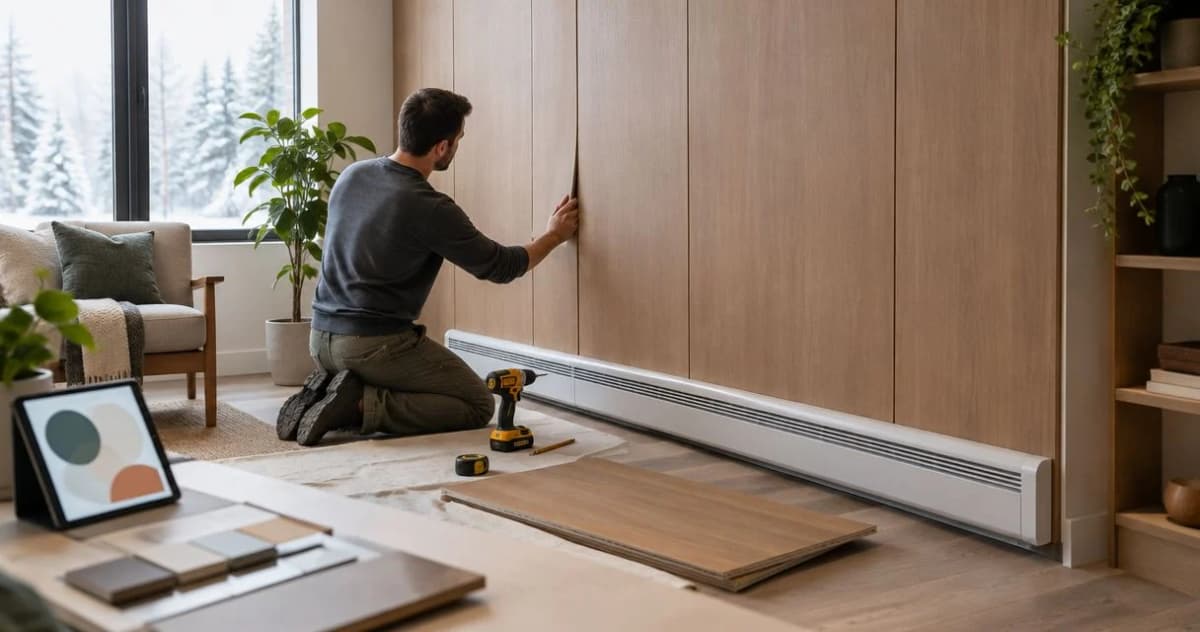
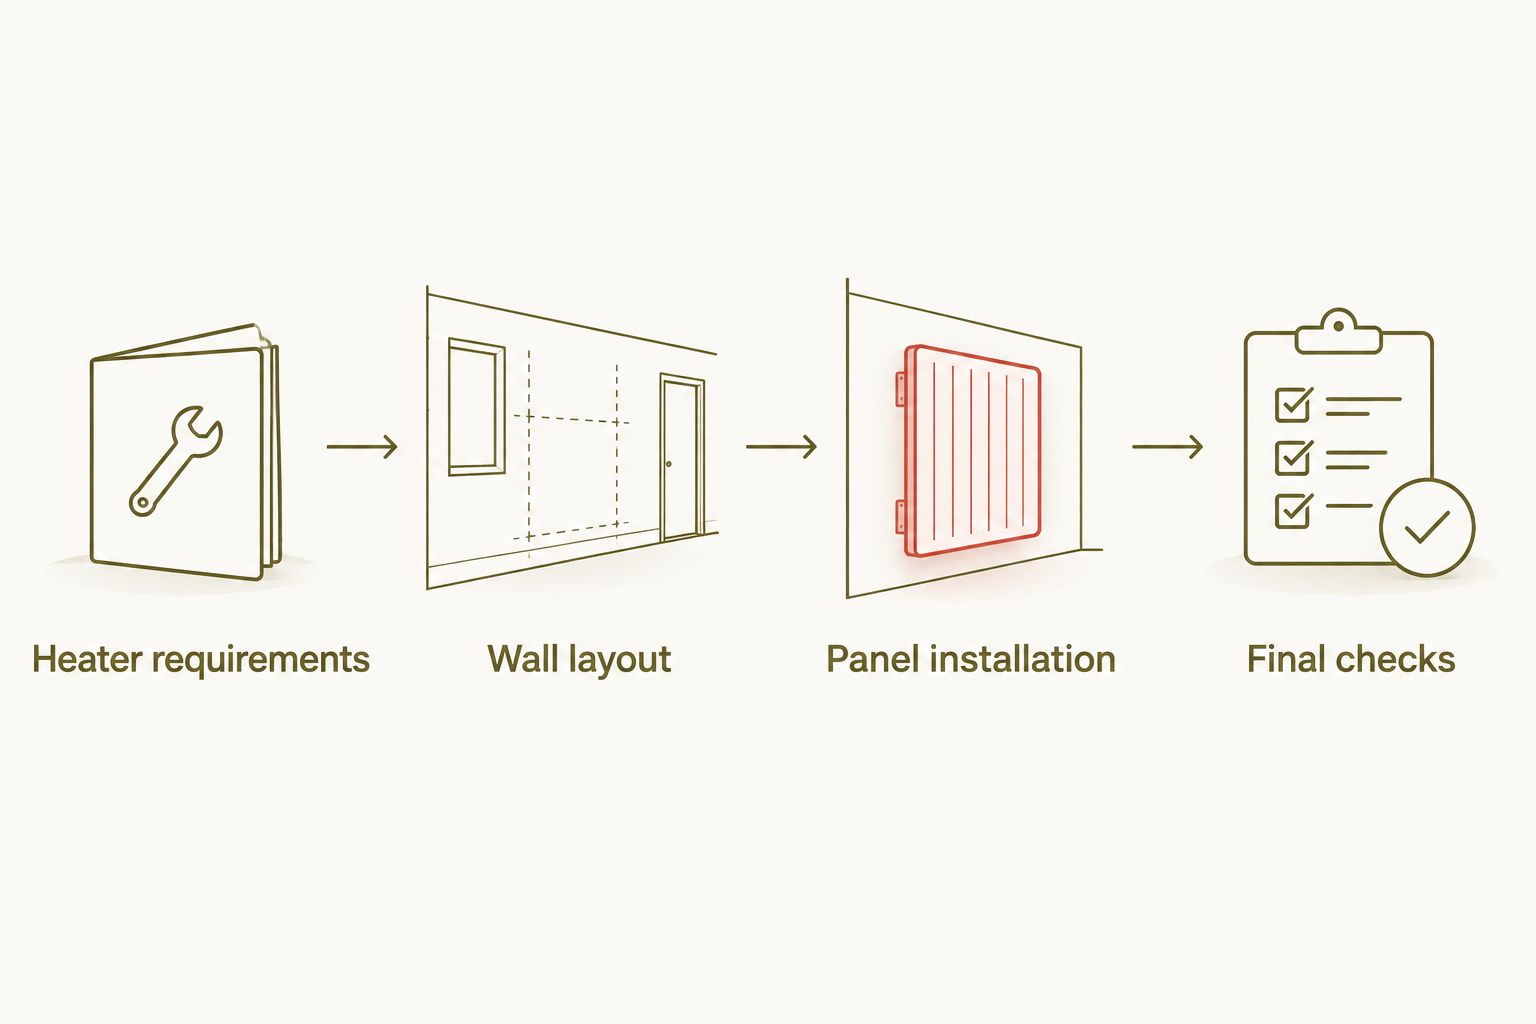
Instead of cutting panels around a heater and discovering clearance problems afterward, plan combining wall panels with baseboard heating around the heater’s installation instructions first. This 2026 workflow keeps the panel layout, airflow openings, and service access separate so you can finish the wall without enclosing the heating equipment.
- Combining wall panels with baseboard heating starts with the heater manual, not a universal clearance measurement.
- The Panel Hub offers decorative wall panels; heater compatibility requires checking the complete panel assembly.
- Keep acoustic wall panels, backing, adhesive, and trim outside the heater’s required clearance zones.
- Electric and hydronic baseboard heating need separate checks before you cut or attach wood wall panels.
Why this matters
Baseboard heating and wall paneling occupy the same part of a room, but they do different jobs. The heater needs its specified airflow and clearances; the panels add a decorative finish that changes the wall’s thickness and surface materials.
The Panel Hub is best for homeowners shopping for decorative wall panels, not for determining heater clearances. Start with the The Panel Hub catalog for the finish, and use the exact heater model’s instructions to decide where that finish can go.
An attractive gap is not automatically a compliant gap. Panel backing, adhesive, battens, and edge trim all belong in the assessment—not just the visible wood face. A heater installed against the original wall also needs another review when a new finish projects into its working space.
For your 2026 project, settle the heating requirements before ordering or cutting. That sequence avoids treating the final panel row as a place to hide an unresolved installation problem.
Before you start
- Get the heater information. Record the manufacturer and model, obtain the installation and maintenance instructions, and identify whether the unit is electric or hydronic. Arrange qualified help if the work requires electrical disconnection, heater relocation, or changes to plumbing.
- Get the complete panel information. Check the panel material, backing, adhesive requirements, fastening method, and any stated temperature or location restrictions. Have a tape measure, level, layout materials, and the cutting and fastening equipment specified for the panel system.
- Check the hidden conflict. Added panel thickness can obstruct a removable heater cover or change its relationship to the wall. Confirm both operating clearance and the space needed to remove the cover before choosing the panel’s bottom edge.
Do not proceed with an unidentified heater or an undocumented panel assembly. A room photograph cannot establish heater clearances, and a product’s decorative appearance cannot establish its suitability beside heating equipment.
Heater requirements
Identify the heating system
- Read the heater’s identification label without opening an electrical compartment or disturbing pipework. Record the exact model rather than relying on the room’s thermostat type.
- Locate that model’s installation instructions. Find the requirements for wall finishes, combustible materials, airflow, nearby objects, and maintenance access.
- Identify the reference points used for each clearance. A measurement from the heater housing is different from a measurement from an outlet opening or another specified part.
- Record the requirements on your wall sketch. Include any restrictions on material behind, above, beside, or in front of the heater.
Expected result: You have a model-specific layout constraint, not a borrowed measurement from another installation.
Keep the operating and maintenance instructions together in your 2026 project file. Installation requirements govern the finished arrangement; maintenance instructions show which parts must remain accessible afterward.
Choose the correct workflow
Electric and hydronic baseboard heaters both need unobstructed operation, but their connections and servicing differ. Identify the system before deciding whether you can complete the panel work without moving equipment.
| Heating system | Best for | What the workflow preserves | Main limitation |
|---|---|---|---|
| Electric baseboard | Panel projects that leave the existing heater in its approved position | Required clearances, airflow, wiring access, and removable covers | Moving or disconnecting the unit introduces electrical work |
| Hydronic baseboard | Panel projects that retain the existing pipe route and enclosure | Air passage through the enclosure, pipe access, and maintenance access | Changes to the enclosure or pipes require heating-system assessment |
Neither workflow gives permission to attach paneling to a heater. Keep decorative finishes off the heater housing and out of its openings. If a proposed layout requires altering the heater, resolve that work with a qualified professional before continuing with the wall finish.
Wall layout
Mark the panel boundary
- Measure the heater’s position and the available wall area. Mark its ends, top edge, openings, and any access points on a sketch.
- Transfer the required clearance boundaries to the wall using the reference points in the heater instructions. Treat those boundaries as limits for the entire finish assembly.
- Draw the proposed panel edge outside those boundaries. Include the depth of panels, backing, battens, and trim wherever they affect clearance.
- Check cover removal against the proposed edge. Follow the heater’s maintenance instructions rather than assuming the cover pulls straight forward.
- Mark a level installation datum for the panels. Keep that datum separate from the heater top if the existing heater is not level.
Expected result: Your panel start line is level, the heater remains accessible, and the proposed finish does not enter a required clear zone.
A painted strip between the heater and panels is a valid design choice when it satisfies the installation requirements. You do not need to cover every visible part of the wall to create a finished feature.
Dry-fit the finished edge
Place an unfastened panel or a full-size layout template against the proposed area. Check how the slats, grooves, or pattern meet the lower edge and adjoining walls. Do this before applying adhesive.
Inspect the layout from the doorway and from your normal seated position. The exposed wall band should look deliberate, but appearance never overrides the heater requirements. Adjust the panel pattern or choose a different wall rather than reducing a required clearance.
If the pattern needs a narrow final piece, revise the starting position before cutting. This is also the point to decide how you will finish exposed panel edges using materials suitable for the location.
Panel installation
Prepare and fasten the wall finish
- Shut down the heating equipment according to its instructions and let it cool before nearby work. Electrical work requires proper isolation and verification by a qualified person; a thermostat adjustment is not a substitute.
- Prepare the wall as required by the panel and adhesive instructions. Address loose finishes or other substrate problems before covering them.
- Inspect planned fastening locations for concealed wiring and pipework. Use appropriate detection methods and qualified help where the route is uncertain; do not assume the space above a baseboard heater is empty.
- Cut and dry-fit the panels away from the heater. Keep cutting dust, loose fasteners, adhesive, and offcuts out of the heating equipment.
- Attach the panels using the specified method. Keep all backing, battens, fasteners, adhesive, and finishing pieces within the approved panel area.
- Finish the exposed panel edge without bridging the heater’s openings or bonding the finish to its cover. Remove installation debris before restoring normal operation.
Expected result: The panels are secured to the wall, and the heater remains a separate, unobstructed, serviceable assembly.
Do not improvise an adhesive because it happens to be on hand. The adhesive must suit the substrate and panel system, and its stated application and curing requirements still apply near heating equipment.
The Panel Hub describes its acoustic wall panels as NRC 0.85 rated, lists a 5-year warranty, and describes installation in under 2 hours. These statements address sound absorption, warranty duration, and panel installation—not heater compatibility or the duration of this combined project. An NRC rating is not a fire rating, and a quick-install claim does not remove the need for clearance planning.
Final checks
Confirm access and restore operation
- Inspect the completed assembly against the heater instructions. Measure from the specified reference points again, including the nearest trim or projecting panel component.
- Confirm that the cover can be removed as instructed without damaging the panels. Do not disturb wiring or pipe connections to perform this check.
- Check that airflow openings remain clear and that installation debris has been removed. Look along the heater’s full length, not just at the center of the feature wall.
- Observe the adhesive’s required curing conditions before exposing the installation to normal heating operation.
- Restore operation according to the equipment instructions. If electrical or heating-system work was involved, have the responsible professional complete the relevant checks.
Expected result: The wall finish matches the documented layout, maintenance access remains intact, and the heating equipment returns to service under its own instructions.
Stop using the heater and arrange inspection if you notice scorching, melting, smoke, or an unusual persistent odor. A successful visual inspection does not justify ignoring a warning during operation.
Save a finished photograph and the installation documents with your 2026 project records. They give a future installer something more useful than a memory of how the wall looked before paneling.
Add panels above a hydronic baseboard enclosure
The adjacent workflow is paneling a wall served by hydronic baseboard heating without changing the pipes or enclosure. The planning sequence stays the same, but the access check must include the enclosure’s maintenance requirements and any components that need servicing.
Keep the panel assembly outside the heater’s specified boundaries. Do not fit decorative pieces across the lower intake or upper outlet, and do not use the removable enclosure as a support for the panels.
Best for: Homeowners who can achieve the intended finish while leaving the heating system in its existing approved arrangement. The benefit is separating decorative work from pipework; the limitation is that the enclosure and required clear areas still shape the design.
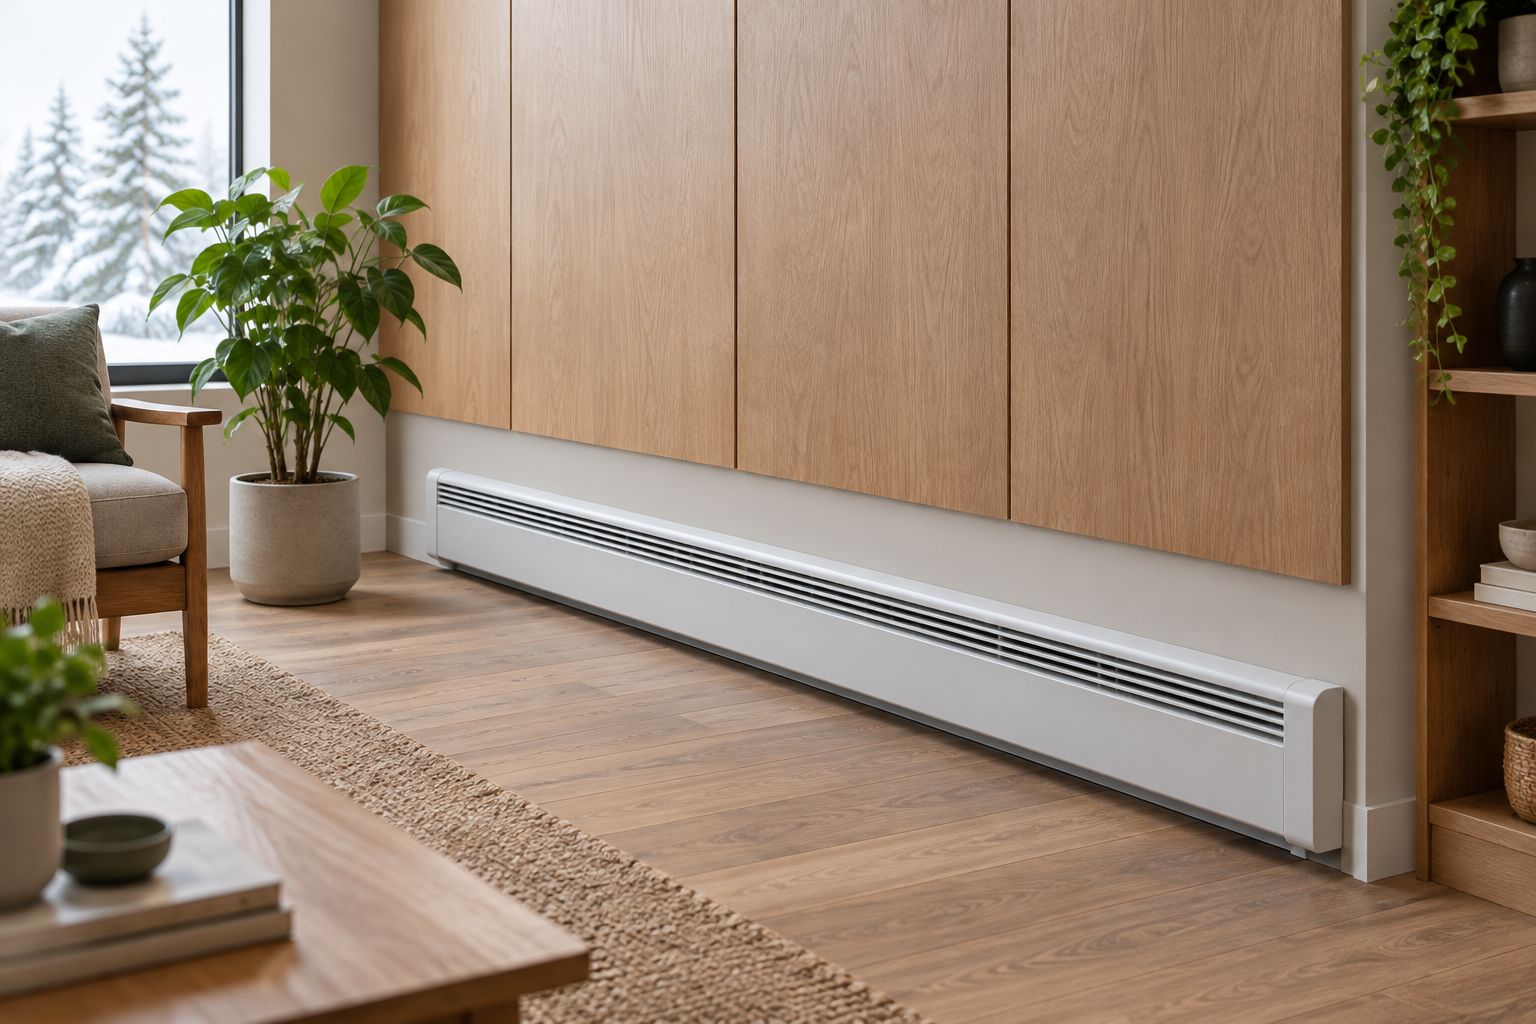
The illustration shows a layout concept, not a clearance specification. If you want the wood finish to reach behind an existing enclosure, get that exact arrangement assessed before installation. Do not remove the enclosure and rebuild the wall behind it on appearance alone.
Troubleshooting
- The panels prevent cover removal. Stop and revise the panel edge or trim. Service access is part of the layout, not something to solve by forcing the cover past the finish.
- The finished assembly is thicker than the sketch allowed. Recheck the full assembly against the heater requirements. Remove or redesign the conflicting section instead of trimming the heater or covering an opening.
- The adhesive requires curing conditions the room cannot maintain. Follow the adhesive instructions and change the installation schedule or approved fastening method. Do not use the heater to accelerate curing unless the adhesive instructions expressly permit it.
- A screw location falls near an uncertain wire or pipe route. Stop drilling at that location and establish the route before fastening. Moving a screw slightly is not proof that the new position is clear.
- The heater develops an unusual persistent smell or the panel edge changes appearance. Shut down the equipment and arrange inspection. Do not conceal discoloration with paint or assume it is ordinary settling.
Customize your workflow
Choose the panel style after fixing the safe installation area. Vertical grooves suit a continuous feature wall; geometric patterns need a dry-fit that shows how the repeated shapes meet the bottom edge. Neither appearance establishes heat suitability.
For The Panel Hub decorative wall panels, confirm the selected assembly’s instructions rather than applying one product’s guidance to another. Wood faces, backing materials, and adhesives require their own checks.
Use the grooved wall panels guide to explore the visual layout once the heater boundary is settled. If the remaining area does not support the design you want, panel an adjacent wall and leave the heated wall unchanged.
FAQ
Can I install wood wall panels above baseboard heating?
Yes, when the complete panel assembly satisfies the exact heater’s installation requirements and the panel manufacturer’s instructions. Keep airflow openings and service access clear; there is no universal gap that covers every heater.
How much space should I leave between wall panels and a baseboard heater?
Use the clearance specified for your exact heater model and installation arrangement. Measure from the reference point named in its instructions, including any panel backing or trim that projects toward the heater.
Can acoustic wall panels touch a baseboard heater?
Do not install acoustic wall panels against a baseboard heater unless the exact arrangement is expressly permitted by the applicable equipment and panel instructions. Sound absorption ratings do not establish heat compatibility.
Can I hide a baseboard heater behind decorative wall panels?
Do not hide an existing baseboard heater behind decorative wall panels as a cosmetic alteration. The heater needs its specified airflow and access, and any enclosure change requires a heating-system assessment.
Is hydronic baseboard heating different from electric heating for panel installation?
Yes, hydronic and electric baseboard systems have different connections and servicing requirements. Both still require model-specific clearance, unobstructed airflow, and access for maintenance.
Do The Panel Hub acoustic wall panels have a fire rating because they have an NRC rating?
No, an NRC rating describes sound absorption, not fire performance. Check separate material documentation and the heater instructions before selecting acoustic wall panels for a heated wall.
What should I document for a 2026 wall panel and baseboard heating project?
Save the heater model, installation instructions, panel and adhesive instructions, final layout, and finished photographs. Record any professional electrical or heating-system work alongside those documents.
One last thing
Plan for the day the heater needs servicing, not just the day the panels go up. A finish that leaves the vents clear but traps the removable cover is still an installation problem. Before approving your 2026 layout, demonstrate the cover’s required removal path against the proposed panel edge.
Related guides