
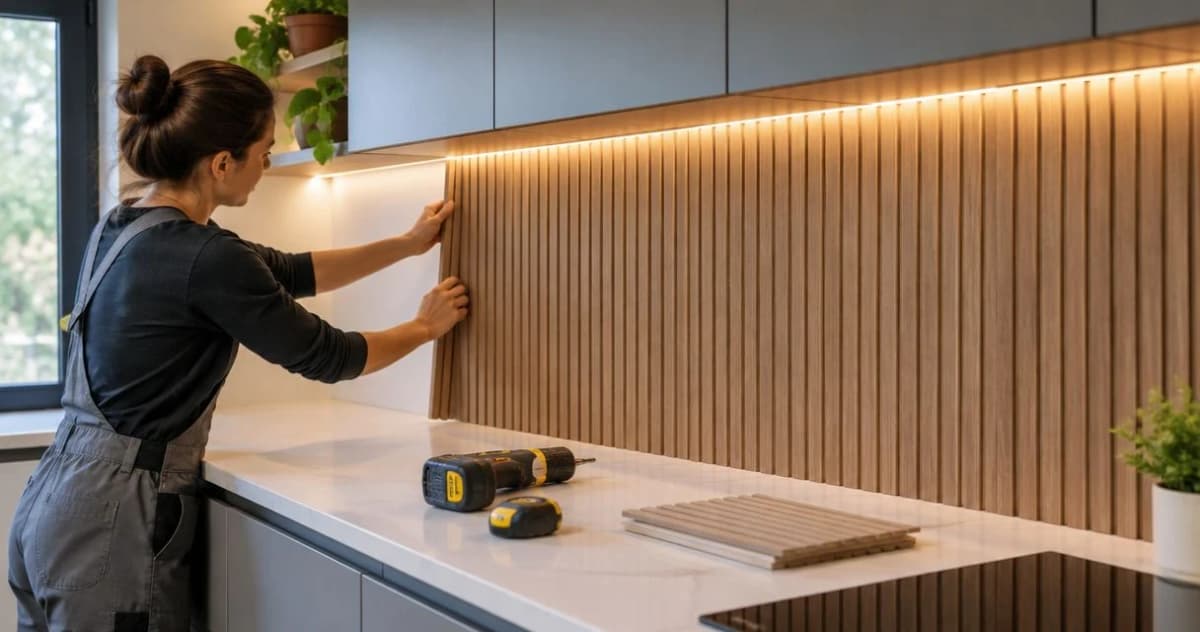
Instead of removing finished panels to hide lighting cables, plan the power route and LED mounting position before covering the wall. Installing wall panels with under cabinet LED lighting works best when you dry-fit the panels, test the lights, and keep every serviceable electrical connection accessible.
- Installing wall panels with under cabinet LED lighting starts with cable routing, not panel adhesive.
- The Panel Hub suits homeowners choosing decorative wall panels; confirm suitability for heat, splashes, and cleaning before installation.
- Test under-cabinet LEDs against a panel sample before committing to fixture placement.
- Keep LED drivers accessible and follow the lighting manufacturer’s mounting and ventilation instructions.
Why this matters
Under-cabinet lighting makes wall texture more visible. It also exposes uneven joints, adhesive residue, and small differences in panel alignment that overhead lighting hides.
The Panel Hub is best for homeowners shopping for decorative wall panels, not for choosing electrical components. Choose the wall finish and lighting as a coordinated project, but verify each manufacturer's installation requirements separately. You can explore The Panel Hub while planning the finish.
For a 2026 kitchen update, separate two decisions: how the wall should look and what the surface must withstand. A decorative panel suitable for a dry coffee station is not automatically suitable beside a sink or cooking appliance. Check heat exposure, cleaning requirements, and appliance clearances before ordering.
Before you start
- Gather the panel and lighting instructions. Confirm the panel's permitted location, substrate, fixing method, edge treatment, and cleaning requirements. For the LEDs, confirm supply voltage, driver compatibility, mounting method, and any required ventilation.
- Prepare the materials and safe power access. Have a tape measure, level, straightedge, suitable cutting tools, specified panel fixings, and the lighting system's required mounting hardware. Use a qualified electrician for new outlets, hardwired lighting, or changes to fixed wiring.
- Check the hidden thickness problem. Panels change the finished wall depth. Existing receptacles, switches, cabinet trim, and lighting connectors must still fit safely; do not glue over electrical boxes or trap a driver behind the finished wall.
Keep the project manageable by distinguishing installation from preparation. Substrate repairs, electrical work, adhesive curing, and finish detailing belong in the schedule even when the panels themselves go up quickly. Do not treat a panel installation estimate as the total time for a combined lighting project.
Wall layout and lighting position
Choose the lighting effect
- Mark the finished panel boundary. Measure the space beneath each cabinet run, including changes in height, corners, and the underside of trim. Note receptacles and switches on the same sketch.
- Choose task lighting or texture lighting. For counter work, test a position that lights the work surface without your body blocking it. For decorative wall emphasis, test a position closer to the wall; grazing light makes raised texture and imperfections more prominent.
- Compare mounting positions temporarily. Hold or temporarily secure the unpowered fixture according to its instructions, then test the assembled system safely. Look from standing and seated positions before drilling.
- Check the panel sample under the intended light. Compare its appearance with the lights off and on. Check seams, shadows, reflections, and whether individual LED points are visible.
Expected result: You have a marked panel boundary and a lighting position that works for both the countertop and the wall finish.
For a 2026 lighting plan, these common color-temperature options provide a useful starting point. They describe light appearance, not the quality or compatibility of a particular fixture.
| Color temperature | Best for | Advantage | Trade-off |
|---|---|---|---|
| 2700 K | A warm, relaxed appearance | Gives the installation a warm light tone | Can make a pale wall finish look warmer than expected |
| 3000 K | Warm lighting with a less amber appearance | Offers a middle choice between very warm and more neutral light | Still requires a sample check against nearby lighting |
| 4000 K | A more neutral-looking task area | Looks less warm than the other options | Can contrast noticeably with warmer room lighting |
Do not choose color temperature from a panel photograph alone. Existing ceiling lights, daylight, and surrounding finishes affect the result. A sample test is more useful than matching a color name.
Select the mounting arrangement
Choose a mounting arrangement that follows the fixture instructions and leaves room for future maintenance.
| Arrangement | Best for | Advantage | Trade-off |
|---|---|---|---|
| Cabinet-mounted fixture | Countertop lighting independent of the panels | Lets you service the lighting without removing the wall finish | Requires a suitable cabinet fixing surface |
| LED strip in a compatible channel | A continuous lighting line | Provides a defined mounting position and accommodates a compatible diffuser | Requires space for the channel, connectors, and cable exits |
| Panel-integrated recess | A deliberately built-in feature | Creates a concealed mounting arrangement | Makes access and replacement harder unless planned in advance |
For a straightforward DIY project, favor cabinet-mounted lighting over a recess cut into decorative panels. Keep the electrical system separate from the wall finish wherever practical. A neat installation should still be repairable.
Power route and access
Map the electrical path
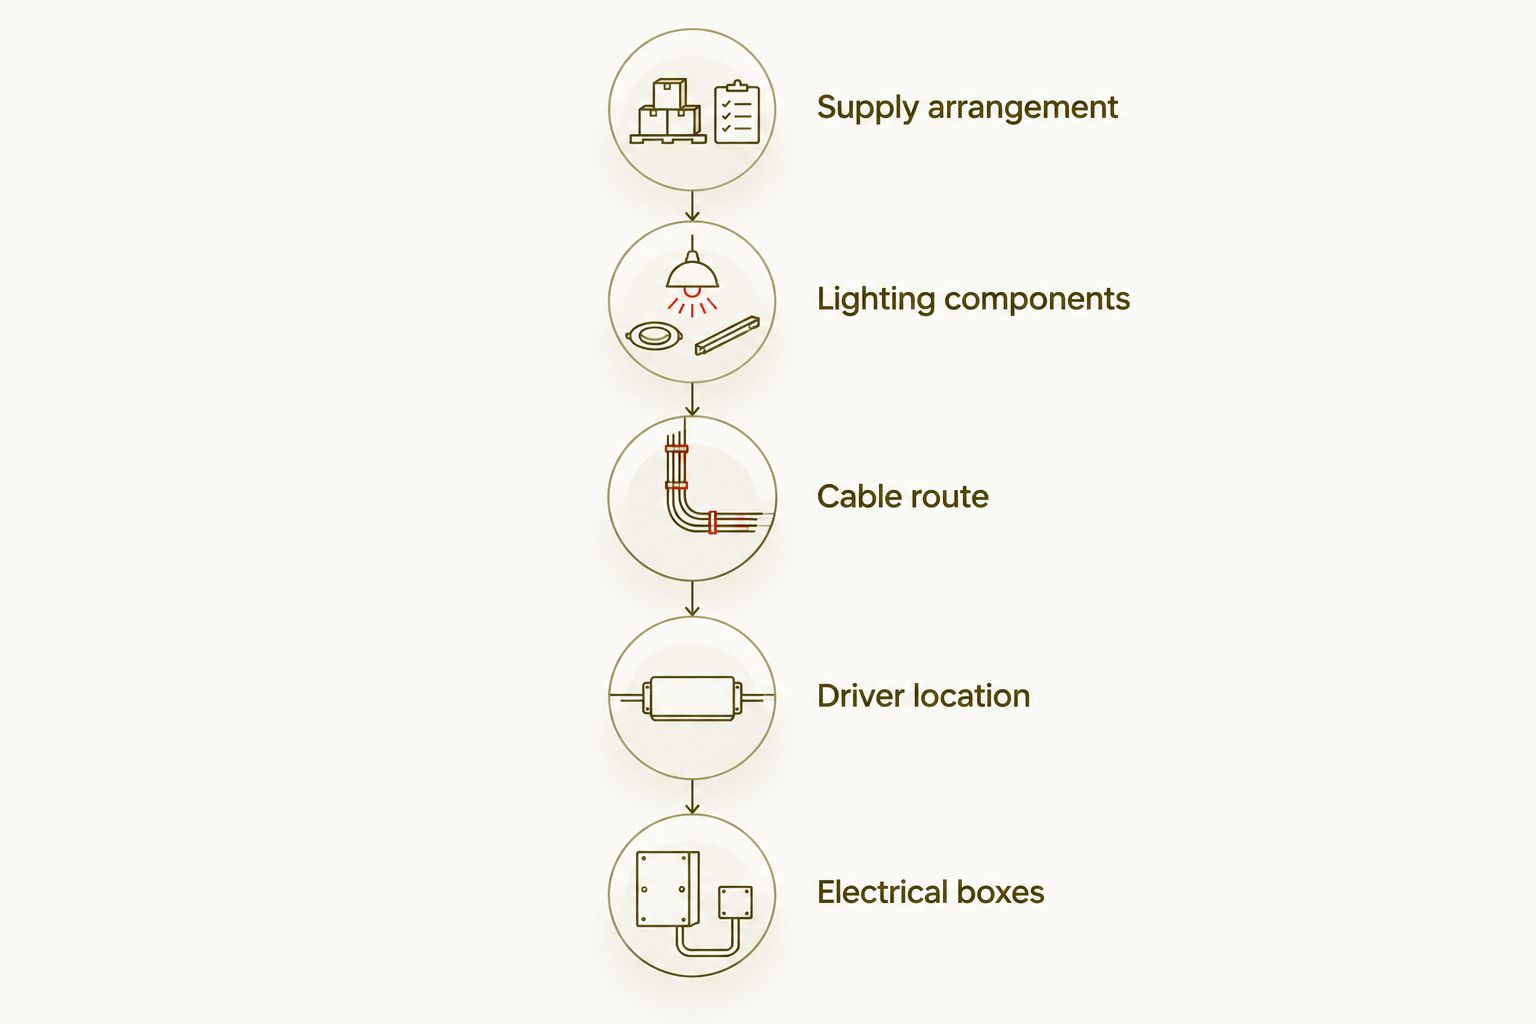
- Identify the supply arrangement. Establish whether the system plugs into an existing suitable receptacle or requires hardwiring. Do not modify fixed wiring as part of ordinary panel fitting.
- Match the lighting components. Check voltage, polarity, connector type, permitted run length, and driver capacity against the actual product instructions. A 12 V strip and a 24 V strip require their respective compatible supplies; similar connectors do not establish compatibility.
- Mark the cable route. Plan the path from the supply to the driver and from the driver to each fixture. Use cable and routing methods permitted for that location, and protect cables from sharp edges and fasteners.
- Choose an accessible driver location. Follow the manufacturer's ventilation and clearance instructions. Do not bury the driver in panel adhesive, enclose it without approval, or hide it where replacement requires destroying the wall.
- Resolve electrical-box depth. Have an electrician assess receptacles or switches affected by the new panel thickness. The finished installation must preserve proper box access and device mounting.
Expected result: Every component has a planned location, every cable has a permitted route, and the driver and electrical boxes remain accessible.
Test before covering the wall
- Assemble the lighting system as instructed. Use approved connectors and accessories. Do not improvise splices or connect exposed conductors while the supply is energized.
- Test each lighting section. Confirm that every fixture lights, the intended controls operate, and the layout reaches the planned locations without pulling cables tight.
- Check dimming compatibility. If you want dimming, verify that the driver, dimmer, and LEDs are designed to work together. A dimmable component does not make the entire system dimmable.
- Record the component details. Save the instructions and photograph accessible labels and cable routes. Include this information in your 2026 project record so replacement does not depend on memory.
Expected result: The complete lighting system works before permanent panel installation, and you have the information needed to service it.
Panel preparation and final assembly
Prepare the wall finish
- Inspect the substrate. Address loose coatings, dampness, contamination, and uneven areas before attaching panels. Follow the panel manufacturer's surface-preparation requirements rather than assuming adhesive will correct a damaged wall.
- Dry-fit the panels. Lay out the pattern and check how joints meet cabinet edges, corners, and receptacles. Avoid ending with an awkward narrow cut when shifting the starting position solves it.
- Transfer openings carefully. Measure electrical-box locations from fixed reference points. Make openings that preserve required access without damaging cables or devices.
- Cut and finish as specified. Use suitable tools and the required protective equipment. Follow instructions for cut edges, expansion allowances, adhesive application, and mechanical fixings.
- Check the dry fit under the LEDs. Look along the wall with the intended lighting on before making permanent attachments. Correct uneven alignment now, not after the adhesive has set.
Expected result: The panel layout fits the space, access openings remain usable, and the illuminated joints look intentional.
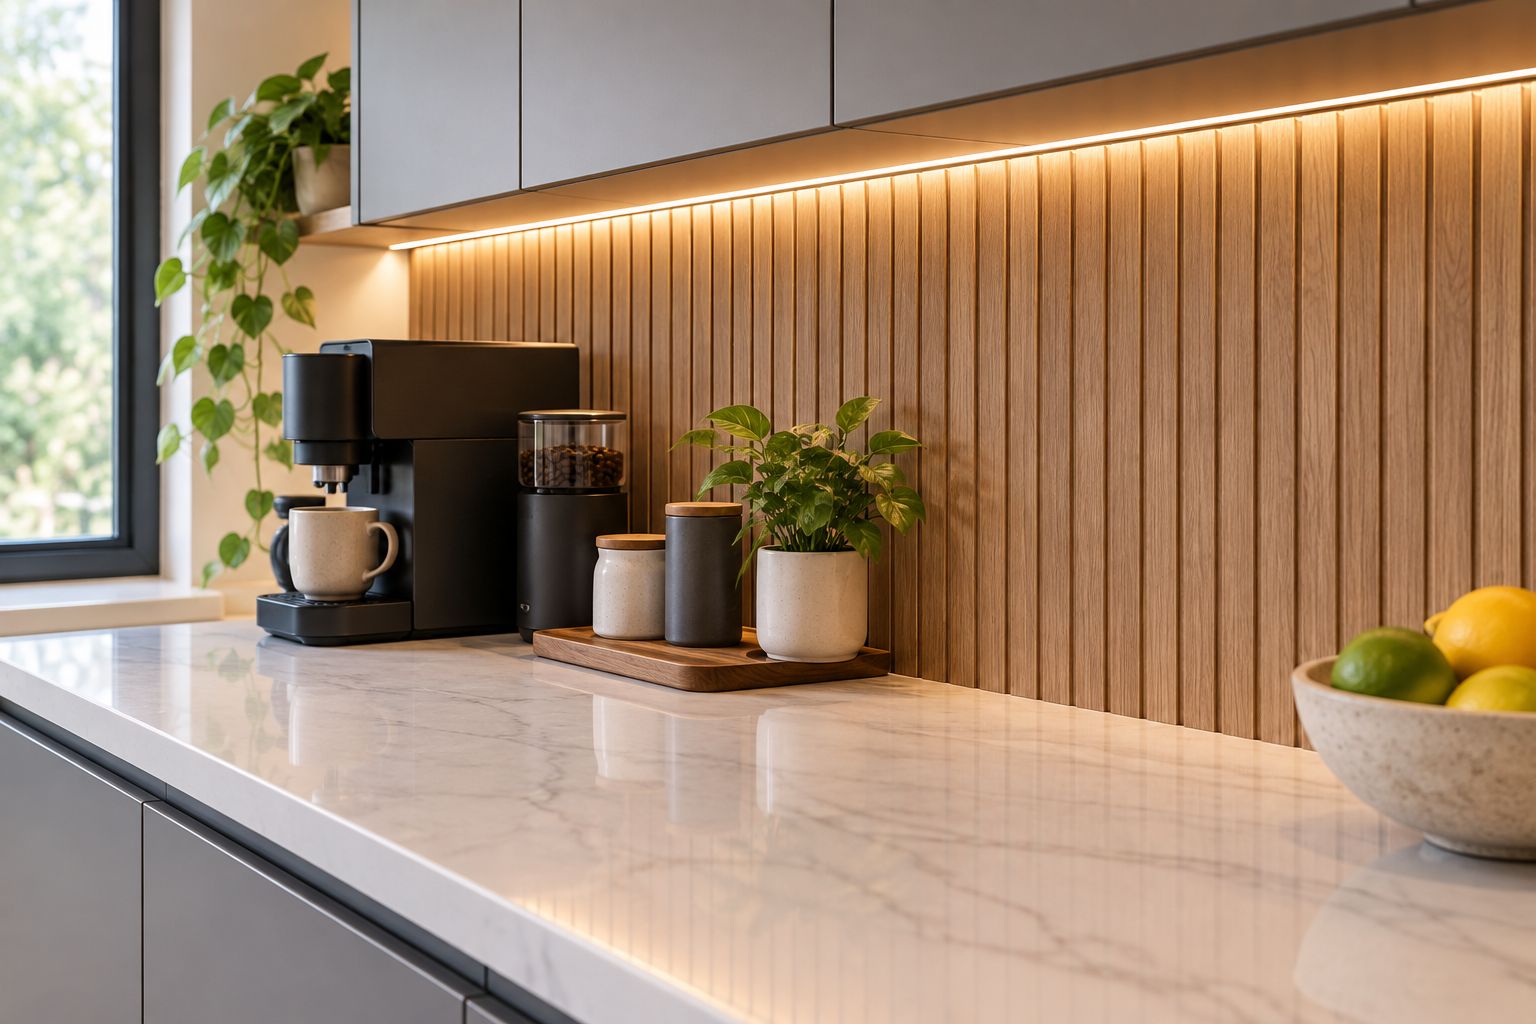
A wood surface can create an inviting backdrop, but texture introduces cleaning and maintenance considerations. The Panel Hub sells decorative and acoustic wall panels; that does not establish that every panel is suitable for a kitchen backsplash. Treat splash resistance, grease removal, and heat exposure as product-selection checks, not assumptions.
Complete the installation
- Isolate power before fastening near wiring. Keep the lighting disconnected during work that risks damaging cables. Have fixed electrical work completed by the electrician.
- Attach the panels using the specified method. Keep adhesives and fasteners away from cable routes and accessible electrical components. Respect the manufacturer's curing requirements before loading or finishing the installation.
- Mount the lighting securely. Use the fixture's approved clips, channel, screws, or mounting system. Avoid relying on an unsupported fixing method merely because it looks tidy.
- Finish visible edges. Fit compatible trim and any specified joint treatment without sealing over service points. Check that cabinet doors and drawers still operate freely.
- Perform the final lighting check. Restore power safely, test controls, and inspect the wall from normal viewing positions. Confirm that no cables are pinched and that access remains practical.
Expected result: The panels are secure, the lighting operates correctly, and maintenance does not require removing the wall finish.
Add wall panels beneath existing under-cabinet lights
You do not need to replace working lights just to change the wall finish. This adjacent workflow starts with the existing fixture's position and available clearance.
- Disconnect power before working near the lighting or its cables.
- Check whether the new panel thickness obstructs the fixture, connector, trim, or cable exit.
- Test a panel sample beneath the existing light before choosing the finish.
- Dry-fit the panels and preserve access to every electrical box and serviceable component.
- Reposition the fixture only if its approved mounting method and wiring arrangement permit it.
Best for: A cosmetic wall update where the existing lighting already serves the countertop well. The advantage is retaining a working system; the limitation is that its light color and position constrain how the new panels look.
For a 2026 refresh, decide whether those constraints are acceptable before fixing the panels. Changing the wall first and assessing the light afterward reverses the useful order.
Troubleshooting
- The LEDs highlight uneven seams. Check panel alignment and substrate flatness. If the installation is sound, test a different fixture position before making permanent mounting changes.
- Individual LED points reflect on the countertop. Test a compatible diffuser or adjust the mounting position within the fixture's instructions. Check the result from seated positions as well as standing height.
- The lights flicker when dimmed. Verify the dimmer, driver, and LED compatibility, then check connections with power isolated. Have an electrician investigate issues involving fixed wiring.
- A strip section does not illuminate. Disconnect power and check approved connectors, polarity, and permitted cut points against the instructions. Do not cut elsewhere to make the strip fit.
- The driver becomes unusually hot or the lights shut off. Disconnect the system and check loading, ventilation, and installation conditions. Do not conceal the problem behind a panel or continue using a damaged component.
Customize your workflow
Expand the installation only after the basic system works. Additional cabinet runs introduce more cable routing, connectors, and load; reassess the driver's capacity and permitted layout rather than extending a strip by guesswork.
For wet or frequently cleaned areas, start with wall panels for kitchen backsplashes. Material suitability comes before pattern selection. Keep decorative texture in locations where you can maintain it and where the manufacturer's instructions permit installation.
FAQ
Should I install wall panels or under-cabinet LED lighting first?
Plan and test the lighting before permanently installing the wall panels. Complete required electrical preparation first, dry-fit the panels, and then finish the panels and fixture mounting without losing access.
Can I hide an LED driver behind wall panels?
Do not bury an LED driver behind a permanent wall finish. Keep it accessible and follow its ventilation and mounting instructions.
Can I install wood wall panels behind a kitchen countertop?
Use wood wall panels there only when the specific product is suitable for the location. Check splash exposure, heat, cleaning requirements, and appliance clearances before installation.
What LED color temperature looks good with wood panels?
Test 2700 K or 3000 K for a warm appearance and 4000 K for a more neutral-looking result. Compare a real panel sample with the room’s existing lighting before choosing.
Do I need an electrician for under-cabinet lighting?
Use a qualified electrician for new outlets, hardwired fixtures, or changes to fixed wiring. A plug-in system still requires a suitable supply and installation according to its instructions.
Can I attach an LED strip directly to decorative wall panels?
Attach an LED strip there only if both the lighting and panel instructions permit that mounting method. A compatible cabinet-mounted channel keeps lighting maintenance separate from the wall finish.
Will acoustic panels stop kitchen noise reaching another room?
Sound absorption and sound isolation are different functions. An acoustic panel’s absorption rating does not establish that it will stop sound traveling through a wall.
One last thing
Photograph the cable route before the panels go up. Save that image with the lighting instructions and your 2026 project notes. When you later add a shelf, change a fixture, or repair a section, knowing where not to drill is as useful as knowing where the panels start.
Related guides
- Wall panels for DIY beginners
- Click-lock vs adhesive wall panels
- Grooved wall panels for modern interiors