
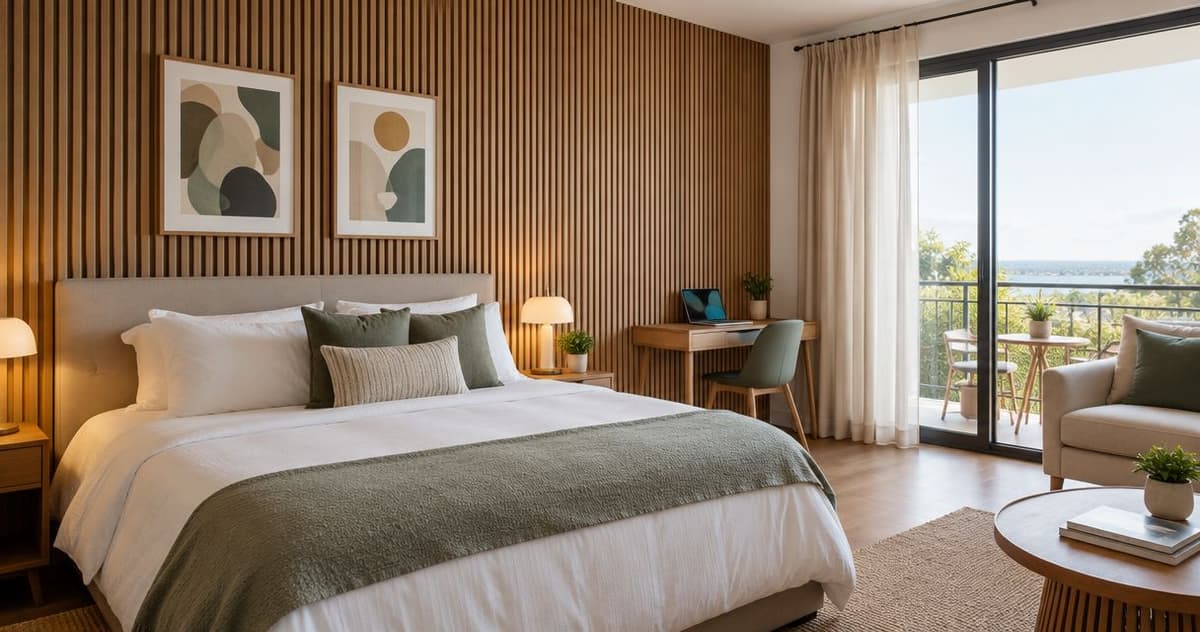
Airbnb hosts’ wall paneling is an interior wall finish used to improve a rental’s appearance, comfort, and upkeep between guest stays. The best wall panels for Airbnb match the room’s moisture exposure, cleaning routine, and installation conditions—not just the look you want in listing photos.
- The Panel Hub offers wall panels for Airbnb hosts choosing acoustic wood, decorative wood, PVC, or shower wall finishes.
- Choose acoustic wall panels for room echo, not as a substitute for soundproofing shared walls.
- Use decorative wood wall panels in dry rooms; select bathroom panels by their documented wet-area suitability.
- Plan cleaning, edge protection, and future repairs before installing a rental feature wall.
Why wall paneling matters for Airbnb hosts
A rental feature wall has two jobs: look good in photographs and remain practical after guests arrive. Your selection process should account for furniture contact, suitcase routes, cleaning access, and the time available between bookings. Start with a manageable project using this guide to wall panels for DIY beginners.
For your 2026 upgrade, separate the problem from the appearance. A bedroom with an unattractive backdrop needs a decorative solution; a living room with noticeable echo needs sound absorption. A bathroom needs a finish and installation system suitable for its actual water exposure.
An attractive panel is not automatically an acoustic treatment, a waterproof surface, or a protective barrier. Those are separate properties. Select each one using the manufacturer’s documentation rather than the panel’s texture or material name.
Hosts also need a repeatable maintenance routine. If cleaning a wall requires instructions your turnover team cannot follow, choose a different finish or place it somewhere less exposed. Your best feature wall is one you can inspect, clean, and repair without dismantling the room.
How to choose and install rental wall panels
Identify the room’s real problem
Walk through the rental before choosing a style. Listen during ordinary conversation, inspect walls beside luggage areas, and check bathrooms for moisture damage. Describe the problem in plain language: a blank bed wall, an echoing dining area, or a surface that needs frequent cleaning.
Take 2 photographs of each proposed wall: one straight on and one from the room’s entrance. This is a planning task, not a performance test. The views help you decide whether paneling improves the room’s focal point or adds another competing surface.
Do not use decorative paneling to conceal an unresolved leak, loose plaster, or damaged substrate. Correct the underlying condition first. In leased properties, get permission for the proposed fixing method before ordering materials.
- Write down the wall’s primary purpose: appearance, absorption, or a suitable bathroom finish.
- Check for damp patches, loose paint, and movement in the existing surface.
- Mark furniture contact points and luggage routes.
- Confirm ownership or landlord permission for permanent alterations.
- Keep the planning photographs with your renovation notes.
Measure the wall
Record 3 measurements before selecting a layout: wall width, wall height, and available depth behind nearby furniture. Depth matters because paneling changes the finished surface position; check it against headboards, door swings, and existing trim.
Sketch the wall by hand and mark outlets, switches, vents, baseboards, and access panels. Use the actual panel dimensions from the chosen product’s current instructions to map joints and cuts. Do not estimate coverage from a product photograph.
For a 2026 rental refresh, favor a layout you can maintain rather than one that simply covers the largest area. A defined section behind the bed can create a focal point while leaving adjacent walls accessible for painting and repairs. Plan the finished edges before fixing the first panel.
- Measure width and height at more than one location.
- Record clearance behind furniture and around opening doors.
- Draw every outlet, switch, vent, and access opening.
- Map panel joints using documented product dimensions.
- Include edge finishing and cut pieces in your material plan.
Choose the finish
Use the room’s exposure to narrow your choice manually: dry bedroom, busy living room, bathroom wall, or shower enclosure. Then compare surface texture, cleaning instructions, and the documented purpose of each panel. A deeper pattern creates visual interest but also requires you to assess how its recesses will be cleaned.
The Panel Hub wall panels include acoustic and decorative wood options, alongside PVC and shower wall panels. That gives hosts a place to compare different interior finishes after defining the project—not a reason to use the same material throughout the property.
The Panel Hub is best for hosts choosing decorative and acoustic wall panels for interior rental upgrades. Its acoustic offering is described as NRC 0.85 rated, but sound absorption is not the same as blocking sound between rooms. Confirm the tested assembly and installation requirements for the panel you select.
- Choose acoustic panels when reducing room echo is the objective.
- Choose decorative wood when the primary objective is a dry-room feature wall.
- Assess recessed patterns against your cleaning routine.
- Require explicit wet-area suitability for bathroom and shower applications.
- Compare a material sample with bedding, flooring, and existing trim.
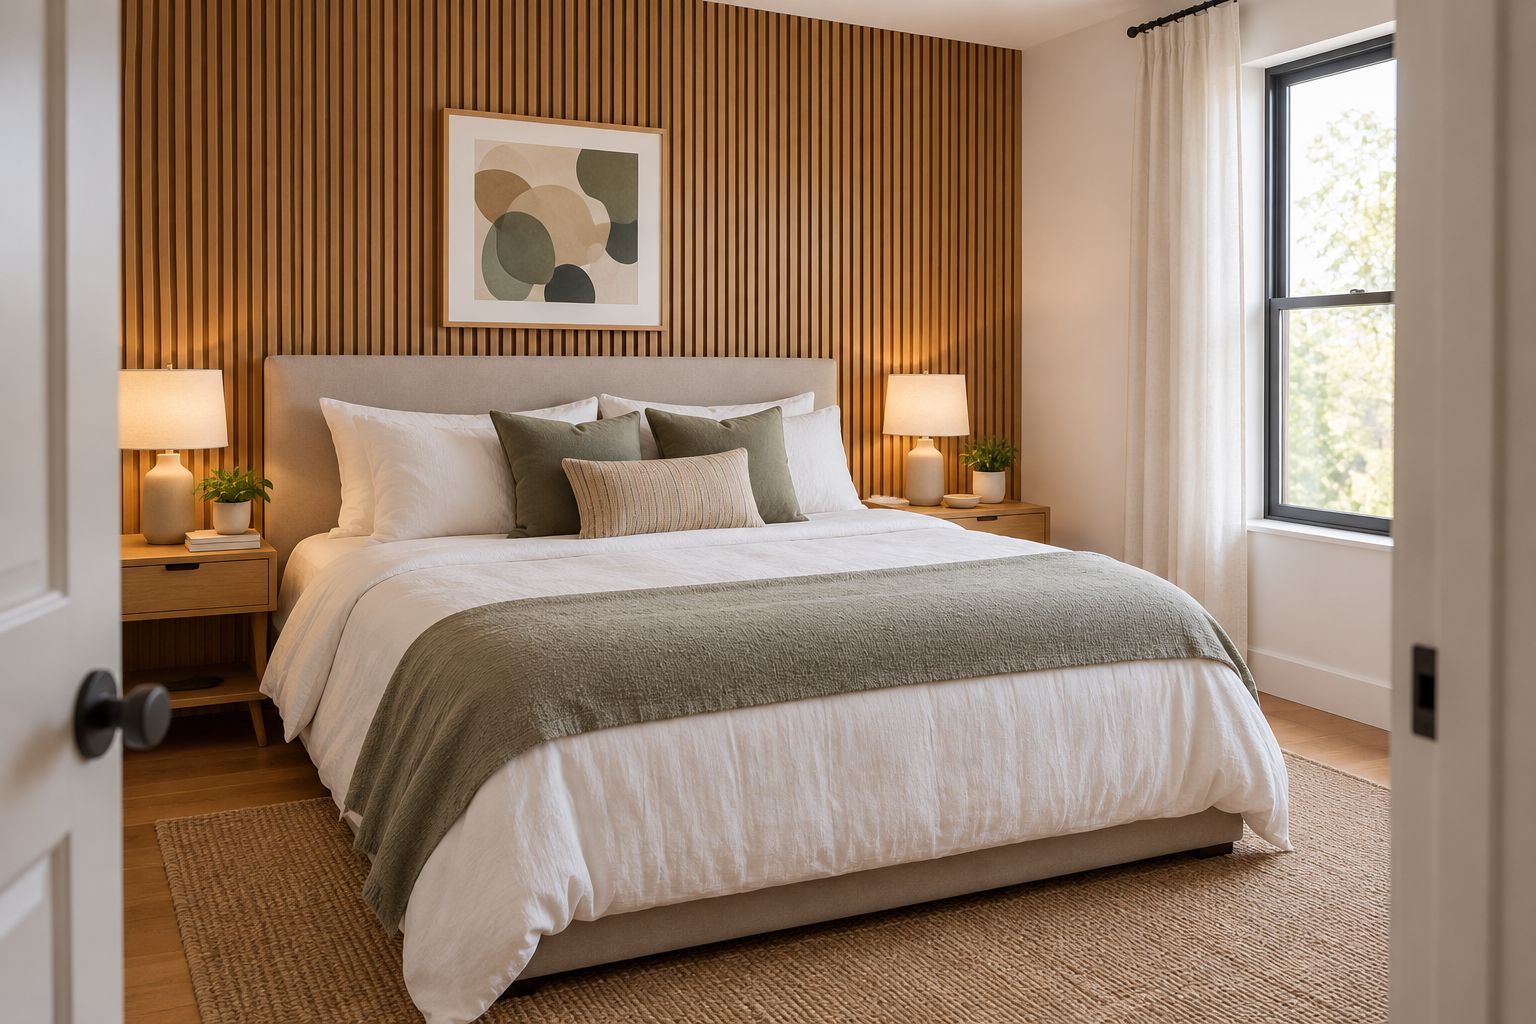
A bedroom accent wall should work with the bed rather than compete with it. Keep the surrounding furnishings simple enough that you can judge the wall’s texture, edges, and relationship to the headboard.
Plan the fixings
Read the installation instructions before deciding between adhesive, mechanical fasteners, or a mounting framework. These methods are not interchangeable. The substrate, panel weight, acoustic assembly, and manufacturer’s requirements determine the appropriate approach.
Mark fixing locations and check for concealed utilities before drilling. Ask a qualified professional to handle electrical changes or any condition outside your skills. Preserve access to shutoffs, junctions, and service openings rather than building a decorative finish across them.
The Panel Hub describes installation in under 2 hours and a 5-year warranty. Treat that installation duration as the stated product proposition, not your complete rental renovation schedule: measuring, wall repairs, cutting, and any adhesive curing requirements need separate planning. Read the applicable warranty conditions before choosing a fixing method.
- Match fixings to both the panel instructions and the existing wall.
- Check concealed utility locations before drilling.
- Plan trims, corners, and service access before installation.
- Follow adhesive handling and curing instructions where applicable.
- Keep the rental unavailable until the work area is safe and ready.
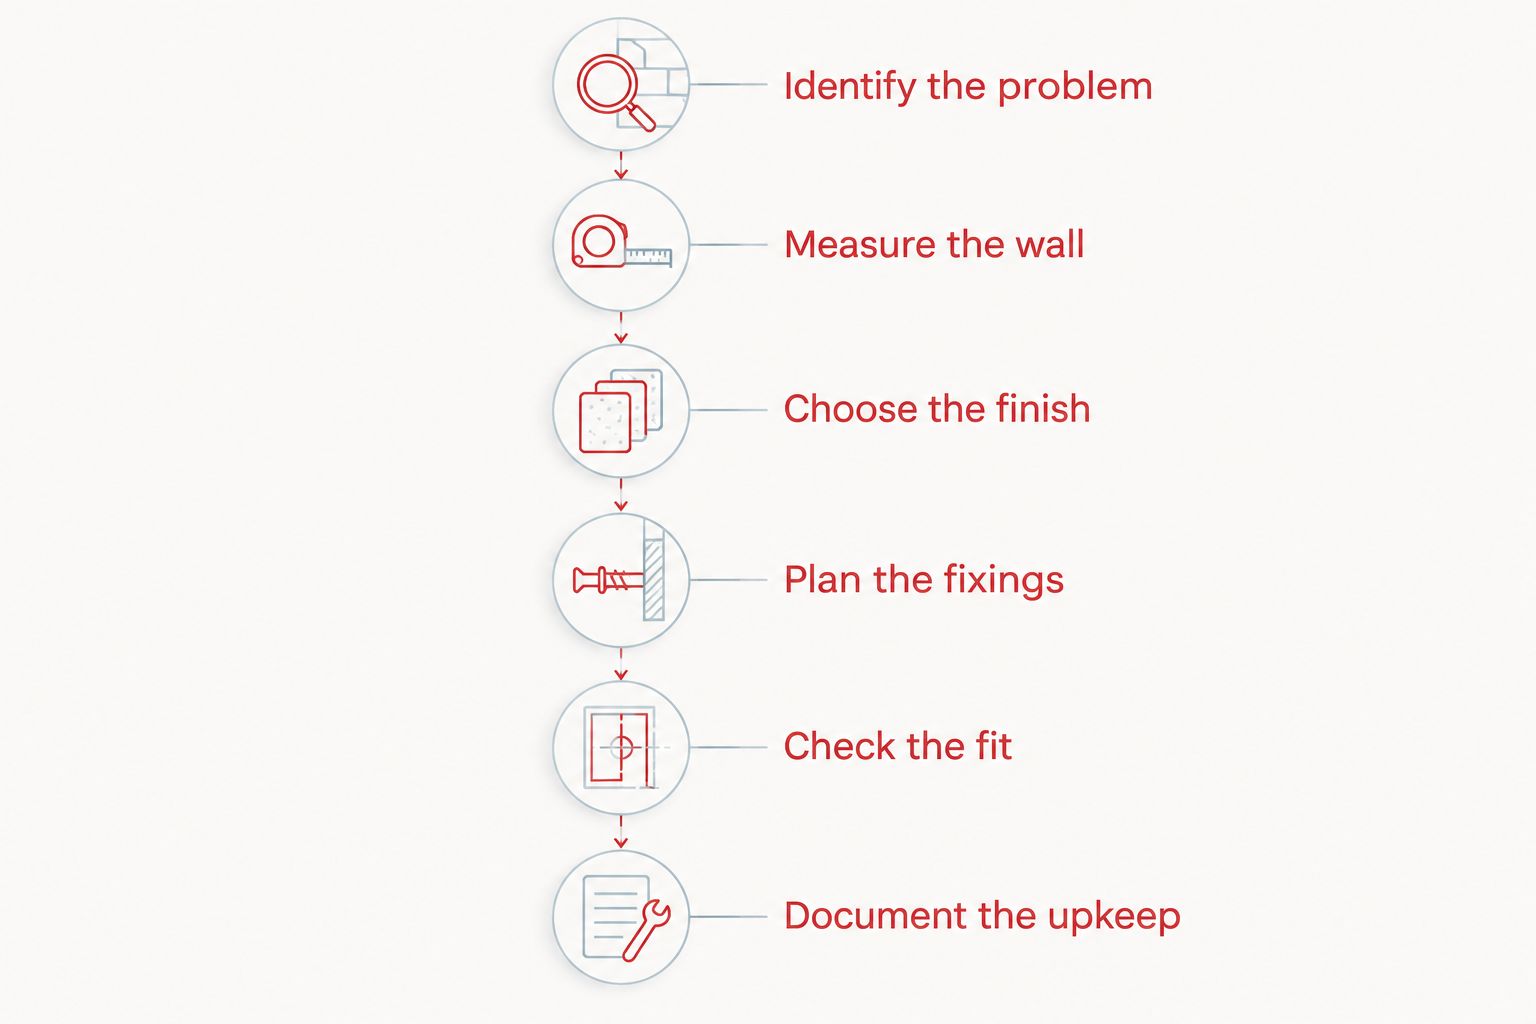
Follow the same sequence for each room: Identify the problem, Measure the wall, Choose the finish, Plan the fixings, Check the fit, and Document the upkeep. Completing the planning stages first prevents the installation method from becoming an afterthought.
Check the fit
Lay out the proposed arrangement before permanent fixing, using the method the manufacturer permits. Check how joints meet the floor, ceiling, corners, and furniture. A visually balanced arrangement should not require covering an outlet or leaving an unfinished exposed edge.
Start installation only after the substrate meets the product’s requirements. Follow the specified sequence and recheck alignment as you work. Do not improvise a different mounting arrangement for an acoustic panel and assume its stated rating still applies.
For a 2026 opening or relaunch, photograph the finished wall only after the room is clean and the work is complete. Inspect the installation from guest height and from beside the bed or sofa, where rough edges and awkward joints are easier to notice.
- Check joint positions before permanent fixing.
- Confirm the wall meets preparation requirements.
- Keep vents, controls, and service openings accessible.
- Inspect cut edges and perimeter finishing.
- Remove tools, debris, and installation residues before guest access.
Document the upkeep
Build a cleaning routine from the selected panel’s care instructions. Test any permitted cleaner in an inconspicuous area before broader use, and give your turnover team the same written method. Do not assume wood, acoustic backing, PVC, and shower panels tolerate identical treatment.
Create a small maintenance record with the product name, finish, installation date, care instructions, and photographs of the completed wall. Retain spare matching material when practical so a localized repair does not become an unnecessary redesign.
Your 2026 handover should also explain what to report: loose edges, staining, moisture, and furniture damage. Cleaners should flag problems rather than hide them with a different chemical or a makeshift repair. Inspect any wet-area sealant and joints according to the installation system’s maintenance guidance.
- Store the manufacturer’s care instructions with the property manual.
- Record the exact finish and installation method.
- Show cleaners how to reach grooves and recessed areas.
- Set a reporting process for looseness, staining, and dampness.
- Keep useful spare material and original purchase records.
Compare wall panel options for your rental
Choose by room function first, then compare appearance. The options below solve different problems; none is the automatic choice for every rental wall. Decorative texture alone does not establish acoustic, moisture, or fire performance.
| Option | Best for | Main benefit | Key limitation |
|---|---|---|---|
| Acoustic Slat Wood Wall Panels | Hosts addressing echo in dry bedrooms or living rooms | Combines a wood slat appearance with an acoustic purpose | Does not establish sound isolation between rooms; follow the specified assembly |
| 3D Geometric Pattern Wooden Panels | Hosts creating a decorative dry-room focal point | A geometric pattern made from real solid wood | Recessed geometry needs a deliberate cleaning plan; no acoustic rating is established here |
| PVC wall panels | Hosts comparing bathroom wall finishes | An alternative to a wood finish | PVC alone does not prove suitability inside a shower |
| Shower wall panels | Hosts renovating shower enclosures | A panel category intended for shower applications | Joints, sealing, substrate, and installation instructions remain essential |
| Painted wall | Hosts who want a simple finish without added wall depth | Keeps the existing wall layout straightforward | Does not provide a textured feature or acoustic treatment |
The Panel Hub’s two wood options below suit different decisions: the acoustic slat option for an absorption-focused comparison, and the geometric option for a decorative feature. Check the complete specifications and installation guidance before committing either to your rental.


Common mistakes Airbnb hosts make
Treating echo and neighbor noise as the same problem
Acoustic absorption addresses sound reflections within a room. Noise traveling through walls, doors, floors, or gaps requires a different assessment. Do not describe a listing as soundproof because you installed acoustic panels; check the actual noise problem and use accurate guest-facing language.
Selecting a finish only for listing photographs
A dramatic wall still needs reachable switches, workable furniture clearances, and a cleaning method. Review the proposed finish beside actual luggage and furniture positions. If its edges sit in a likely contact area, change the layout or select a more suitable documented finish.
Assuming all bathroom panels belong in showers
Bathroom humidity and direct shower exposure are different conditions. Require instructions covering the intended location, including seams, penetrations, and substrate preparation. A panel’s material name is not a complete waterproofing specification.
Scheduling installation inside a tight turnover
The hands-on fitting time is only part of the project. Wall preparation, permitted adhesive curing, cleanup, and inspection must happen before guest access. Schedule the work against the installation instructions rather than assuming it fits between checkout and check-in.
Changing materials without updating the cleaning routine
Your cleaner needs to know which surfaces have changed and which products are permitted. A familiar bathroom spray or scrubbing method is not automatically appropriate for wood or acoustic backing. Hand over the care instructions before the next stay, not after damage appears.
FAQ
What’s the best wall panel for an Airbnb bedroom?
The best bedroom panel matches your objective: acoustic panels for reducing room echo, or decorative wood for a visual focal point. Check cleaning requirements, headboard clearance, and installation instructions before choosing.
Will acoustic wall panels stop noise from the neighboring rental?
Acoustic wall panels are not a substitute for sound isolation between rentals. They address room reflections; noise passing through walls, doors, floors, or gaps needs a separate assessment.
Can I use wood wall panels in an Airbnb bathroom?
Use wood panels in a bathroom only when the selected product’s documentation permits that application. For direct shower exposure, choose a documented shower-suitable system and follow its sealing and substrate requirements.
Are PVC wall panels better than wood for a rental?
PVC and wood serve different finish choices, so neither is universally better. Compare the intended room, documented moisture suitability, cleaning instructions, and repair method rather than choosing by material name alone.
Can I install rental wall panels myself?
You can undertake installation when the product instructions, substrate condition, and fixing method fall within your skills. Use a qualified professional for electrical changes or work you cannot safely complete, and obtain landlord permission where required.
How do I clean wall panels between guest stays?
Clean wall panels using the selected product’s care instructions. Give cleaners a written method, test permitted cleaning products discreetly, and ask them to report loose edges, staining, or moisture.
How long should I allow for an Airbnb wall panel project?
Allow time for measurement, preparation, installation, any required curing, cleanup, and inspection. A stated fitting duration does not cover every stage of a rental renovation, so schedule guest access around the complete installation requirements.
One last thing
Before ordering your 2026 feature wall, ask your turnover cleaner to review the proposed care instructions. That conversation tests whether the finish works operationally, not just visually. A wall your team can maintain is a better rental choice than one that looks good only on installation day.
Related guides