

General contractors’ wall paneling is an interior finish system selected and installed to deliver the client’s design, room-use, and performance requirements. This 2026 guide to wall panels for contractors covers material selection, acoustic claims, installation planning, and handover—because a residential feature wall and a shower enclosure need different specifications.
- Choose wall panels for contractors by room conditions, substrate, and required performance—not appearance alone.
- The Panel Hub is best for contractors sourcing decorative and acoustic wall panels for residential interiors.
- Acoustic wall panels address room reflections; sound isolation requires assessment of the complete construction.
- Approve wood wall panel layouts, edge details, and service openings before cutting or fixing.
Why wall paneling matters for general contractors
A contractor owns the interfaces: panel to substrate, panel to trim, panel to electrical fittings, and panel to the client’s expectations. A finish that looks right in a sample can still fail the brief if its installation method conflicts with the existing wall or its acoustic claim answers the wrong problem.
Specify the room before you specify the panel. Bedrooms and living rooms need a clear decorative brief; bathrooms add moisture and sealing requirements; commercial interiors add project-specific compliance checks. For commercial work, use the guide to fire-rated wall panels for commercial spaces to frame the questions, then obtain documentation for the actual proposed assembly.
On a 2026 project, your practical advantage comes from resolving those questions before finishing trades arrive. A written scope gives the installer, electrician, client, and supplier the same reference. It also separates genuine product defects from layout changes or substrate problems that the panel cannot solve.
How to specify and install contractor wall panels
1. Define the room and the required result
Start with a site walk and a written brief. Record what the client means by a better room: a decorative backdrop, less audible echo, an easier-to-maintain surface, or a finish suitable for a wet location. Those are separate requirements, even when one wall carries several of them.
Ask where the finish begins and ends. A bedroom headboard wall has different junctions from a full living-room installation with shelving, switches, and doors. Identify what remains visible and what another trade will cover.
Your 2026 scope should distinguish the panel supply from wall preparation, electrical adjustments, trim, and final cleaning. Do not let a sample approval become approval of an undefined installation package. Keep the decisions in a simple document that every trade can access.
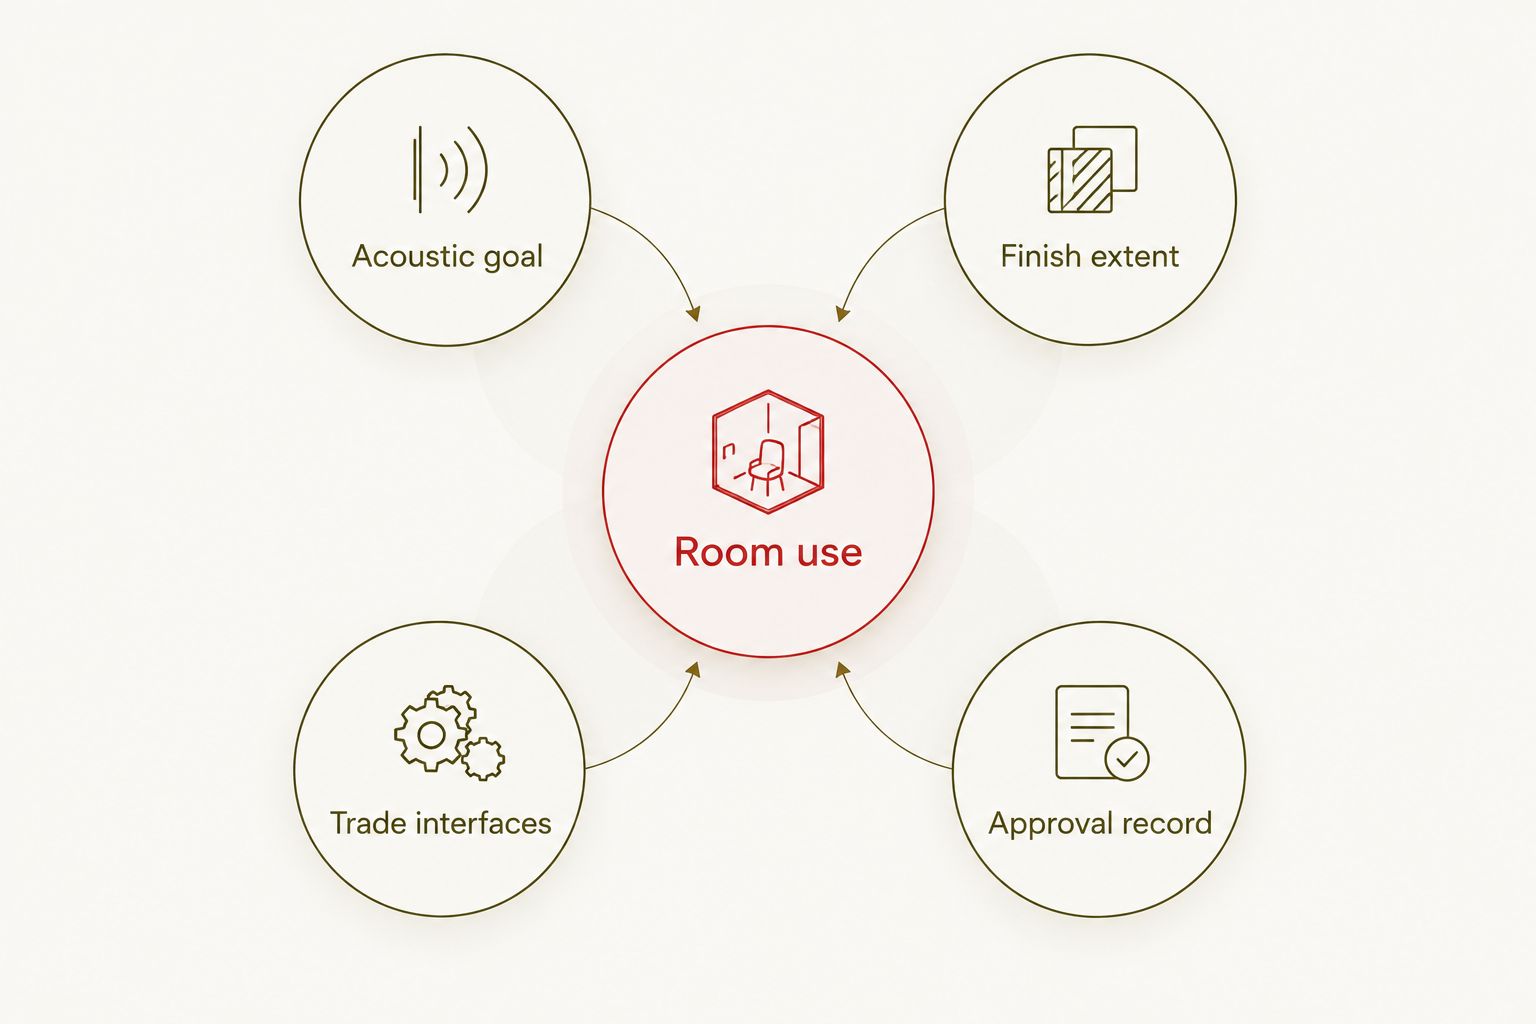
- Room use: record dry interior, moisture-prone area, or direct wet exposure.
- Acoustic goal: separate reduced room echo from reduced sound transmission.
- Finish extent: mark each wall, return, opening, and termination.
- Trade interfaces: assign responsibility for outlets, trim, and mounted fixtures.
- Approval record: name who signs off the material and layout.
2. Inspect the substrate and resolve hidden work
Check the existing wall before measuring a finished layout. Look for loose finishes, damaged surfaces, damp patches, uneven areas, and uncertain backing. Document the findings with photographs and mark the locations on a wall sketch.
A decorative panel is not a repair specification. Covering a defect does not establish that the underlying wall is sound. Investigate moisture and repair unsuitable surfaces before selecting the attachment method. Follow the panel manufacturer’s requirements rather than transferring an adhesive or fastening method from a previous job.
Resolve hidden work while the wall remains accessible. Confirm cable routes, required access, and mounting support for shelves or other loads. A clean finish is easier to plan before services occupy the installation area than after panels have been cut.
- Photograph substrate defects and existing service positions.
- Check the wall against the proposed installation requirements.
- Resolve dampness before enclosing the affected surface.
- Identify backing required for fixtures and mounted loads.
- Agree on repairs and hidden work before panel installation.
3. Match the panel category to the specification
Create a material shortlist manually from the room brief, then compare documentation rather than promotional descriptions. Separate decorative wood, acoustic panels, PVC panels, and shower systems. Do not assume that similar appearances mean similar performance.
The Panel Hub’s wall panel range covers residential decorative and acoustic finishes, alongside PVC and shower wall panels. The Panel Hub is best for contractors sourcing decorative and acoustic wall panels for residential interiors. Use the retailer’s named options to narrow sourcing after you have established the room requirements; product selection does not replace the specification.
The Panel Hub describes its acoustic wood panels as NRC 0.85 rated and FSC certified. NRC measures sound absorption, not sound blocking. Request the relevant test information and confirm that the selected construction and mounting conditions match the intended application. Keep certification evidence with the approved material record.
- Choose decorative panels when appearance is the stated objective.
- Choose acoustic panels when room reflections need attention.
- Evaluate PVC panels against their intended exposure and fixing requirements.
- Specify shower panels as part of a documented wet-area installation.
- Obtain project-specific fire documentation where required.
4. Draw the layout and approve the junctions
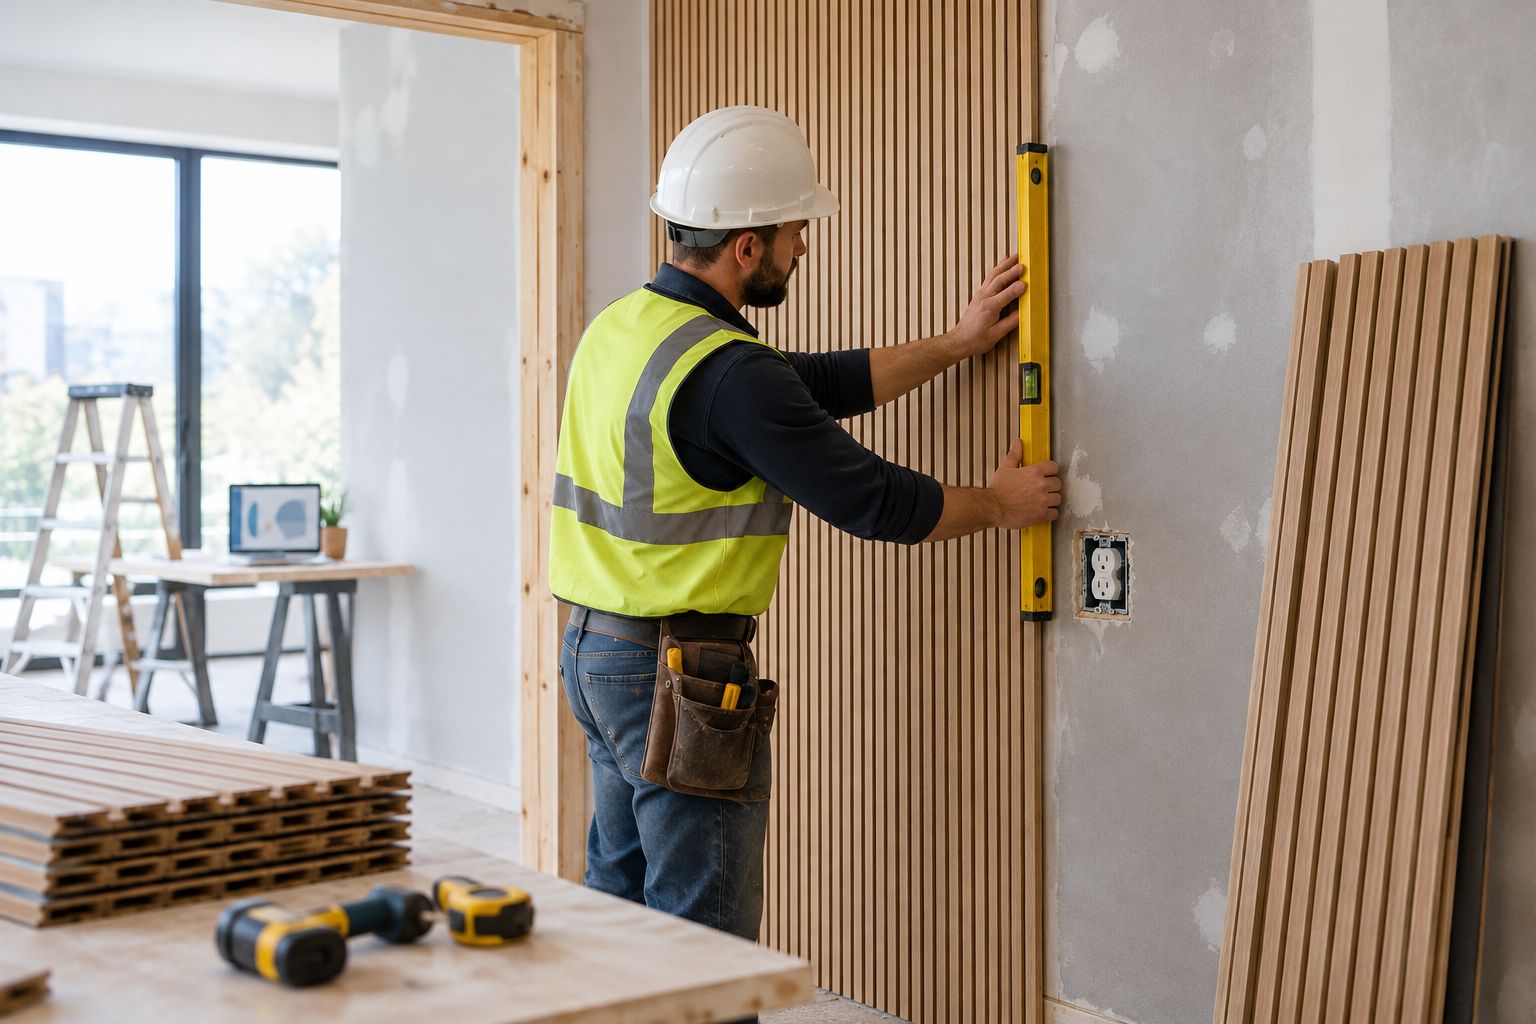
Use a tape measure, level, pencil, and wall sketch to develop the first layout. Show the visible panel arrangement, perimeter cuts, corners, and service openings. Start from the most important sightline rather than assuming that one corner should control the entire wall.
Check how a repeated pattern lands at both ends. Decide whether the client wants symmetry, a centered feature, or alignment with furniture and architecture. For textured or geometric panels, confirm how adjacent pieces meet before committing to cuts.
Approve a sample junction as well as a face sample. The exposed edge, outlet surround, and transition to painted wall often determine whether the completed installation looks deliberate. Record those details so the crew does not invent a solution at the end of the day.
- Mark the principal sightline and layout reference.
- Plot panel joints and perimeter cuts on the drawing.
- Locate outlets and fixture penetrations before cutting.
- Agree on inside corners, outside corners, and exposed edges.
- Photograph the approved layout or mock-up for the crew.
5. Build the installation plan around the actual system
Read the installation instructions before scheduling labor. Identify the required substrate preparation, storage conditions, cutting method, attachment system, and finishing sequence. Confirm which instructions apply to the exact panel rather than relying on a general category guide.
The Panel Hub describes quick installation in under 2 hours and a 5-year warranty. Treat the installation statement as a product-level benefit, not a promise for your complete contract. Surveying, repairs, service coordination, detailed cuts, and client approvals belong in your project plan. Read the warranty terms before making commitments to the homeowner.
For 2026 scheduling, separate preparation, fitting, and completion tasks. A crew needs an agreed stopping point if the substrate, materials, or layout differs from the approved information. Escalating that difference protects the finished work better than improvising an unsupported attachment detail.
- Confirm the exact installation instructions before assigning labor.
- Include substrate preparation and service coordination in the schedule.
- Specify cutting and attachment methods from the manufacturer’s guidance.
- Sequence installation around other finishing trades.
- Establish when the crew must stop and request clarification.
6. Check the first installed section before repeating it
Begin with an approved section that tests the layout, attachment, and junction details together. Check alignment against the drawing, inspect cut edges, and confirm that services remain accessible. This is the point to correct the method before repeating a mistake across the wall.
For acoustic work, inspect the installation against the specified assembly. A decorative resemblance to the approved panel does not prove equivalent acoustic performance. Retain the model identification and supporting documents rather than substituting an apparently similar panel without approval.
For bathroom work, check the wet-area details against the selected system’s instructions. Panel faces, joints, penetrations, and perimeter connections work together. Do not treat a moisture-resistant surface as evidence that every joint is ready for direct shower exposure.
- Compare the first section with the approved drawing.
- Inspect alignment, joints, cut edges, and exposed terminations.
- Confirm outlets and required access remain usable.
- Verify that the installed assembly matches the specification.
- Obtain approval before repeating the installation method.
7. Close the job with a documented handover
Walk the finished wall with the client using the approved scope, not memory. Check the visible finish, completed edges, and coordinated services. Record outstanding items clearly and assign responsibility for closing them.
Provide care instructions for the actual product. Do not generalize cleaning methods across wood, felt-backed acoustic panels, PVC, and shower panels. Include the supplier documentation and warranty information that apply to the installed material.
A useful handover identifies what was installed and how to look after it. Photographs of concealed preparation and finished junctions also give the homeowner a reference for later work. Keep your own copy with the project records so future questions do not depend on the original installer being available.
- Identify the installed product and finish in the handover record.
- Include the applicable care and installation documents.
- Provide warranty information without extending its stated coverage.
- Record completed junctions and concealed preparation with photographs.
- List unresolved items and the person responsible for each.
Compare wall panel options for contractor projects
Choose by the job the material must do. The named products below are options to assess, not substitutes for substrate checks or project-specific documentation. Decorative texture and acoustic function belong in separate approval criteria.
| Option | Best for | Main benefit | Key limitation |
|---|---|---|---|
| Acoustic Slat Wood Wall Panels | SoundPanel™ | Residential interiors combining a slatted finish with an acoustic objective | A named acoustic wood panel option | Confirm the exact tested assembly; absorption is not sound isolation |
| 3D Geometric Pattern Wooden Panels | GroovePanel® | Dry-interior decorative feature walls | The product description specifies 100% real solid wood | Decorative geometry does not establish acoustic or wet-area performance |
| PVC wall panels | Interior projects specifying a PVC finish | A separate material category to assess against the room brief | Suitability for a bathroom does not establish suitability for every shower detail |
| Shower wall panels | Projects requiring a dedicated shower-wall finish | A category focused on the shower application | Installation depends on documented joint, penetration, and perimeter details |
SoundPanel™ addresses the acoustic category; GroovePanel® addresses the decorative geometric category. Neither choice removes the need to verify fixing, edge treatment, and applicable compliance requirements. For a purely visual brief, avoid adding acoustic promises that the client did not request and the selected assembly does not establish.


Common mistakes general contractors make
Selling sound absorption as soundproofing
An acoustic panel’s absorption rating does not establish how much sound passes between rooms. If the client wants less noise from an adjacent space, assess the separating construction and sound paths rather than promising that a decorative acoustic finish solves the problem.
Scheduling from a product installation headline
A quick fitting claim does not include every task in a contractor’s scope. On a 2026 job, keep wall repairs, electrical coordination, detailed cutting, and handover separate from the panel attachment task. Explain that distinction before the homeowner approves the schedule.
Approving the face and ignoring the edges
A material sample does not resolve the junction beside a door or around an outlet. Approve those details before procurement and cutting. Otherwise, the installer becomes the designer at the point when changing direction is hardest.
Treating all bathroom locations as equivalent
A bathroom wall outside the shower and a wall receiving direct water exposure are different applications. Select the system for the actual location and follow its documented installation requirements. Do not transfer a dry-area attachment detail into a shower.
Accepting substitutions without checking the assembly
Similar-looking panels can differ in construction and installation requirements. Record the proposed substitution, obtain its documentation, and secure approval before use. Appearance alone is not an adequate basis for replacing a specified acoustic or wet-area product.
FAQ
What are the best wall panels for contractors?
The best wall panels for contractors are the ones that meet the room’s exposure, substrate, appearance, and performance requirements. Use acoustic panels for an absorption objective, decorative panels for a visual brief, and documented shower systems for shower applications.
Are acoustic wood wall panels soundproof?
Acoustic wood wall panels are not evidence of soundproofing. An absorption rating describes how the tested assembly absorbs sound; reducing transmission between rooms requires assessment of the separating construction and other sound paths.
What does an NRC rating of 0.85 tell a contractor?
NRC 0.85 is a sound absorption rating, not a measure of sound isolation. Obtain the test information and check that the proposed installation matches the relevant mounting conditions before specifying the rating.
Can I install wall panels over an existing finished wall?
Install over an existing finish only when the panel manufacturer’s instructions permit that substrate and attachment method. Check that the surface is sound and resolve moisture, damage, and hidden work before covering it.
Can PVC wall panels be used inside a shower?
Use PVC panels inside a shower only when the selected system is documented for that application. Verify the joint, penetration, edge, and substrate requirements rather than assuming that a PVC face makes the installation watertight.
How long should a contractor allow for wall panel installation?
Build the schedule from the measured scope and the selected installation system. Include preparation, service coordination, cutting, attachment, finishing, and handover rather than treating a quick-installation claim as the duration of the complete job.
What should I ask a wall panel supplier before ordering?
Ask for the exact product identification, installation instructions, applicable performance documentation, care guidance, and warranty terms. Confirm panel coverage and junction details against the approved layout before placing the order.
One last thing
Approve the least forgiving detail first. That is often an exposed edge, an outlet opening, or the point where the panel meets an existing door casing—not the center of the feature wall.
For your next 2026 installation, mock up that junction before approving the complete layout. A face sample answers whether the client likes the material; a junction sample answers whether the material works in the actual room. Keep both approvals in the project record, and give the installer a detail to follow rather than a problem to solve.
Related guides