
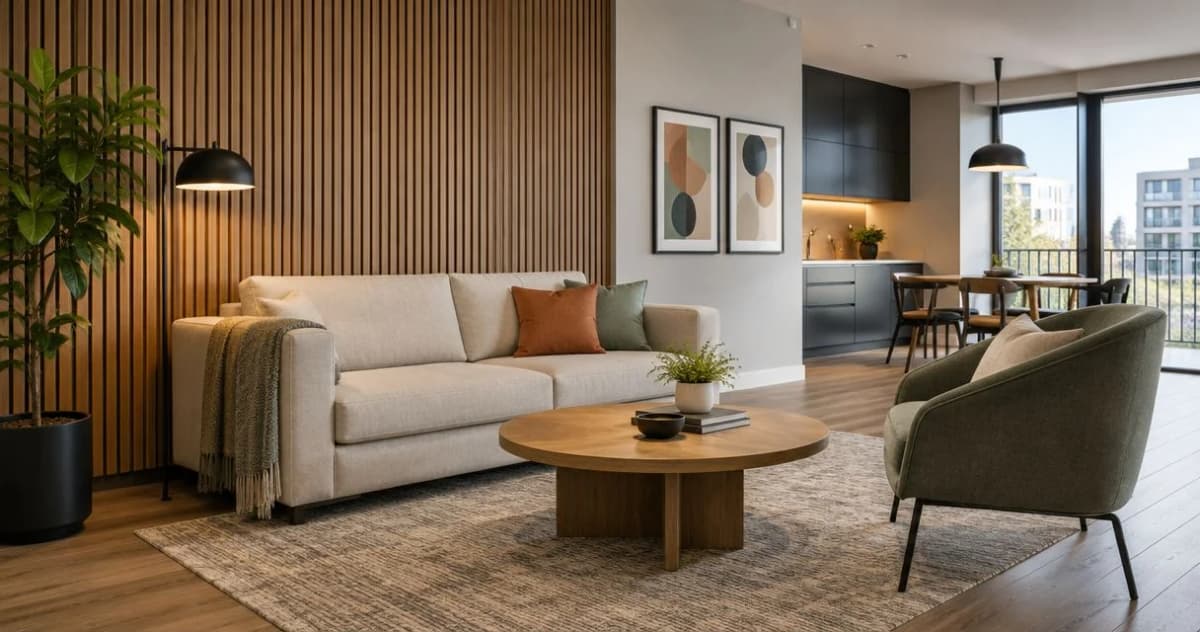
Property managers’ wall paneling is interior wall cladding selected to improve multifamily units and shared spaces while keeping installation and maintenance manageable. This guide to wall panels for property managers explains how to choose finishes by room, separate acoustic benefits from sound isolation, and build a repeatable 2026 installation plan.
- The Panel Hub wall panels suit property managers shopping for decorative wood and acoustic finishes for interior upgrades.
- Choose wall panels for property managers by room exposure, cleaning needs, repair access, and installation documentation.
- Acoustic wall panels address room reflections; they do not establish sound isolation between apartments.
- Pilot wood wall panels in a vacant unit before repeating the finish across a multifamily property.
Why wall paneling matters for property managers
A multifamily finish needs to work beyond the listing photo. You need a wall that maintenance staff can clean, inspect, and repair without turning a localized problem into a full-room project.
The Panel Hub wall panels are best for property managers shopping for decorative wood and acoustic interior finishes. The Panel Hub sells real wood acoustic panels alongside decorative, PVC, and shower wall panels. Select from those categories by application rather than treating every panel as interchangeable.
The retailer describes its real wood acoustic panels as NRC 0.85 rated and FSC certified, with installation in under 2 hours and a 5-year warranty. These are useful screening facts, not a complete multifamily specification: confirm which panel, mounting arrangement, project scope, and warranty terms apply before purchase.
For your 2026 property plan, separate three jobs: improving appearance, reducing reflected sound inside a room, and finishing a wall exposed to water. A panel selected for one job does not automatically perform the others. Match the finish to the problem before you choose its color.
Choose and install wall panels for multifamily units
Define the job for each wall
Start with a free room-by-room survey. Walk the property with your maintenance lead and record what each proposed panel installation must accomplish: a bedroom feature wall, a more inviting leasing office, or a bathroom finish with documented suitability for its exposure.
Name the problem precisely. A bare shared lounge with distracting reflections calls for a different assessment than voices passing through a partition between apartments. Decorative wood can change the appearance of either space, but appearance alone does not establish acoustic performance.
Give each location a short acceptance checklist. That checklist becomes the basis for product selection and prevents a preferred finish from becoming the default everywhere.
- Room purpose: Record whether the wall serves a unit, leasing office, lounge, or circulation space.
- Exposure: Note water contact, sunlight, furniture contact, and frequent cleaning.
- Sound goal: Separate room echo from sound traveling between units.
- Repair access: Identify outlets, inspection points, and concealed services that must remain accessible.
Inspect the wall before choosing a finish
Use a tape measure, photographs, and a marked-up room sketch before opening a product catalog. Record the usable wall area rather than assuming nominal room dimensions equal the panel coverage you need.
Look for moisture, damaged substrate, loose paint, and uneven surfaces. Fix the underlying condition before covering it; a new finish is not a substitute for diagnosing a damp or deteriorating wall. Check the selected product’s preparation requirements against the actual surface.
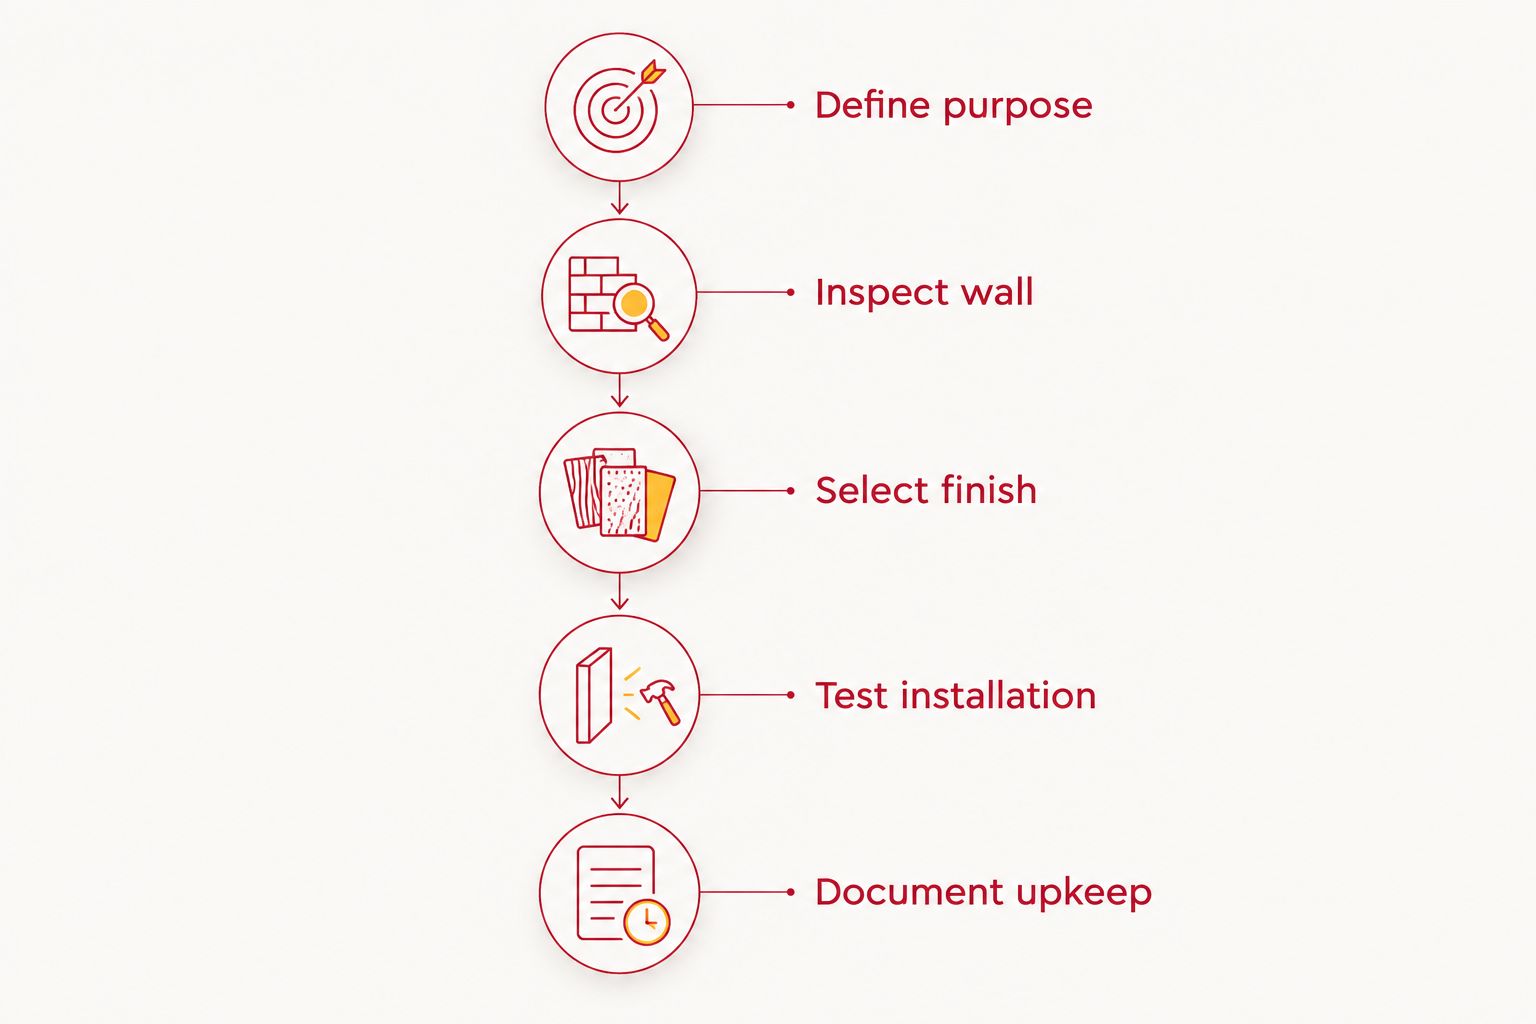
For a 2026 rollout, use the same planning sequence at every property: define the purpose, inspect the wall, select the finish, test installation, and document upkeep. Repeating the process makes differences between buildings visible before they become installation problems.
Keep the survey with the work order so installers can see the constraints before cutting panels. A useful drawing shows edges and obstacles, not just total area.
- Measure boundaries: Record wall height, width, doors, windows, and fixed furniture.
- Mark obstructions: Locate switches, outlets, vents, and access panels.
- Check substrate: Compare the existing surface with the manufacturer’s installation instructions.
- Confirm permissions: Resolve property approval, applicable code requirements, and contractor responsibilities.
Match the material to the room
Start by comparing material categories and reading installation documents. You can make a useful shortlist without buying anything: decorative wood for visual texture, acoustic panels for documented absorption, and bathroom systems with instructions appropriate to the intended exposure.
Once the application is clear, factory-made panels provide a route that avoids designing and fabricating each decorative element yourself. For dry living areas or shared spaces where absorption is the stated goal, review Acoustic Slat Wood Wall Panels | SoundPanel™ against your mounting and maintenance requirements.
NRC 0.85 is a sound-absorption rating, not a promise of 85% less noise between apartments. NRC describes absorption under a test arrangement; the installed result depends on the room and assembly. Do not buy acoustic paneling as a substitute for a sound-isolation assessment.
Treat product documentation as part of the selection, not paperwork to collect after delivery. That is especially important when a finish moves from a private bedroom into a shared circulation space.
- Dry-room finish: Compare appearance, cleanability, and repair methods for bedrooms and living rooms.
- Acoustic finish: Request the test report and mounting details behind the absorption rating.
- Bathroom finish: Verify suitability for the exact location, including direct shower exposure where relevant.
- Shared-space finish: Confirm applicable fire-performance and installation requirements before approval.
Pilot the installation in a vacant unit
Install a trial area before committing the same finish across multiple apartments. Use your usual installer and the actual wall condition, rather than judging the process only from a demonstration on a clean, unobstructed surface.
The Panel Hub describes installation in under 2 hours. Use that stated timing as a reason to investigate the system, not as the duration for your entire work order. Wall preparation, cutting around outlets, edge finishing, cleanup, and any required curing or inspections belong in your project schedule.
Check the result under the room’s normal lighting. Look closely at joints, exposed ends, corners, and transitions to painted walls; these details determine whether the finish looks intentional.
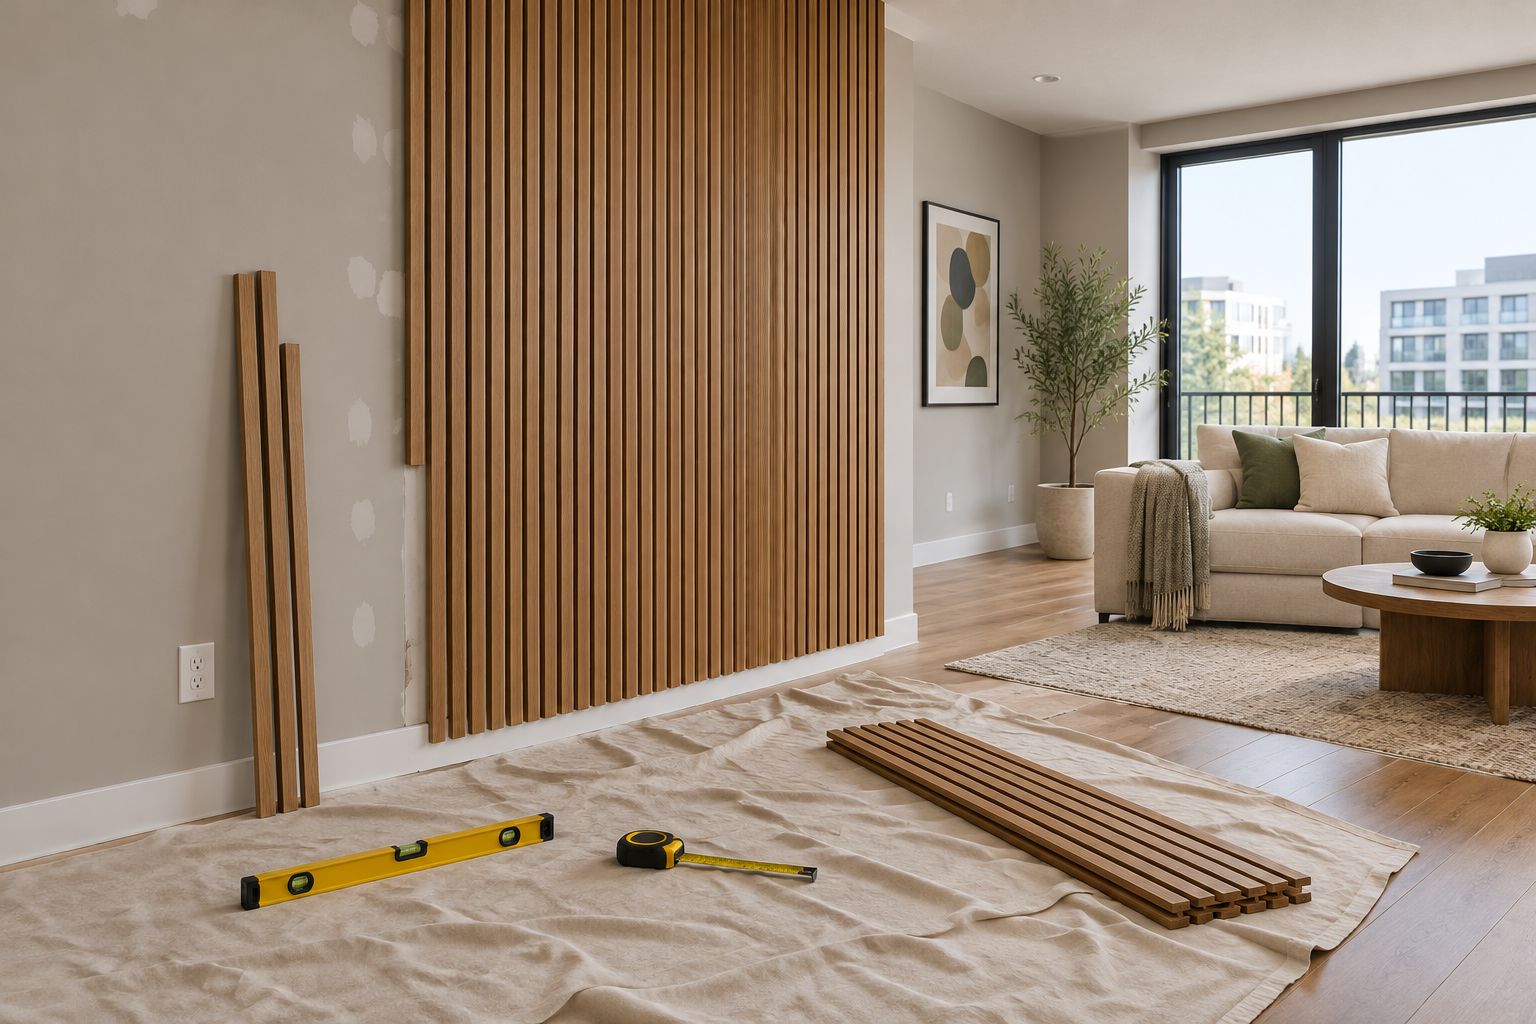
Document the trial before authorizing the next unit. The useful output is a repeatable method with known preparation and finishing tasks, not simply a completed feature wall.
- Time the work: Separate preparation, fitting, fastening, finishing, and cleanup.
- Inspect details: Check alignment, cuts, corners, and transitions.
- Test cleaning: Follow the manufacturer’s method on the trial finish.
- Record the method: Photograph the approved result and retain the installation instructions.
Standardize the finish without ignoring room differences
Build a finish schedule after the pilot, not before it. Give each approved application a material, finish, installation method, cleaning procedure, and replacement reference. A bedroom accent wall and a shower enclosure need separate specifications even if they share a color palette.
Standardization is useful when it simplifies decisions for staff. It becomes a problem when it forces decorative wood into a wet area or repeats an assembly that has not been checked for the building’s requirements.
For your 2026 finish schedule, identify exactly what can change and what cannot. A color substitution should still trigger a check of the product’s material, dimensions, mounting instructions, and documentation.
- Name the application: Describe the approved room and wall location.
- Record the finish: Retain the exact product and finish reference.
- Control substitutions: Require review of installation and performance documents.
- Define replacement: Document how a damaged section will be removed and matched.
Plan maintenance before repeating the installation
Ask your maintenance team to review the trial wall before expanding the project. They need to know how to clean it, reach nearby services, inspect joints, and replace damage without guessing.
The Panel Hub states a 5-year warranty for its panels. Read the applicable terms before approval and store them with the purchase record; warranty coverage and routine maintenance responsibilities are separate questions.
A 2026 handover file should remain useful after the person who ordered the panels leaves. Include photographs of the completed work, product references, care instructions, and the approved repair method. Do not let essential information live only in an installer’s messages.
- Assign care: Specify who cleans the finish and which instructions apply.
- Keep records: Save purchase documents, product references, and warranty terms.
- Preserve access: Identify removable sections and service access points.
- Review the pilot: Resolve cleaning or repair concerns before approving additional units.
Compare wall panel options by application
Choose by the wall’s job, not by a single property-wide favorite. This comparison identifies the best use of each option and the limitation to resolve before specifying it. Product appearance does not establish wet-area, acoustic, or fire performance.
| Option | Best for | Practical advantage | Key limitation |
|---|---|---|---|
| Acoustic wood slat panels | Dry shared lounges, home-office areas, or living rooms needing documented absorption | Combine a wood appearance with an acoustic panel format | Absorption does not establish sound isolation between units; verify the mounting arrangement |
| 3D Geometric Pattern Wooden Panels | Decorative feature walls in dry interiors | Provide a pronounced geometric wood finish | The product description does not establish acoustic, shower, or shared-space fire suitability |
| PVC wall panels | Bathroom walls where the selected product documents the required exposure | Offer an alternative material category to decorative wood | PVC alone does not establish suitability for direct shower use or a complete waterproof assembly |
| Shower wall panel systems | Shower surrounds covered by the system’s installation instructions | Provide a purpose-specific approach to finishing shower walls | Joints, substrate, penetrations, and installation details still require verification |
| Painted wall finish | Walls where a simple finish and existing repair procedures meet the brief | Avoids adding a panel assembly | Does not provide the texture of wood paneling or establish acoustic absorption |
For a dry feature-wall shortlist, the following store products represent acoustic slat and geometric wood formats. Treat them as candidates to review against your specification, not approved substitutes for every multifamily application.


Common mistakes property managers make
- Treating absorption as sound isolation. A room can sound less reflective without resolving sound transmission through a shared partition. Identify the complaint before choosing acoustic panels.
- Approving a finish from a photograph. Photographs do not answer questions about substrate preparation, cleaning, exposed edges, or replacement. Review documents and inspect a trial installation.
- Using one material in every room. A dry bedroom, shower enclosure, and shared corridor have different exposure and approval needs. Give each application its own specification.
- Scheduling only the panel fitting. Preparation, cutting, finishing, cleanup, and required checks belong in the work order. A stated installation time is not a complete unit-turnover schedule.
- Leaving repairs undocumented. A finish is harder to manage when staff cannot identify it or find its care instructions. Save the records before repeating the installation.
FAQ
What are the best wall panels for property managers?
The best wall panels for property managers are those documented for the room’s exposure, installation conditions, and maintenance needs. Use acoustic panels for an absorption brief, decorative wood for dry feature walls, and appropriately documented systems for bathrooms and showers.
Do acoustic wall panels stop noise between apartments?
Acoustic wall panels do not establish sound isolation between apartments. They address sound absorption inside a room; transmission through shared walls, doors, floors, and other paths requires a separate assessment.
What does an NRC 0.85 rating mean?
NRC 0.85 describes a tested sound-absorption rating, not an 85% reduction in neighbor noise. Check the test report and mounting arrangement before applying the rating to a multifamily installation.
Can property managers use wood panels in bathrooms?
Use wood panels in a bathroom only where the selected product’s documentation supports the intended exposure. Do not assume a decorative wood panel is suitable for a shower enclosure or repeated water contact.
How long should a wall panel installation take?
Schedule wall panel installation from the actual scope, including preparation, cutting, fastening, finishing, and cleanup. The Panel Hub describes installation in under 2 hours, but that statement does not define the duration of a complete multifamily work order.
Are PVC wall panels automatically suitable for showers?
PVC wall panels are not automatically suitable for showers. Confirm that the selected product and its complete installation system cover direct water exposure, joints, penetrations, and the required substrate.
What should go in a multifamily wall panel maintenance file?
Keep the exact product and finish reference, installation instructions, care procedure, repair method, purchase record, and applicable warranty terms. Add photographs showing the finished edges and any service access points.
One last thing
Judge the pilot wall from the edge, not just the center. The center shows the finish; the edges show whether the installation works around outlets, doors, corners, and future repairs.
Before your next 2026 rollout, ask the maintenance lead to explain how they would replace a damaged section. If the method is unclear, resolve it while the project is still a pilot rather than repeating the problem across the property.
Related guides